Welcome to The Build Basic Custom Closet System! In this Series, I’m showing how to make a handful of simple DIY components that come together to create a functional, beautiful custom closet space. Even better is that ALL of the cut lists are adjustable so you can quickly and easily pick and choose the type of storage you need, and size it to fit your space!
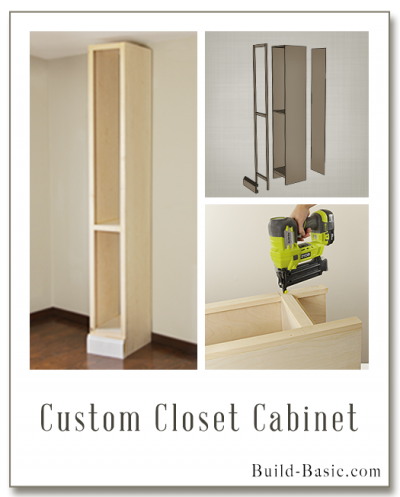
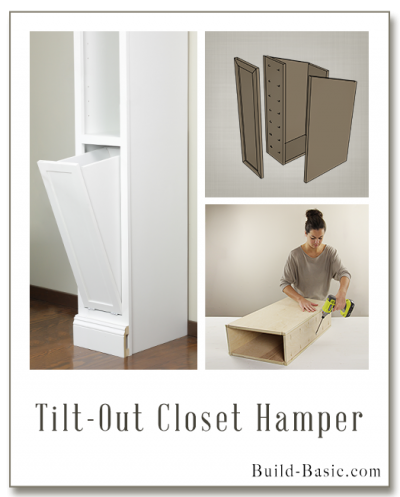
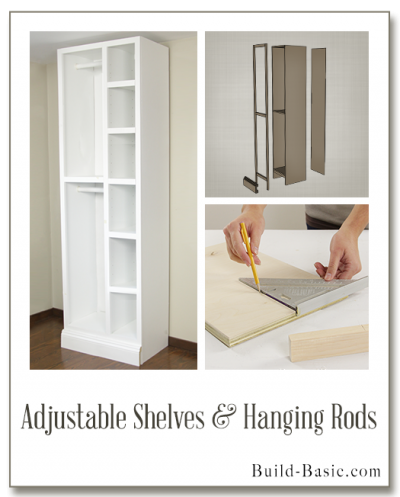
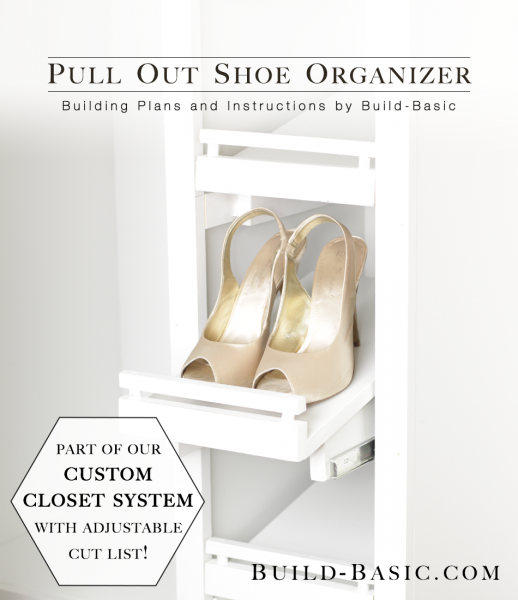
In this tutorial, I’m showing how to add pull out shoe shelves to the “Cubby” built in Part One. These Cubbies can also house add-ons like adjustable shelving and hanging rods, and a tilt-out hamper. In addition, this series includes free plans for an easy hideaway ironing station and built-in closet drawers that don’t require a table saw or router! Click around to see which organization options you’d add to your dream closet!
This post is sponsored by PureBond Plywood, the makers of the beautiful formaldehyde-free plywood I’m using to build this project. To learn more about their great products and how this series came about, click HERE.
The Build Basic Custom Closet System
Adjustable Shelves and Hanging Rods
Built-in Closet Drawers (the easy way)
TIP: Click the tabs below to see the tools, materials and cut list.
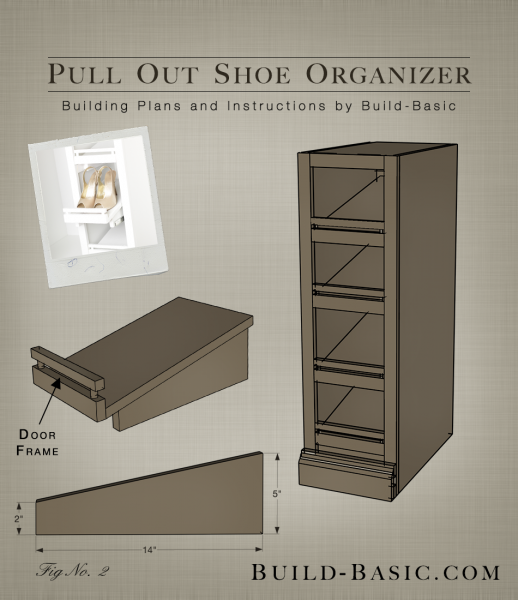
Difficulty: Easy. The shoe shelves are really just a board tipped up on two wedges.
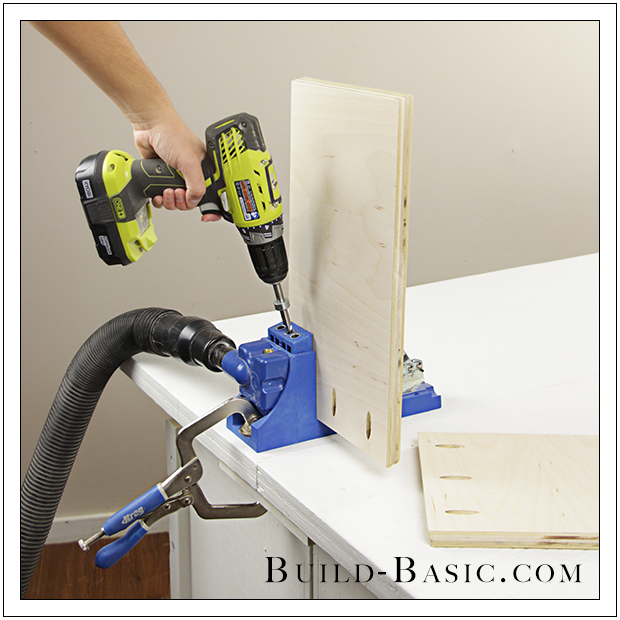
Kreg Jig (I use the K4 Master System)
Drill/Driver fitted with a countersink drill bit
¾-inch Plywood (I’m using PureBond Plywood in Birch)
1 x 2 Boards to Face the Shoe Shelf and pad out the drawer slides inside the Cubby
(1) Pair of Full-extension Drawer Slides per shelf
Note: Our cubbies have an interior depth of 16 inches, so I’m using 14-inch-long drawer slides.
1½-inch Nails
1¼-inch Coarse Thread Pocket Hole Screws
5/8-inch Square Dowel to make the Shelf Handle
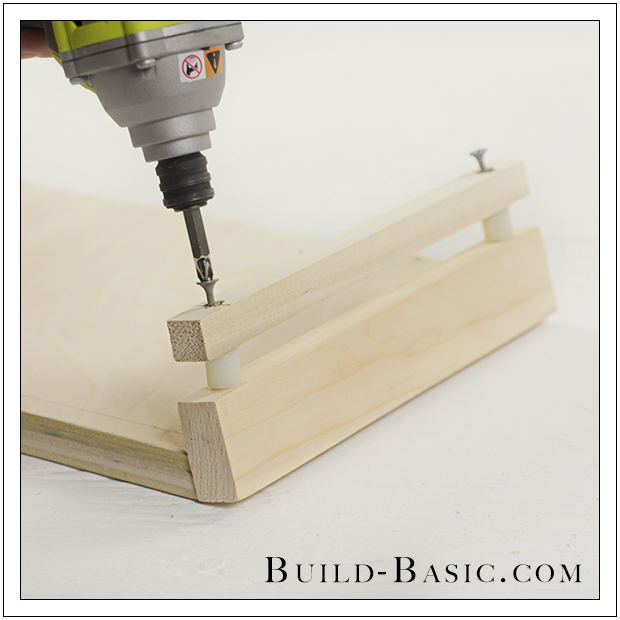
(2) 2-inch wood screws to attach the Handle to the 1 x 2 Shelf
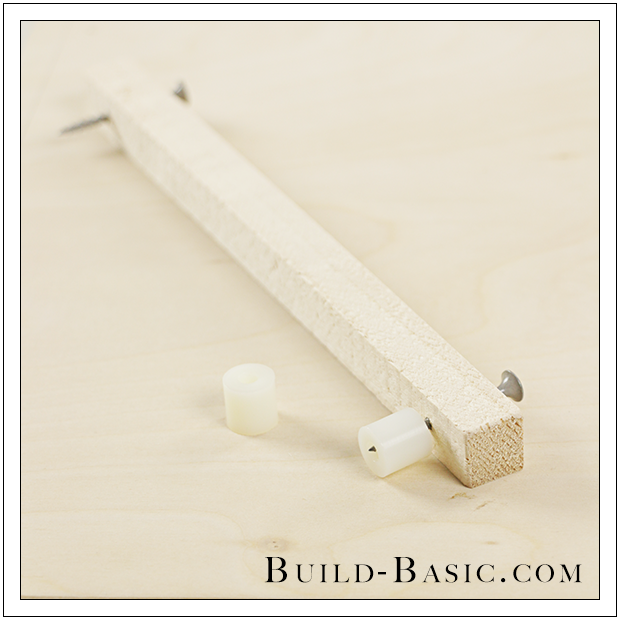
(2) ½-inch Nylon Spacers to raise the Shelf Handle
¾-inch Plywood Shelf – 1 @ 16″ Deep x 1/8″ less than the interior Width of the Cubby opening. Cut the front and back edges at parallel 12-degrees bevels.
¾-inch Plywood Wedges – 2 @ 14″ Deep x 5″ High. Note: the height of the Wedges gets angled from 5 inches to 2 inches.
1 x 2 – 1 @ Width of the Shelf
5/8-inch Square Dowel Handle – 1 @ Width of the Shelf
1 x 2 Padding – 2 @ Interior Depth of the Cubby
Steps
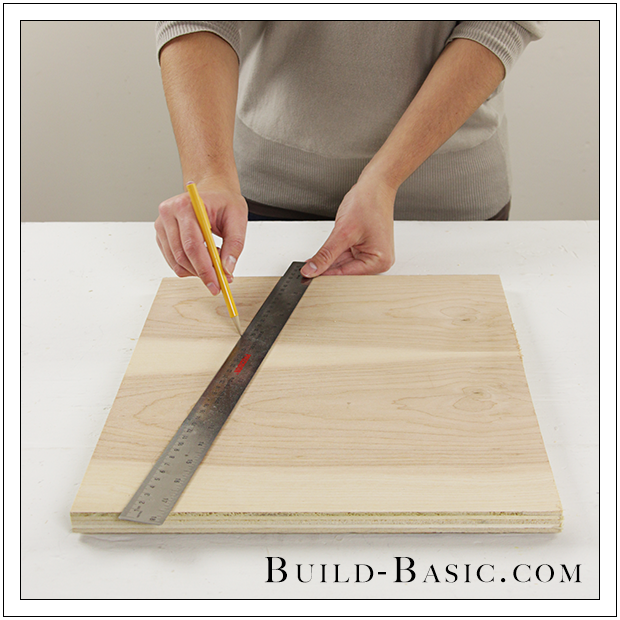
1. Mark the Wedges
 2. Cut and Prep the Shelves

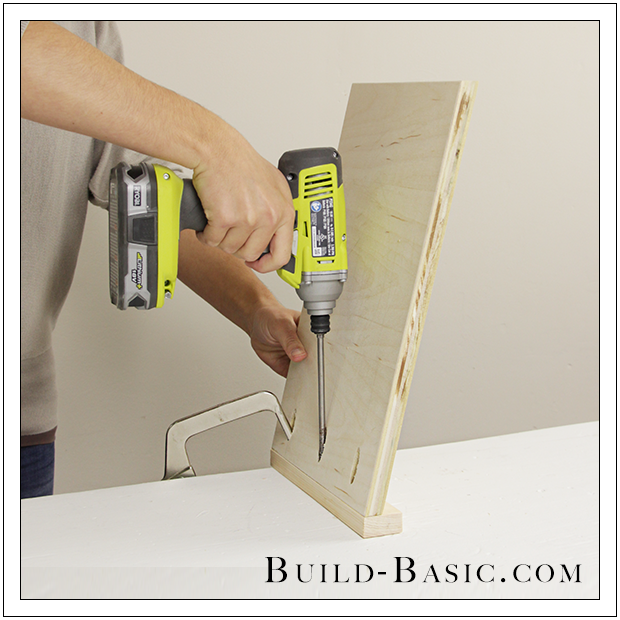
3. Attach the 1 x 2 to the Shelf
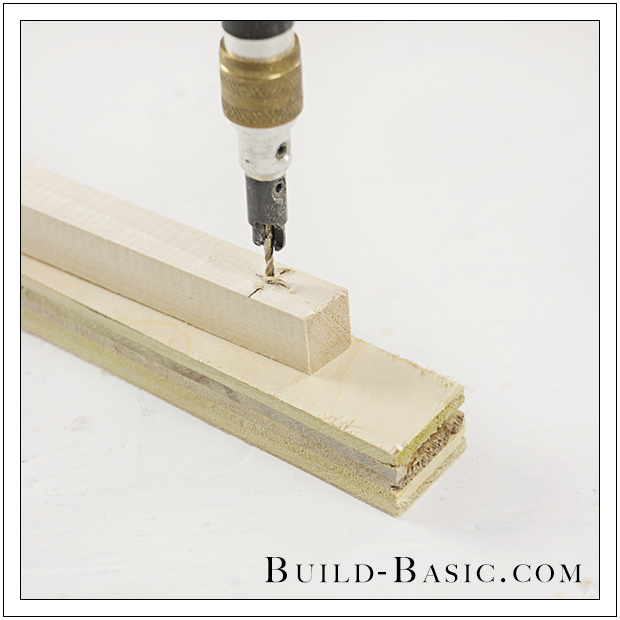
4. Prep the Handle
5. Place the Spacers
6. Install the Handle
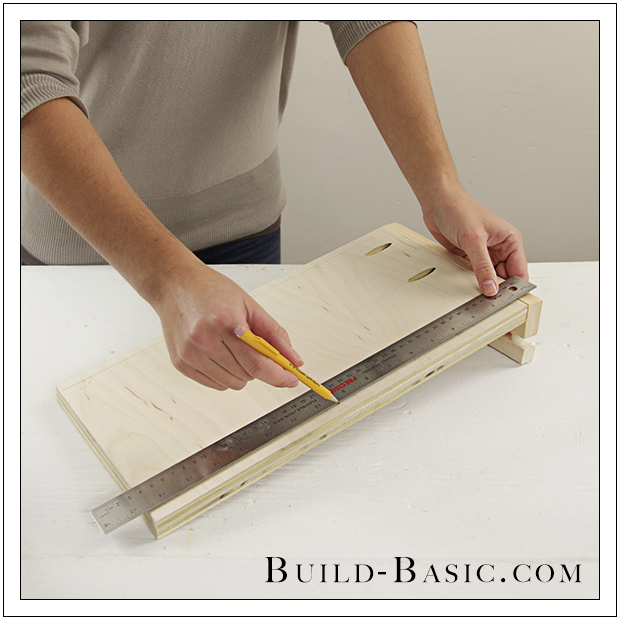
7. Mark the Wedge Inset
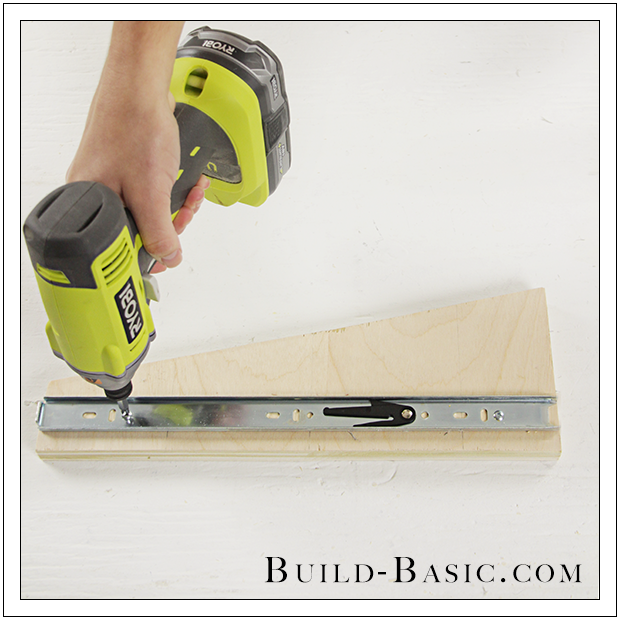
8. Attach the Slides to the Wedges
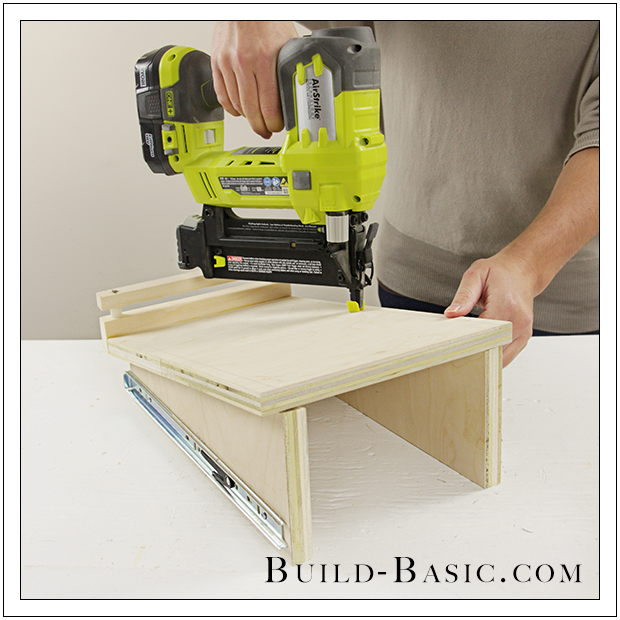
9. Attach the Shelf to the Wedges
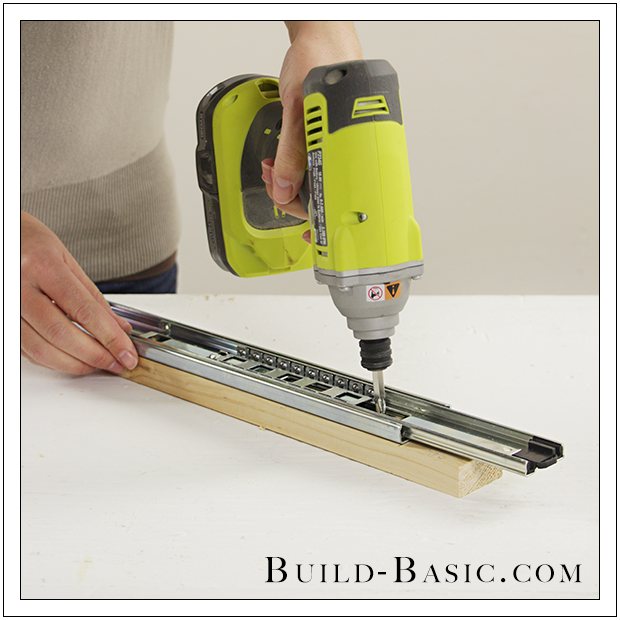
10. Install the Slides
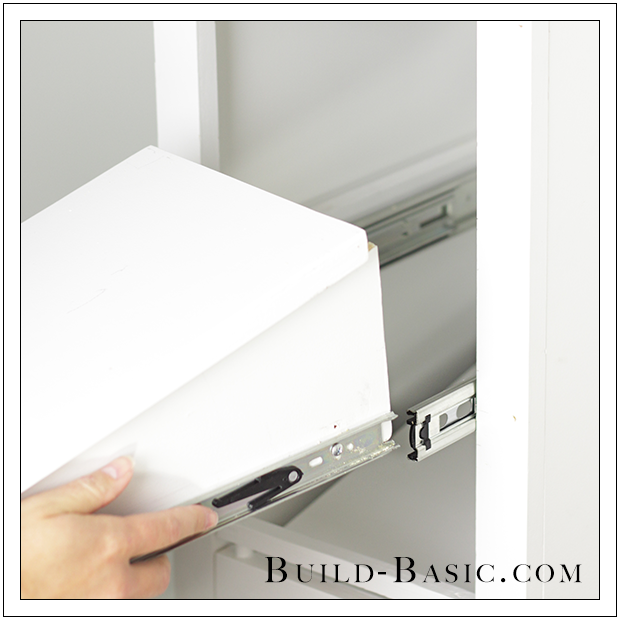
11. Install the Shelves
MORE BUILDING PLANS