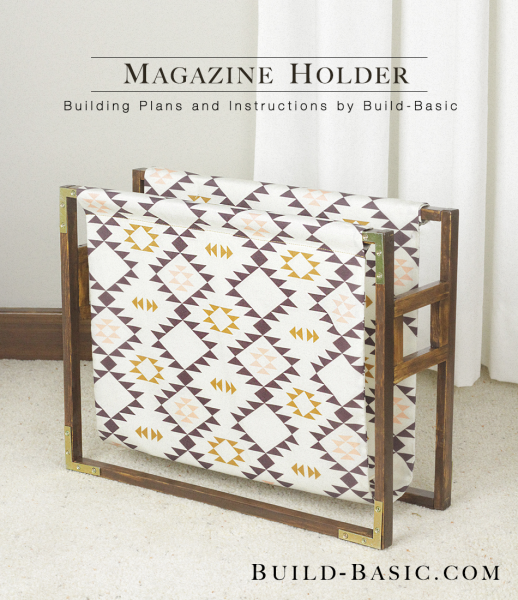
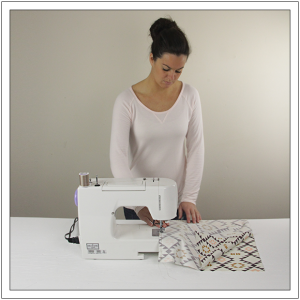
Curling up with a quality woodworking magazine or home catalog is, at times, my favorite source for inspiration. Unfortunately, keeping magazines out of the clutter pile until I have the free time to sit down is nearly impossible. Fortunately, with a few sticks of molding and some flat L-shaped braces, I was able to assemble this dainty stand for a fabric slip. For under $20, magazines have a new home tucked neatly beside my favorite reading chair.
Fabric: Navajo by Kimsa from spoonflower.com
Cost: $15
Time: 1 hour
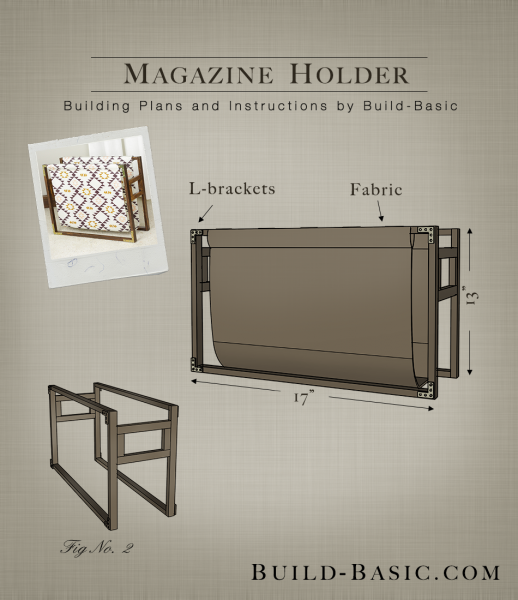
Difficulty: Easy. The outer frames assemble with simple flat L-shaped braces, while the end details require a few nails.
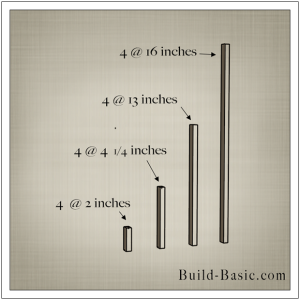
½ x ¾ horizontal pieces – 4 @ 16 inches
½ x ¾ vertical pieces – 4 @ 13 inches
½ x ¾ detail (vertical) pieces – 4 @ 2 inches
½ x ¾ detail (horizontal) pieces – 4 @ 4 ¼ inches
Fabric – 2 @ 35 x 15 ½ inches
Steps
1. Cut the Pieces
Using the cut list above, cut the pieces to size using a miter or hand saw. Sand the cut ends of the pieces to remove burrs that could keep joints from closing tightly.
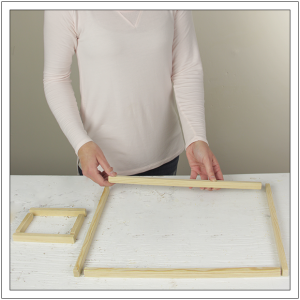
 2. Dryfit the Pieces
On a flat work surface, arrange the pieces as shown. Create two larger “Sides” by placing the pieces on edge and arranging them so that the horizontal pieces set between the vertical pieces. Create two smaller “Ends” by placing the pieces flat so that the 2 inch vertical pieces set between the horizontal pieces.
3. Assemble the End Detail
Apply glue to the ends of the vertical pieces, and then clamp them between the horizontal pieces. I found it easiest to clamp the assembly upright, readjusting as I moved between joints. Nail through the horizontal pieces and into the ends of the vertical pieces. Fill the nail holes with wood filler, let dry, and then sand smooth.
4. Finish the Parts
Because we’ll be adding the fabric during the assembly, it’s necessary to finish the parts ahead of time. For this project, I used Zar stain in Mocha followed by a coat of polyurethane.
5. Join the Fabric Pieces
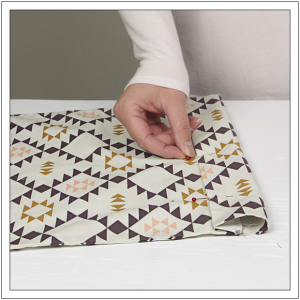
Cut two 35-by-15½-inch fabric pieces. If the fabric has a pattern, be sure to orient it vertically. Place the cut pieces face-to-face with the edges aligned. Sew down the long edges before pulling the pieces right side out.
Tip: Choose a pattern that looks the same right side up or upside down since the fabric will loop toward the base of the stand and back up on the opposite side.
6. Create the Rod Pocket
To create a pocket for the wood to slide through, make a mark 4 inches from each end of the fabric. Fold ½ inch of each unfinished end under, and then pin then finished edge of the fabric along the 4-inch mark. Sew a top stitch to hold the pieces in place.
Tip: If you have a bit of experience with sewing, flip the pocket fold face-down while sewing so that the more attractive “top side” of the stitch is facing outward where it will be more visible.
7. Insert the Wood Rod
Slip an upper horizontal piece from one Side through one pocket.
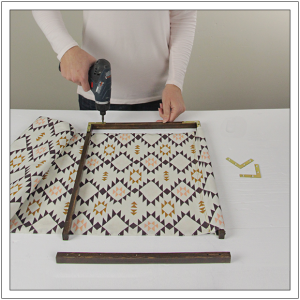
8. Assemble the First Side
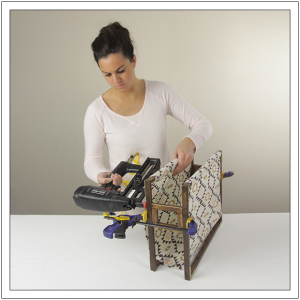
Position the horizontal piece fitted with the fabric back in place in its frame. Apply glue to the ends of the horizontal pieces. Clamp the parts in place, and then position an L-shaped brace on the face of each corner. Drill pilot holes through the holes in the L-bracket, and then secure each bracket in place with the provided screws.
9. Assemble the Second Side
Place the top piece of the second frame in the remaining pocket in the fabric. Position the piece back in place in its frame. Align the frames so that, when standing upright, the folded rod pockets both face inward. Apply glue to the ends of the horizontal pieces. Clamp the parts in place, and then position an L-shaped corner brace on the face of each corner. Drill pilot holes through the holes in the L-bracket, and then secure each bracket in place with the provided screws.
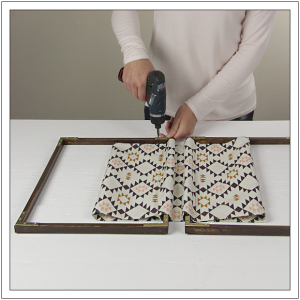
10. Attach the Ends
Apply glue to the sides of each End assembly. Stand the Sides upright, and then clamp the Ends between them 3 inches from their top edge. Nail through Sides and into the horizontal pieces of each End to hold them in place.
(Note: Safety eyewear not shown)
MORE BUILDING PLANS