


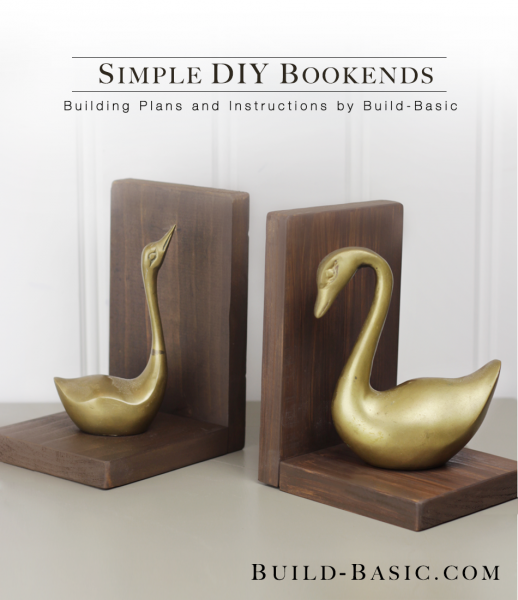
Hold books upright and in style using these easy-to-construct bookends. Using only simple, straight cuts, the parts assemble quickly with only a drill and a few screws. Small L-brackets hold the books tightly in place, while rubber stoppers keep the bookends from sliding. Just stain or paint the blocks, and then top with a decorative ornament like our thrift store geese, and you’re, ahem, golden!
Cost: $10 for two (not including ornaments)
Time: ½ hour
Difficulty: Easy. With only straight cuts and a bit of assembly, this is a perfect project to get your feet wet.
Tape Measure
Miter or Hand Saw
Drill/Driver
Hot Glue Gun
(1) 1×6 – Look for a short “project board” at the homecenter to avoid buying a unnecessarily long piece.
(8) Self-adhesive Clear Rubber Bumpers
(4) 3 inch L-brackets
1 ¼ inch Wood Screws
Wood Glue
Glue Sticks
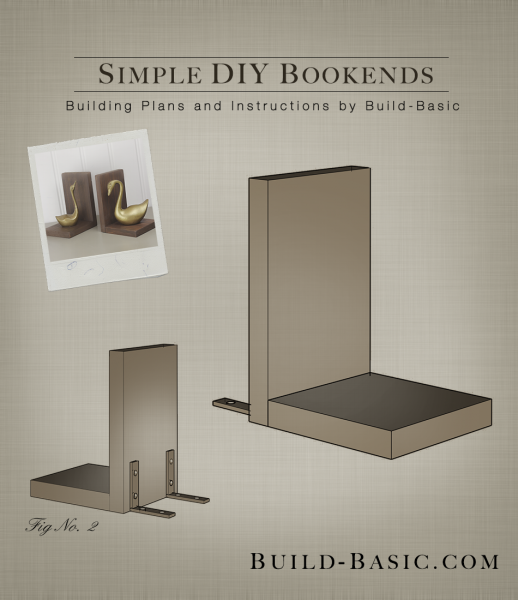
1×6 – 2 @ 4 ½ inches
1×6 – 2 @ 7 inches
Steps
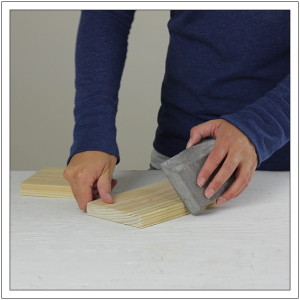
1. Cut and Sand the Parts
Cut the 1×6 to size using the cut list provided. “Knock down” the edges and corners using a sanding block. Sand the remaining sides of each block until smooth.
 2. Apply the Wood Glue
Apply a bead of wood glue to the face of a 7-inch block along its bottom edge. Ensure the glue stays within ¾-inch of the bottom edge. Now press the back edge of a 4 ½ inch block onto the glue. Repeat on the second set.

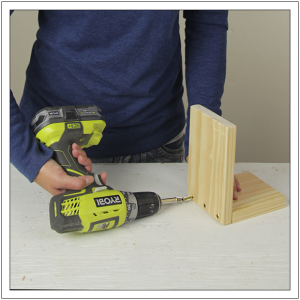
3. Drill the Pilot Holes
Holding the pieces square to one another, drill three pilot holes through the backer piece and into the back edge of the horizontal piece, as shown. Repeat on the second set.
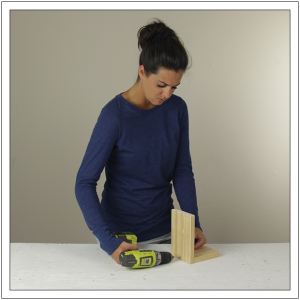
4. Assemble the Wood Blocks
Using a drill/driver, drive 1 ¼ inch wood screws through each of the pilot holes to hold the parts of each bookend firmly in place. If staining or painting, this is a good time to do so before the hardware is attached in the remaining steps.
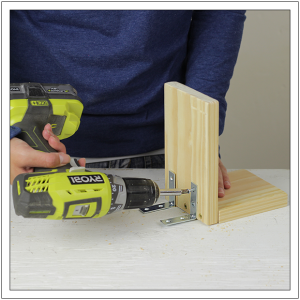
5. Attach the L-brackets
Place two L-brackets 1 ½ inches from each edge of the backer boards and flush with the table. Drill a shallow pilot hole in through the hole in the bracket and into the backer board. Make sure not to drill through the thickness of the board. Insert the L-bracket screw into the pilot hole, and then tighten the screw using a drill/driver. Repeat on the second assembly.
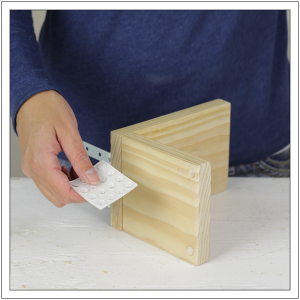
6. Add the Rubber Bumpers
Flip each assembly upside down and stick a rubber bumper to each corner. These bumpers will prevent the bookends from slipping away from the books when in place.
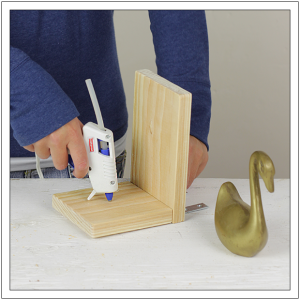
7. Secure the Ornaments
Using a hot glue gun, secure the ornament to the surface of each bookend. If the ornament is made of wood, a set screw can be driven though the underside of the bookend for added strength.
MORE BUILDING PLANS


Pingback: 43+ Easy Woodworking Projects for Beginners
Crack Sealer
Well done! This is an insightful post. Thanks for sharing. Will continue following your blog.