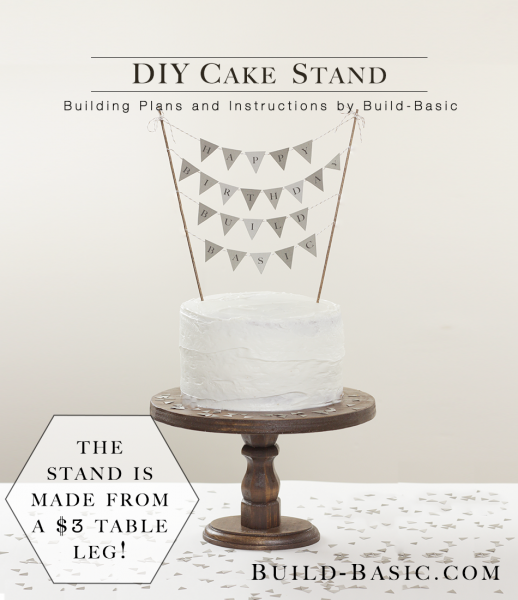
Build this elegant stand using a stock table leg from a home center. In fact, the table leg featured in this project was under $3! Once you’ve selected a leg style, just add a molding block or rosette to act as a Base, holding the stand in place, and a plate or circular piece of plywood as the Top.
Read my Blog Post: Happy Birthday Build Basic!
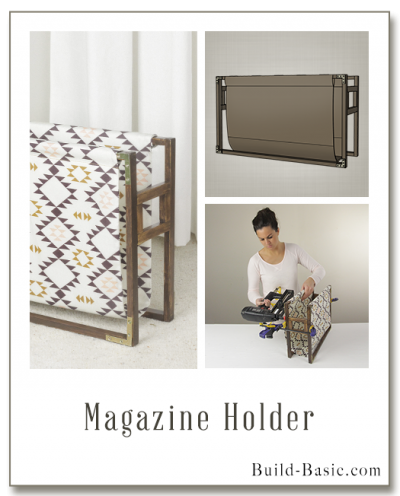
TIP: Click the image above to reveal the free building plans. Click the tabs below to see the tools, materials and cut list.
Cost: $10
Time: 30 Minutes
Difficulty: Easy. Once the circular top is cut using a jigsaw, just screw the three pieces together to complete the assembly.
¾ inch Plywood – Use scrap plywood or a small project panel from a Home Center. You can also glue a plate In place of this piece of the project.
6-inch Table Leg to make the Stand
Rosette to make the Base
2-inch Wood Screws
Nail
Paint Stick
Top – Make a circular cut 11½ inches in diameter
Steps
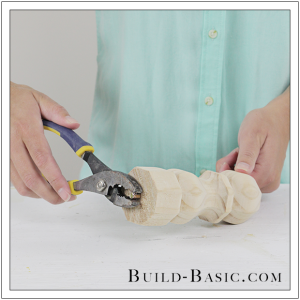
1. Prep the Stand
Using pliers, remove the threaded rod from the top of the table leg to prep the Stand.
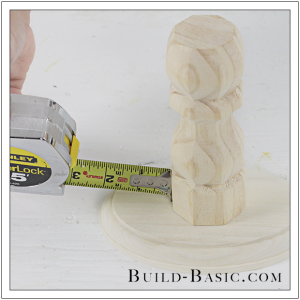
 2. Position the Stand
Place the Stand upright on the rosette, which will act as the Base. Using a tape measure or ruler, center the Stand on the Base.
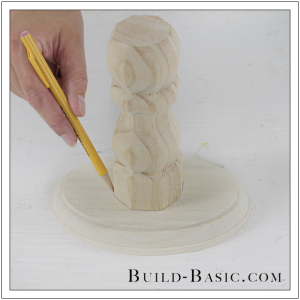
3. Mark the Placement of the Stand
Using a pencil, outline the placement of the Stand on the Base.
4. Attach the Stand to the Base
Flip the Base and Stand upside down. Apply wood glue to the end of the Stand. Using the marks made in Step 3, realign the Base on the Stand. Clamp the pieces to the work surface using a bar clamp. Using a drill/driver, create two pilot holes that run through the Base and into the Stand. Now drive two 2-inch wood screws through the Base and into the Stand to hold the pieces together.
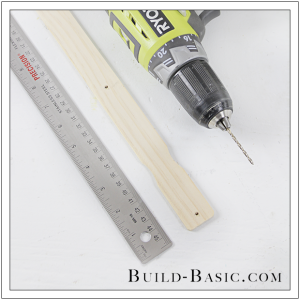
5. Create a Circle-Drawing Tool
To outline the circular Top, first drill two pilot holes 5¾ inches apart on a paint stick.
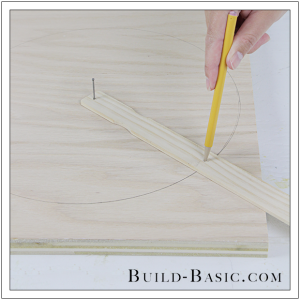
6. Outline the Circular Top
Create a pivot point for the paint stick by driving a nail through one of the holes and into the center of the plywood panel. Place a pencil in the remaining hole, and pivot around the nail to outline the circular Top.
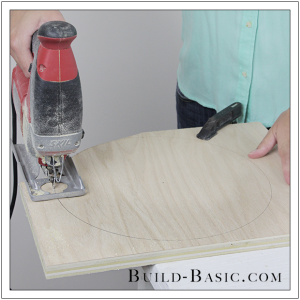
7. Cut Out the Top
Using a jigsaw, cut the circular Top marked in Step 6 from the piece of plywood.
8. Sand the Top
Soften the cut edges with a sanding sponge or palm sander.
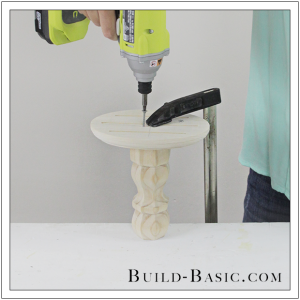
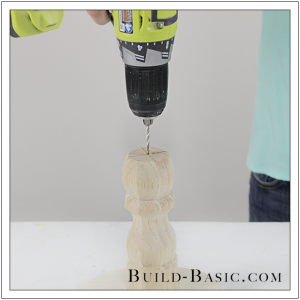
9. Drill a Pilot Hole in the Stand
Using a drill/driver, create a pilot hole centered in the top of the Stand.
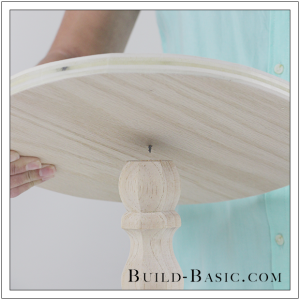
10. Attach the Top
Using a drill/driver, create a pilot hole in the center of the Top. Drive a 2-inch screw through the Top until it pokes slightly through the underside of the plywood. Now place the tip of the screw into the pilot hole in the Stand. Lower the Top onto the Stand, and then drive the fastener the rest of the way through the Top and into the Stand. To prevent the Top from spinning, predrill and sink an addition 2-inch wood screw through the Top and into the Stand.
MORE BUILDING PLANS


Pingback: 30 Splendid DIY Cake Stand Ideas you'll Love to Make » DIY Crafts
Sonya
What type of finish did you put on the stand to make it “Food Safe”? And is this washable?
Ruth
Super cute DIY! Like all the possibilities of different stains and paints to customize it!
http://www.mylittlenest.org
Jenn Post author
Thank you, Ruth!
Fabuladico
I thought this interesting, but I think if I built it, I’d use something more attractive, and more resilient and cleanable; maybe oak or cherry. Understandably there might be some joinery, which might make things less basic, but all in all, a nicer project.
Pingback: Happy Birthday Build Basic! ‹ Build Basic