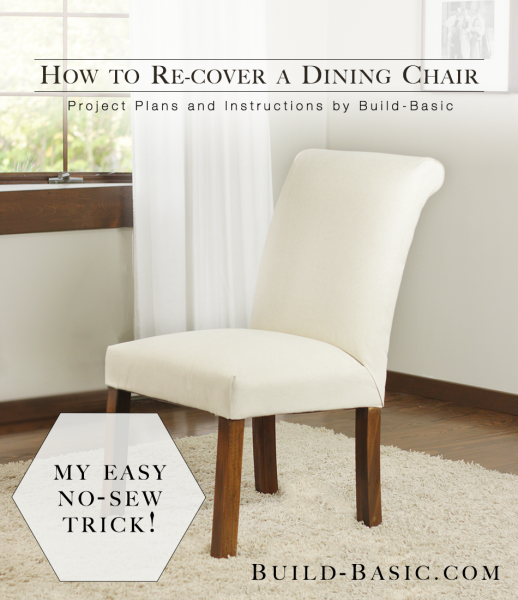
Would you believe me if I told you almost any outdated dining chair can be transformed into perfection using this no-sew re-covering method? That’s right, no sewing machine required–just a stapler, some scissors and a hammer. In this easy series, I’ll show you how refresh the padding with a soft layer of batting, staple fabric around the seat cushion and backrest, add a super simple “panel” to the back to hide all your handiwork, and then finish with a dust cover on the underside. And don’t let the number of steps scare you away–the instructions are simple, but I’m visual, so it’s really just an extra amount of photos so you can see how easy it all comes together step-by-step! Also, if you’re an upholstery guru, please know that I recognize there are specialty tools and advanced techniques for this process, but the goal of this project is to get professional-looking results using only what is already available in my workshop.
Blog Post: No-Sew Dining Chair Transformation
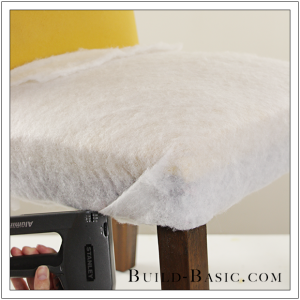
Part One – Add the Batting
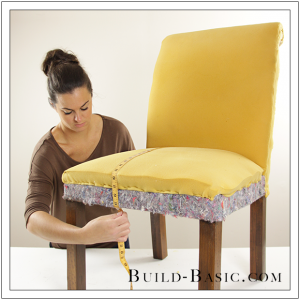
Part Two – Fabric the Seat
Part Three – Fabric the Seat Back
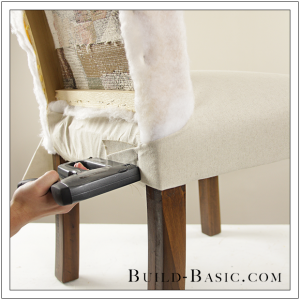
Part Four – Secure the Panel
Part Five – Dustcover
TIP: Click the tabs below to see the tools, materials and cut list.
Time: 1 hour
Difficulty: Moderate. While no sewing is required, adjusting and stapling the fabric in place takes time and patience.
Flexible Tape Measure
Staple Gun
Scissors
Mallet or Hammer
Tin Snips to cut the metal tack strips
Needle Nose Pliers to remove staples
Flathead Screwdriver to tuck fabric
Iron to smooth the folds and tighten the fabric
3/8-inch staples
Fabric – Get 2 yards per chair
Batting – Get 1½ yards per chair
Dust Cover Fabric – Get about ½ yard per chair
- Width – Stretch the tape measure across the seat cushion. Pull the tape down around the edges of the cushion until you reach the inside edge of the wood framing below on each side.
- Depth – Slip the tape measure between the seat cushion and backrest. Pull the tape down around the edges of the cushion until you reach the inside edge of the wood framing below at both the front and back of the seat.
Backrest
- Height – Starting on the backside of the top edge (rolled or straight), stretch the tape up and over the top of the chair, down the front side, between the seat and backrest, along the back edge of the seat cushion, and down to the inside edge of the wood framing below.
- Width – Stretch the tape measure across the backrest. Pull the tape around the edges of the cushion until you reach the inside edge of the wood framing on the backside.
Panel
- Height – Measure from the top edge of the backrest (or from the wood beneath the rolled edge) down the backrest, past the seat cushion, and under the seat to the wood framing.
- Width – Measure the full width of the backrest, and then add two inches for the tack strips.
Dust Cover
- Width and Depth – Measure the total width and depth of the underside of the seat, and then add two inches to each measurement to allow the edges to fold under.
Tack Strip
- Length – Measure from the underside of the roll to the bottom edge of the seat.
Steps
1. Prep the Chair
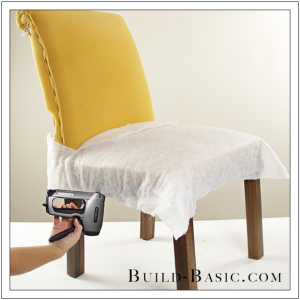
 2. Attach the Batting to the Seat
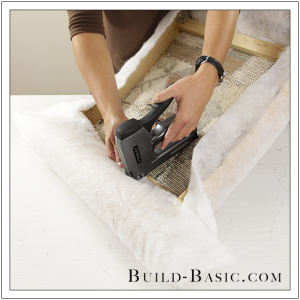
3. Slit the Batting
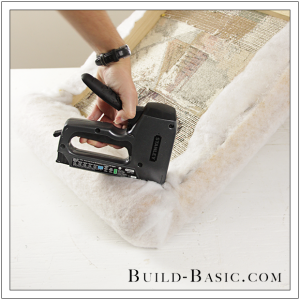
4. Staple the Batting in Place
5. Trim Around the Legs
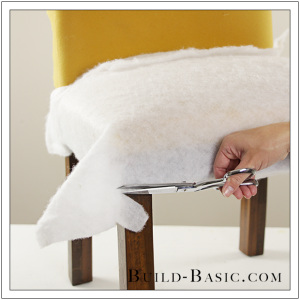
6. Secure the Excess Batting
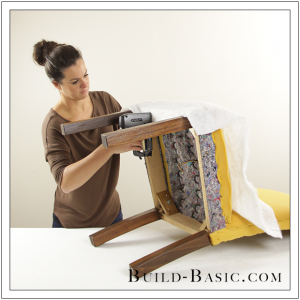
7. Add Batting to the Backrest
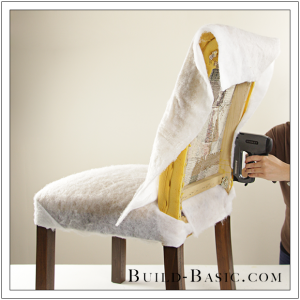
8. Attach the Batting to the Rolled Edge
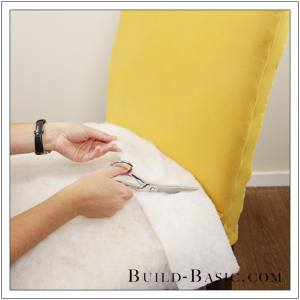
9. Trim the Batting

10. Secure the Batting to the Backrest
11. Add Fabric to the Seat Cushion
MORE BUILDING PLANS