Gift wrapping can quickly turn into art with the addition of a few special touches. And if it’s a thoughtful handmade look you’re after, the addition of this unique wood tag can definitely create the look. Whether you add a beautiful paper printable like we did, or finish the tag with your own scrolled penmanship, this hand-crafted piece will surly grab attention (and appreciation!).
Credit: Gift Tag Printable by Lia Griffith
Cost: $2
Time: 30 Minutes
Difficulty: Easy. Shaping the tag and adding a hole for ribbon or twine requires simple tools and basic knowledge.
(1) ¼ x 3 Hobby Board
Twine
Tape (any kind will do)
Lint-free Rag
Stain
Polyurethane
¼ x 3 Board – 1 @ 4 ¾ inches
*Clip ¾ inch off both corners on one end
Steps
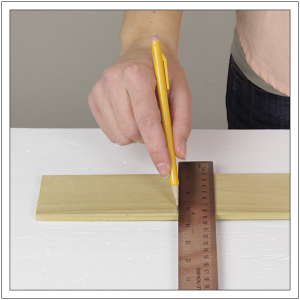
1. Size the Tag
Using a tape measure or ruler, mark the ½-x-3-inch board 4¾ inches from one end. Mark both edges of the board, and then draw the cut line between them, as shown. Using a miter saw or handsaw, cut the board to length.
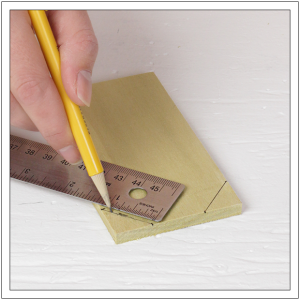
 2. Clip the Corners
On one end of the board, make a mark ¾ inch from the corners on each adjacent edge. Using a ruler or straightedge, draw a line between the corresponding marks to create 45-degree cut lines. Using a handsaw, cut along the lines to remove the corners.
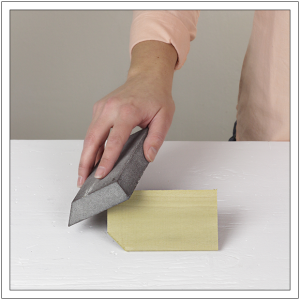
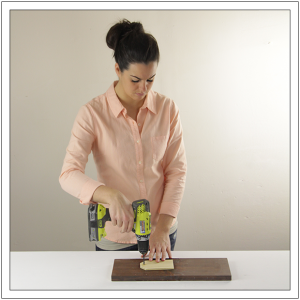
3. Sand the Tag
Using a sanding block, remove burrs form the edges of the tag. Round over the edges to create a finished look. Sand the faces in preparation for staining or painting.
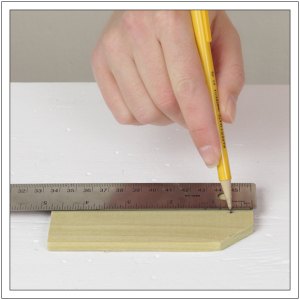
4. Mark the Ribbon Hole
In the center of the width of the tag, measure and make a mark that’s ¼ inch from the top edge of the tag, as shown.
5. Drill the Ribbon Hole
Place the tag on a scrap block of wood or overhanging the edge of the work surface. Using a drill/driver fitted with a 1/8 inch drill bit (or similar), drive a hole through the mark created in step 4.
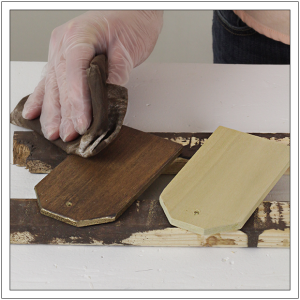
6. Stain the Tag
Using a lint-free rag, apply stain to the faces and edges of the tag. We used Zar stain in “Mocha”. Wipe away the excess stain and set the tag aside to dry. Finish with a protective topcoat of polyurethane.
Note: To highlight the edges, we also applied a touch of Rustoleum American Accents in “Gold Metallic”.
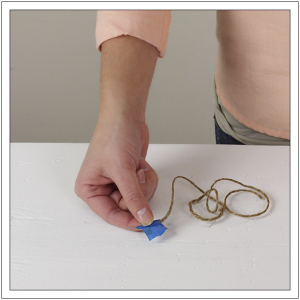
7. Prep the Twine
To allow the twine to pass through the hole in the tag without binding, wrap the end in a piece of tape.
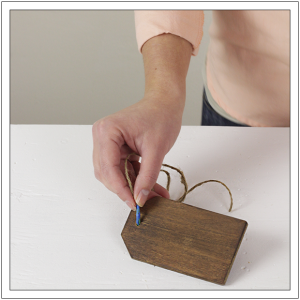
8. Add the Twine
Push the twine through the hole in the tag, and then remove the tape. If you’re finishing the face or the tag with a paper printable like we did, punch a hole in the paper tag, and then run the twine through hole to hold it in place against the wood tag. You can also paint directly on the tag, or glue the paper tag to the wood for a more permanent look.
MORE BUILDING PLANS


Marta Lujambio
Muy linda, hare para los regalos navideños
VERONICA
Beautiful! <3