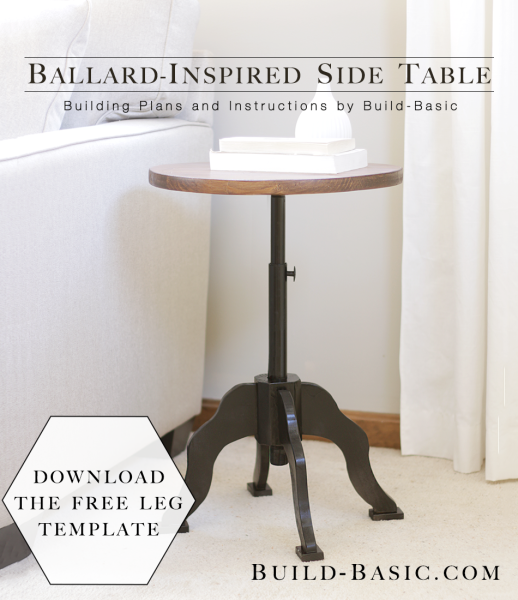
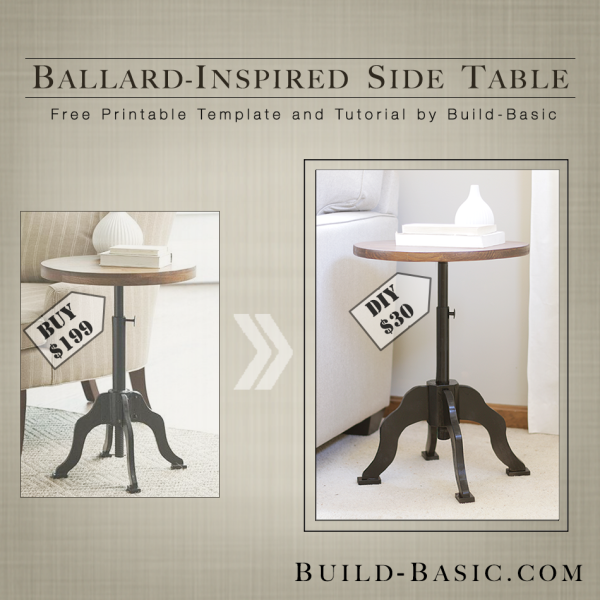
Pretty much every piece of furniture at Ballard Designs makes me swoon, but the industrial Allen Side Table is especially jaw dropping. Unfortunately, the $199 price tag makes me weak in the knees…in a bad way. Luckily a quick trip to the home center for a pre-cut wood round and some black pipes make this an easy and inexpensive DIY project! The only thing that took some time was getting the shape of the legs just right. Luckily, I made a handy printable template so you can just trace it onto a board, and then cut them out with a jigsaw! As for the base, I made my own out of a scrap piece of a 4 x 4 post, but you can always sub in the octagonal top section of a store-bought table leg to make it easier.
P.S. Did you see my selfie video sneak peek of this project on Facebook? Click HERE to check it out!
TIP: Click the image above to reveal the free building plans. Click the tabs below to see the tools, materials and cut list.
Cost: $30
Time: 4 Hours
Difficulty: Easy. Tracing the template and cutting out the legs is easy. If cutting the Base feels outside your comfort zone, just substitute the top section of a store-bought table leg!
Note: This list may contain affiliate links
(1) 1 x 6 x 6′ Board to make the Legs
(1) 18-inch Wood Round to make the Top
(1) ½” x 1½” Hobby Board to create the Feet
(1) 4 x 4 Kiln Dried Post to create the 4½-inch-tall Base
*Tip – You can also substitute the Base for the octagonal upper part of a store-bought table leg
(1) 1″ x 8″ Black Steel Pipe Nipple
(1) ¾” x 4½” Black Steel Pipe Nipple
(1) 1″ x 2″ Black Steel Pipe Nipple
(1) 1″ Black Steel Threaded Floor Flange
(4) ¾-inch Wood Screws to attach the Flange to the Wood Round Top
(8) 1¼-inch Coarse Thread Pocket Hole Screws to attach the Legs to the Base
(4) 1¼-inch Finish Nails to Attach the Feet to the Legs
(1) Decorative Knob
Glue rated for use on both Metal and Wood
Wood Filler
4 x 4 Base – 1 @ 4½ inches (bevel the corners to create an octagonal base)
1 x 6 Legs – 4 @ Cut to Size using my FREE TEMPLATE
½” x 1½” Feet – 4 @ 2½ inches
Steps
1. Trace the Leg Template
Download and print my
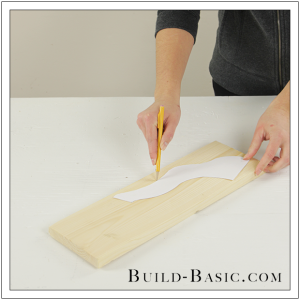
FREE TEMPLATE. Cut out the template, and then place it on a 1 x 6 board. Trace the shape of the Leg onto the board. Move the template along the board, and then trace the outline again. Repeat this process until all four Legs are outlined on the board.

2. Shape the Legs
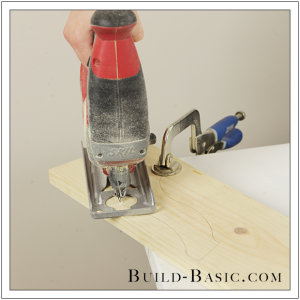
Clamp the board to a sturdy work surface, and then cut the outlined Legs using a jigsaw. Move and re-clamp the board as needed to finish cutting the remaining Legs.

3. Prep the Legs
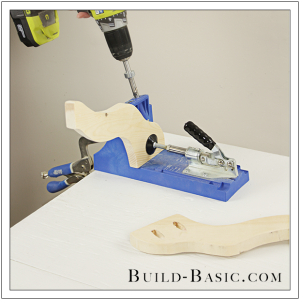
Using a random orbital sander, sand the edges of each Leg smooth. Place the Legs on top of one another, to ensure their lengths are even, which will create a level table. Lastly, using a pocket hole jig, drill two pocket holes along the 3½-inch flat edge of each Leg, as shown.

4. Add the Feet
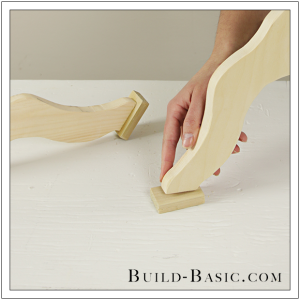
Add ½-inch-thick blocks to the bottom of each Leg. To do so, apply wood glue to the bottom of each Leg, and then center it on a block. Allow the glue to set for a minute or two. Now, flip the Leg over and drive a 1¼-inch finish nail through the Foot and into the Leg to secure it in place.

5. Mark the Post
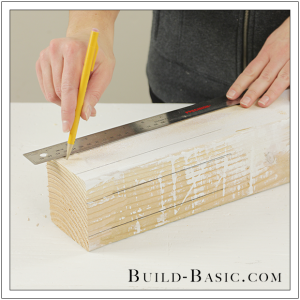
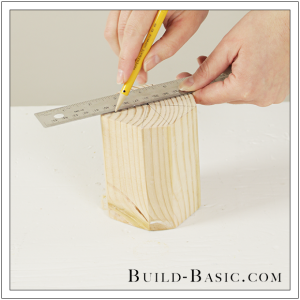
Using a straightedge, mark a line 1-inch from each edge of the post on all four faces.

6. Cut the Post
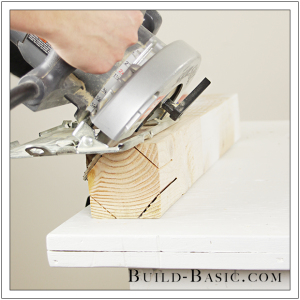
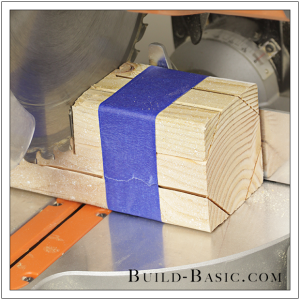
Using a circular saw set to a 45-degree bevel, cut along the lines to shape the Base. Only cut about 5 inches along each line on the post. Tip: If this cut seems outside your comfort zone, use the octagonal top section of a store-bought table leg instead.

7. Size the Base
Wrap a piece of painter’s tape around the entire cut end of the post. Mark a length of 4½-inches on the post, and then cut the post to size. Remove the painter’s tape and beveled pieces to reveal the octagonal Base.

8. Mark the Base
On the top and bottom of the Base, mark diagonal lines between the corners that intersect to locate the center of the block.

9. Drill Holes for the Pipes
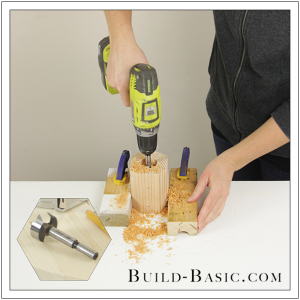
Secure the Base between two blocks clamped to the work surface to prevent it from spinning. Using a drill/driver fitted with a forstner bit, drill a 1½-inch-deep hole into the top of the Base, and a 1-inch-deep hole into the bottom of the Base. While drilling, be careful to keep the drill bit plumb (perfectly vertical) so that the pipe will set properly into the hole.

10. Attach a Leg to the Base
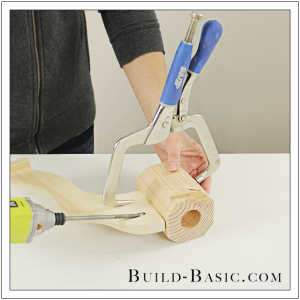
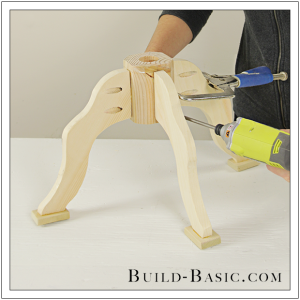
Apply wood glue to the flat edge of a Leg, and then clamp it onto a face of the Base. I’m using the original faces of the post–not the area where I beveled the corners off–because I know they are square to each other. Position the Leg ½-inch from the top edge, and centered of the Face. Drive 1¼-inch pocket hole screws through the Legs and into the Base to hold the pieces in place.

11. Attach the Remaining Legs
Apply wood glue to the remaining Legs, and then position and screw them into place. Fill the pocket holes with plugs or wood filler. Allow the wood filler to fully dry, and then sand the Legs smooth.

12. Prep the Pipe
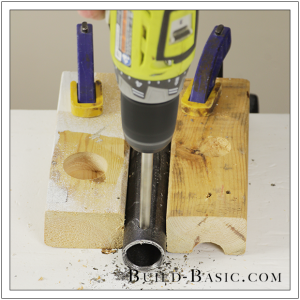
Just for looks, I had the Home Center cut the threads off one end of the 1-inch pipe. About ½ inch from the cut end of the pipe, I’m installing a knob to match the original project, even though my table height won’t be adjustable. To do so, secure the pipe between two blocks clamped to the work surface, and then drill a hole sized to the base of the knob.

13. Join the Pipes
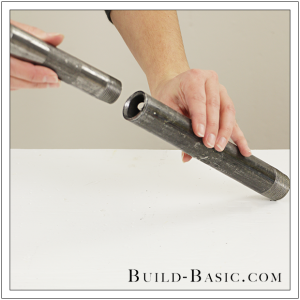
To create a decorative change in the thickness of the pipe, and make it “look” adjustable, apply glue to one end of a ¾-inch pipe, and then twist it into the 1-inch pipe until the threads no longer show.

14. Install the Knob
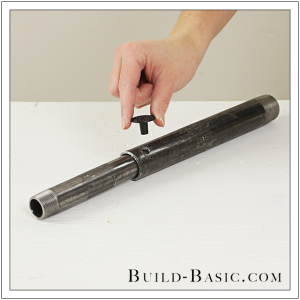
Apply glue to the base of the decorative knob, and then press it into the hole drilled in Step 12. Allow the glue on the joined pieces to dry.

15. Install the Pipe
Apply glue to the base of the 1-inch pipe. I’m using glue that expands as it dries to ensure the pipe has a tight fit inside the Base. Place the pipe into the hole in the top of the Base.

16. Position the Pipe
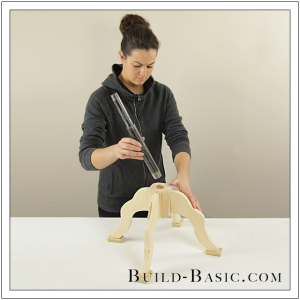
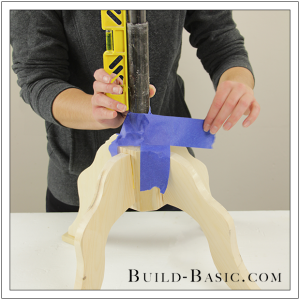
Place a small level on the installed pipe, and then position it so that it sets plumb (perfectly vertical). Apply painter’s tape to the pipe and base to hold the pipe in place. Allow the glue to dry according to the manufacturer instructions. I allowed my glue to dry for several hours, but it was still wobbly. Luckily, after letting it set overnight, it was a fully bonded, strong connection.

17. Add the Tail
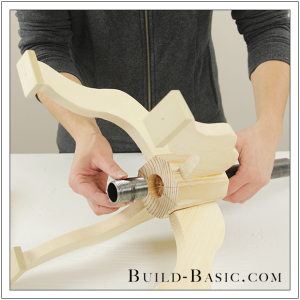
To make it look like the pipe extends through the Base, glue the short 2-inch threaded pipe into the hole in the bottom of the Base. Allow the glue to dry.

18. Install the Top
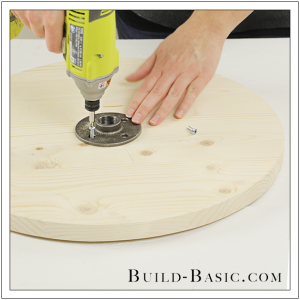
Using a drill/driver, attach the floor flange to the underside of the wood round using four wood screws. Twist the Top onto the Base to complete the assembly.

MORE BUILDING PLANS






Sampson Ayantoye
Icant find the dinner chair free template of how to change the fabrics as stipulated in the Pinterest
Jenn Post author
Hi Sampson,
Is this the tutorial you’re looking for? Let me know if I can help! –Jenn
https://build-basic.com/how-to-re-cover-a-dining-chair/
Anonymous
Only one bit of advice. It would be easier to mark the center of the post before it was cut to an octagonal shape simply by going from corner to corner and marking where the lines intersect.
Jenn Post author
Great advice! I totally agree!
Trudi
I love your work! Truly! This is so pretty. Will definitely add to my build list. Thanks for such a well-done blog.
Jenn Post author
Hi Trudi,
Thank you for your kind words! I’m so glad you find the site helpful! –Jenn
tina
Love this project. Looked challenging but the way you broke it down and explained each step even a beginner will be able to build this. Love all your projects. Please keep them coming
Jenn Post author
Thanks, Tina!! Your comment hits right to the heart of what I’m hoping to accomplish with this blog, so thank you for taking the time to reach out! –Jenn
Anonymous
Love your creativity and often unique approach to your projects! Making one for my home! Thank you so much for sharing your projects with the known universe! It’s because if your insight that I’ve been encouraged to attempt such projects!! For the price…… Can’t be beat!!!