*This post is sponsored by Varathane. All opinions are my own.
Click here to read my full disclosure policy.
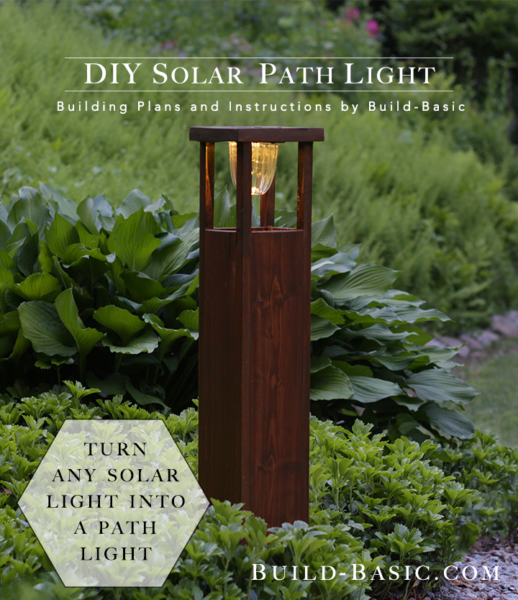
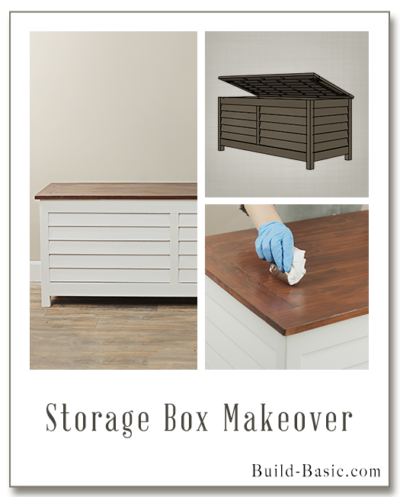
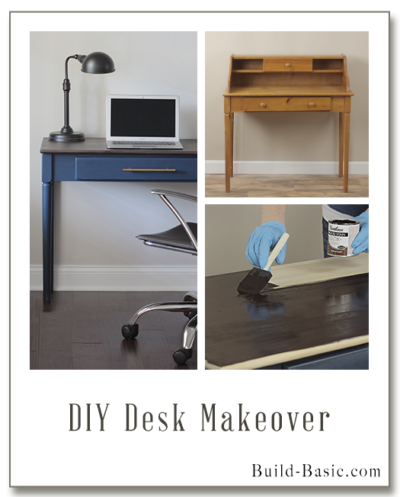
A solar path light is the ultimate way to add ambiance to a walkway or landscape without the hassle of wiring. To elevate the look (and height) of the small, off-the-shelf options, I built a simple box frame.
WATCH THE VIDEO
To finish the look, I teamed up with my friends at Varathane to choose a warm tone called American Walnut from their 3x Premium Wood Stain line, and protected it with Varathane Ultimate Spar Urethane. (Note: The Spar Urethane is an exterior-rated product but a water-based formula for easy cleanup!)
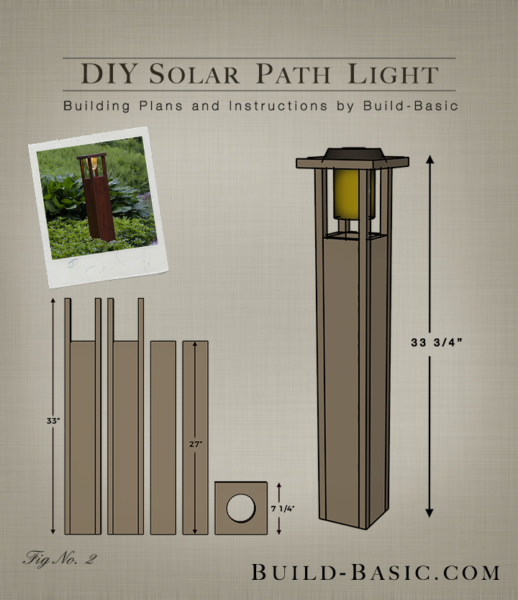
TIP: Click the image above to reveal the free building plans. Click the tabs below to see the tools, materials and cut list.
Cost: $20
Time: 2 Hours
Difficulty: Easy. The cuts are straightforward, and the assembly is easy with just a few basic tools.
Miter Saw
Jigsaw
Pneumatic Nail Gun (or Hammer)
Sanding Sponge
Sponge Brush
Lint-free rags
High-quality synthetic Bristle Brush
1 x 4 Sides – 4 @ 27 inches
¾” x ¾” Edgers – 4 @ 33 inches
1 x 8 Cap – 1 @ 7¼” (Note the dimensional width of a 1 x 8 is 7 ¼” inches, so this cut creates a perfect square that will overhang the base by a little over an inch on each side.)
Steps
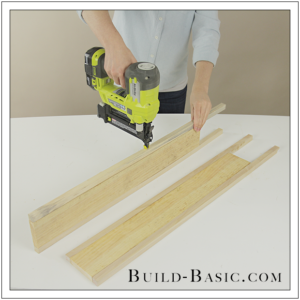
1. Cut and Assemble Two Walls
Using a miter saw and the cut list above, cut the parts to length. Apply a bead of glue to both edges of two 1 x 4 boards. Sandwich the 1 x 4’s between square dowels, positioned flush with the base of the 1 x 4. Using a pneumatic nail gun or hammer, drive 1¼” finish nails through the square dowels and into each 1 x 4.

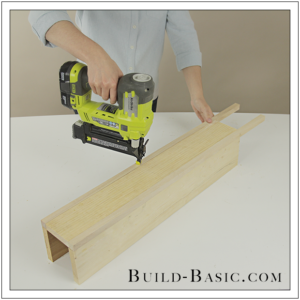
2. Attach the Remaining Two Walls
Stand the remaining two 1 x 4’s on edge on the work surface. Apply wood glue to the edge of each 1 x 4. Cap the boards with a wall assembled is Step One, positioned so that the 1 x 4’s set flush with the edges of the assembled Wall. Repeat to attach the remaining assembled Wall and to finish the Base.
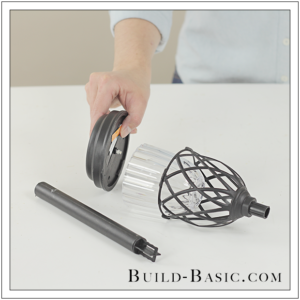
3. Disassemble the Light
Remove the base post from the light and discard. Unscrew the cap and remove the decorative lattice from the light.
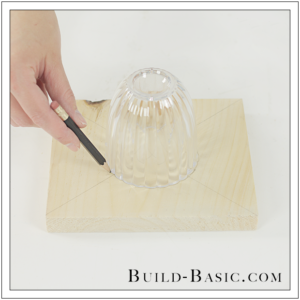
4. Size the Hole for the Light
Using a straightedge, mark lines that run corner-to-corner on the 1 x 8 Cap to create an X, crossing in the center point of the cap. Place the base of the light upside down centered on the Cap. Using a pencil, outline the light. Marking the Cap this way will allow for the light to drop down into the Cap—with the top of the light resting above the Cap. You can also opt to cut the hole to the size of the top of the light’s cap. Marking the hole at this larger size will allow the light to lift up through the hole and set flush with the surface of the Cap (though it should be bumped up a bit to avoid water pooling on top of the light). Note that this installation requires a tapered cut if the edges of the light’s cap are angled, and also requires glue to secure the light in place. Additionally, I caulked around the edges of the light to fill the gap and prevent rail from falling into the center of the light. Which is all to say, although I’m showing the installation of the light’s top sitting on the wood Cap, I ultimately recut the hole so that the light would set flush.
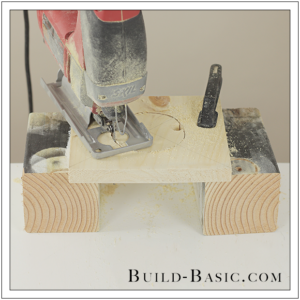
5. Cut the Hole
Using a drill/driver, drill a pilot hole inside the marked circle. Insert the blade of the jigsaw into the pilot hole, and then cut the circle.
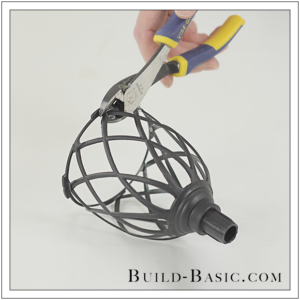
6. Remove the Light’s Lattice (optional)
If you want to remove the decorative lattice like I did, clip the plastic just below the top ring. Save the top ring, since this is the part that secures the light’s Cap to its clear Base.
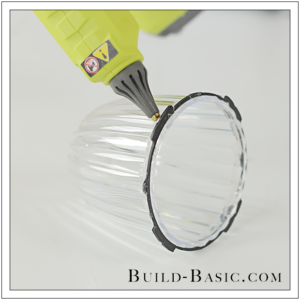
7. Reattach the Ring to the Base
To keep the Cap removable, reattach the ring to the Base using a hot glue gun and glue sticks. If you left the lattice attached, you can skip this step.
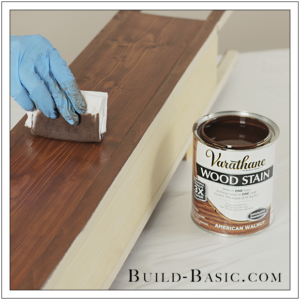
8. Stain the Base and Cap
Using a lint-free cloth, high-quality synthetic bristle brush, or a sponge brush, apply a liberal coating of wood stain to sides and cap of the light—working in the direction of the grain. I used Varathane 3x Wood Stain in American Walnut. Additionally, coat as much the inside of the assembly as possible.
9. Wipe Away the Excess Stain
Using a lint-free cloth, wipe the surface in the direction of the grain to remove the excess stain. Allow the stain to fully dry.
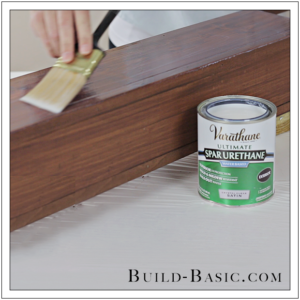
10. Apply the Topcoat
Using a high-quality synthetic bristle brush, apply a topcoat in the direction of the grain. I used Varathane Spar Urethane in a Satin Finish. When possible, work in long straight passes to ensure a uniform finish, and tip off edges with the brush held at a 45-degree angle to prevent drips.
MORE BUILDING PLANS