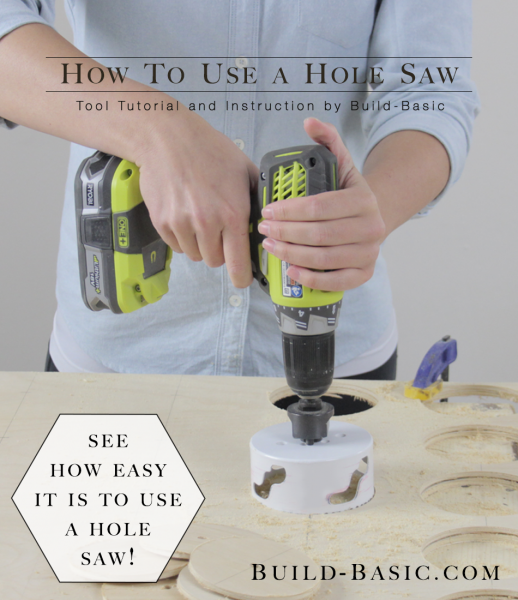
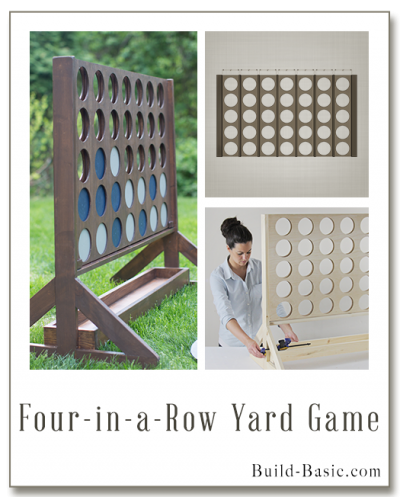
I recently participated in a Home Depot Lumber DIY Challenge where I built a Connect-4-style yard game. The project called for some quite a few cuts with the hole saw. By the end of the project, I’d learned some tricks to get the cuts just right. Check out the step-by-step tutorial below!
See all Build Basic Tool Tutorals
Cost: None
Time: 15 Minutes
Difficulty: Moderate. This tool requires some practice, but one you get the hang of it, it’s very simple to use.
Note: This list may contain affiliate links
Hole Saw Arbor – This is the drill bit that the set into the drill and the hole saw attaches to. Some hole saws come with this attached. If not, pick one up that fits your drill/driver (½-inch or 3/8-inch).
Plywood or board that’s thinner than the depth of the hole saw, so that the teeth can run all the way through the material.
None
Steps
1. Drill the Pilot Hole
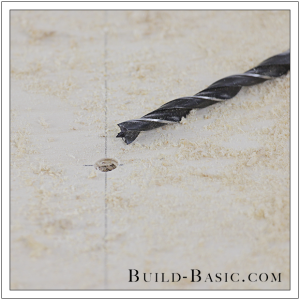
Mark the center of the circle on the board. Because hole saws have a tendency to wander until the drill bit bites into the wood, begin by drilling a pilot hole. For pinpoint accuracy, use a brad point drill bit, which has a sharp point that can be pressed into the wood over the mark.
 2. Place the Hole Saw
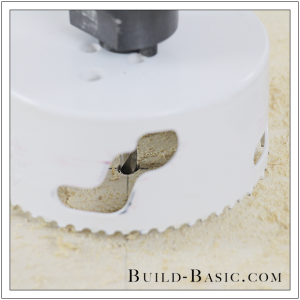
Place the hole saw’s drill bit into the pilot hole.
3. Make the Cut
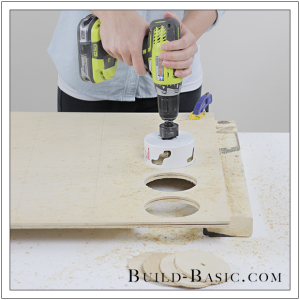
Holding the drill/driver with both hands, start the drill and bring the bit up to speed. The trick is to gently plunge the bit until the hole saw scuffs the surface of the wood for a second. If you plunge too fast, the hole saw bites in too hard and binds up. Once the saw begins to cut, slowly plunge through the cut without pushing. Once the saw breaks through the opposite side, stop the drill/driver, allow the bit to stop turning, and then lift the saw out of the hole.
4. Remove the Disc
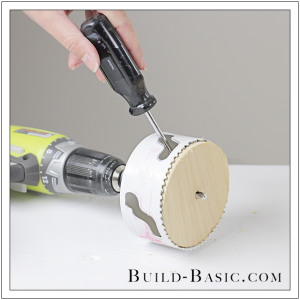
Unplug the battery from the drill/driver. Insert the end of a screwdriver into a hole on the side of the saw, and then push out the disc.





Tools Specialist
Never thought that using a hole saw is that easy and simple with the help of the steps you posted here. I’m glad I’ve learned those few tricks from you for a basic laid out. Thank you so much!