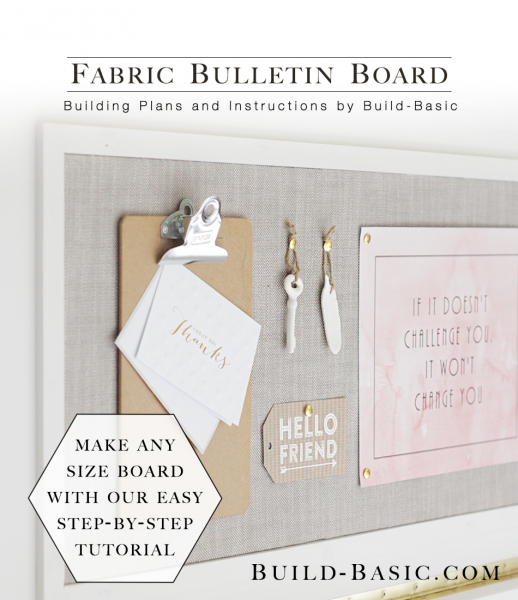
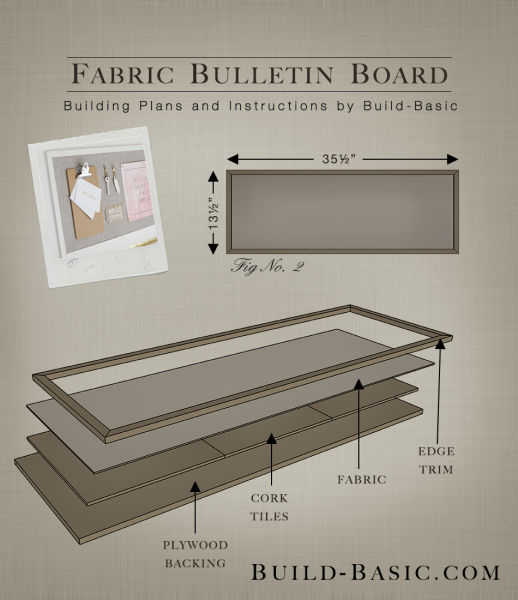
Create a stylish spot to display reminders and photos by layering fabric over inexpensive cork tiles. Back it with plywood, or install it inside a cabinet or storage chest (like we did). Lastly, finish the edge with a simple piece of trim to complete the look and hide the fabric’s rough edges. No matter the use, the simple construction and fabric overlay creates an instant upgrade from crafty to chic.
Cost: $20
Time: 1 hour
Difficulty: Easy. Just glue down the cork tiles and then finish with a layer of fabric and edge trim.
(1) ½” x 2′ x 4′ Plywood Project Panel to make the backing (Note: the photos in this tutorial show the installation of the bulletin board on the inside of the flip-open lid to our DIY Filing Chest (Check back Tuesday for the reveal!), but ½-inch plywood can be used to make this a stand-alone wall item.)
(1) Pack of four 12-by-12-inch cork tiles
(1) Fabric. Get 1-2 yards depending on the configuration of your cork tiles.
(1) ½” x ¾” x 8′ Trim Board
5/8-inch Finish Nails to attach the Trim
¼-inch Staples
Wood Glue
Spray Adhesive
½” x 2′ x 4′ Plywood – 1 @ Length and Width of cork tile configuration plus a ¾-inch border on each side.
Fabric – 1 @ Length and Width of cork tile configuration plus a ½-inch overhang on each side
½” x ¾” Trim – 4 @ Custom cut to size
Steps
1. Size the Plywood
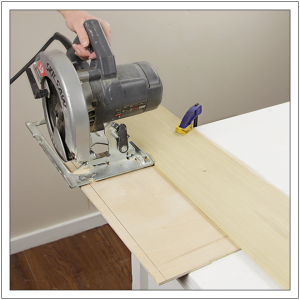
Layout the cork tiles on a work surface. Determine their configuration, (3-tile-high rectangle, large square, etc). Add the width of the ¾-inch trim to the length and width of the configuration. Mark and cut the plywood backing to size. (See our
DIY Cutting Fence tutorial for detailed instruction.) For reference, our layout is 3-tiles-wide, and so the plywood would be 13½-inches-tall-by-38½-inches-wide. Because we’re installing the cork inside the lid of a flip-open storage chest, we’ll simply be centering the tiles on the ¾-inch-thick plywood lid.
 2. Size the Cork Tiles
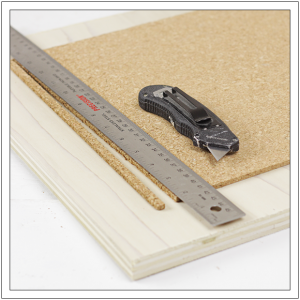
If you’re installing the cork tiles inside a cabinet door or a flip-open lid like we are, you may need to trim them to a smaller size. If so, just mark the cut line with a marker or felt-tip pen, and then cut the line using a straightedge and an X-acto knife or box cutter. Be sure to place a cutting mat or scrap board under the cork before cutting, as shown.

3. Size the Fabric
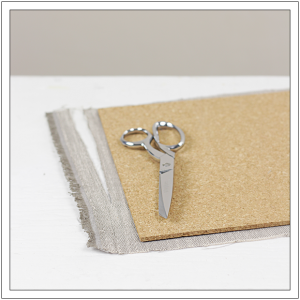
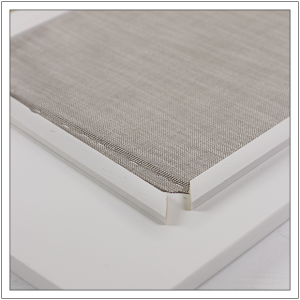
Lay the fabric on the work surface, and then place the cork tiles in their configuration onto the fabric. Using scissors, cut the fabric about ½-inch from the edges of the cork. If the cork tiles are thicker than ¼ inch, leave enough fabric to drape over their edges, and comfortably onto the plywood for stapling.

4. Attach the Cork to the Plywood
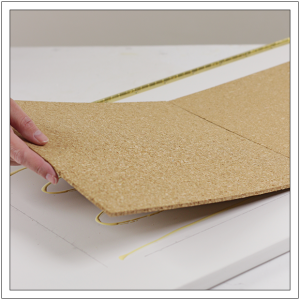
Apply wood glue to the back of the cork tiles and to the plywood surface. Press the tiles into place, ensuring their outer edges align, and there are no gaps between the tiles.

5. Apply the Fabric
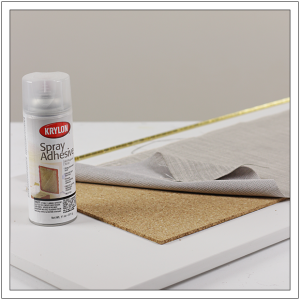
Spray the cork tiles with a light coating of spray adhesive to keep the fabric from shifting or pulling away from the cork. Lay the fabric in place, and then smooth out any wrinkles. Make adjustments until the overhang is equal on all sides, and the fabric is smooth.

6. Secure the Fabric
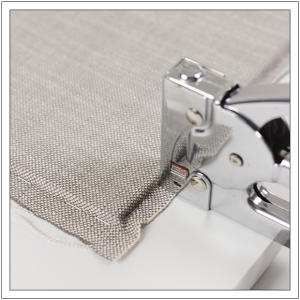
Press the nose of a hand stapler against the edge of a cork tile to tuck the fabric into the crease. Secure the fabric by shooting a ¼-inch staple through the fabric and into the plywood. Continue securing the fabric in place about every 2 inches along each edge.

7. Add the Trim
Using a miter saw or handsaw, cut the pieces of trim to size with opposing 45-degree miters at each end. (Note: I painted the trim before installation to avoid getting paint along the edges of the fabric.) Apply wood glue to the underside of the molding and the miter joints, and then press each piece into place against the edges of the fabric and cork. Clamp the molding in place, and then secure it using a hammer and finish nails or a pneumatic nail gun and 5/8-inch finish nails. Fill and sand the nail holes and miter joints, and then carefully touch-up the trim with paint.
Tip: Use our Safety Cutting Jig tutorial to get perfect miter cuts with a handsaw.

MORE BUILDING PLANS
 2. Size the Cork Tiles






lelobo
Hi Jenn, another fun,useful project that has so much creative potential. Great stuff.
Tks,till next, Ray R.