How to Re-Cover Dining Chairs
(Without a Sewing Machine)
I’ve been swooning over this image since I first saw it in a Pottery Barn catalog. The warm wood tones, the chairs’ soft linen, the rolled back detail….it’s all there, bundled up and tied with a pretty bow as my absolutely fantasy dining room. But at $400 a chair, this photo made its way to the “never gonna happen” pile. Until…

Photo Credit: Pottery Barn
About a year ago (oh how time flies) these hand-me-down chairs came to our home. My husband shook his head in disbelief thinking I wanted to put these in our garage, let alone, maybe one day, in our home. But I hunted down the Pottery Barn photo above, and chased him around with it as he reluctantly made space behind the lawn mower.
(On a side note, hunny, if your reading this, I love you for hopelessly believing in my crazy ideas, even when you think I’ve totally lost my mind.)
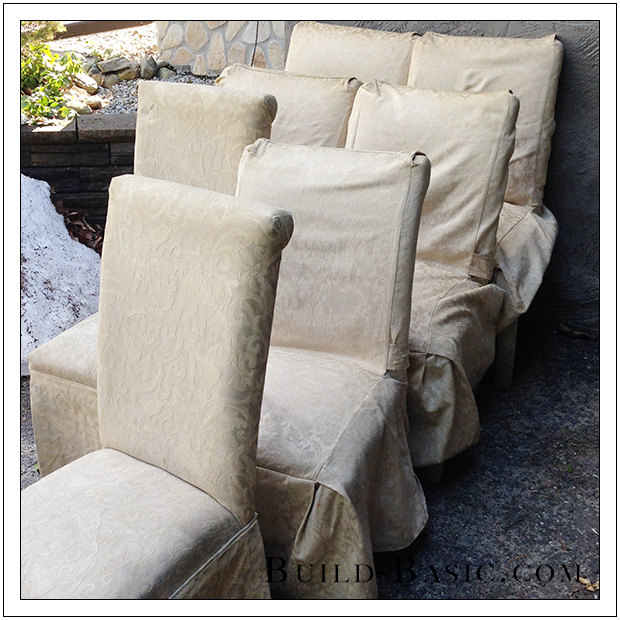
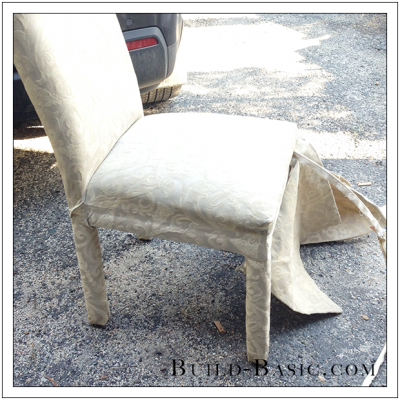
Fast-forward to the spring when we finally undressed these pretty ladies for a full re-cover. I guess it should have alarmed me at that point that I’m horrible at sewing, but the optimist in me pushed forward.
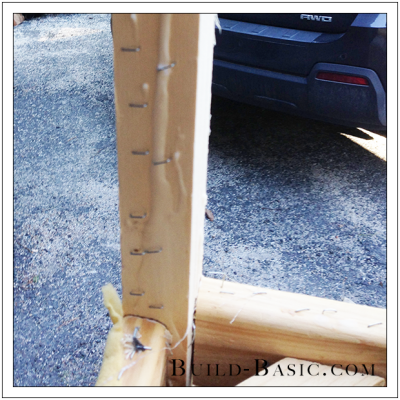
Slipcovers, fabric-wrapped legs, blistered hands, and 4,000 staples later, they were ready for sanding and stain. Eeeek
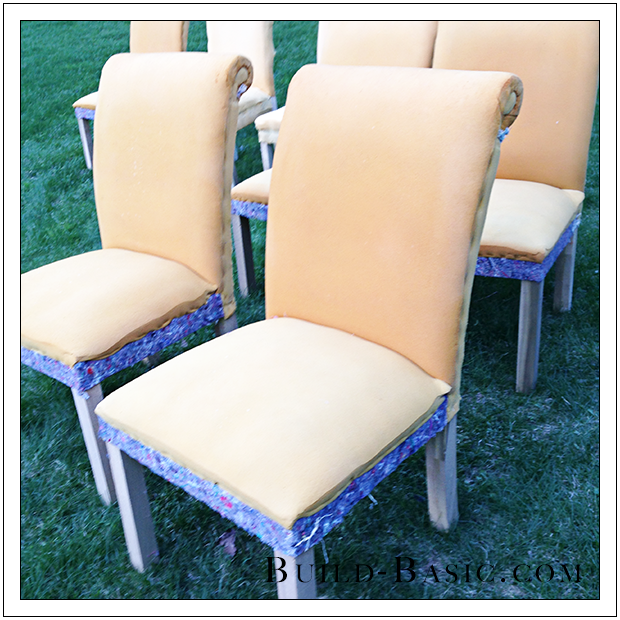
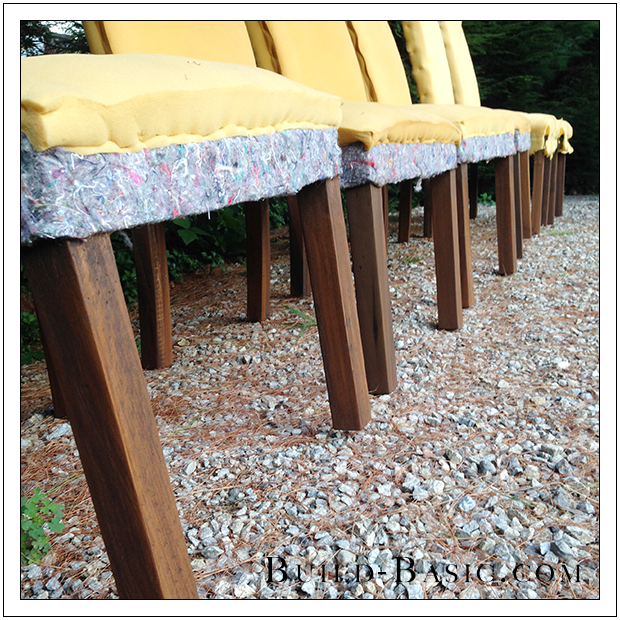
At first, I was worried the cheap wood legs and staple holes would look ratty, but sanding did WONDERS. Some of the legs were even two pieces of wood sandwiched together, but once the stain and polyurethane went on, they started to transform into the rustic feel I’d imagined.
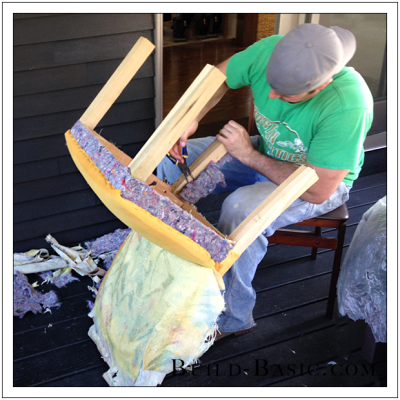
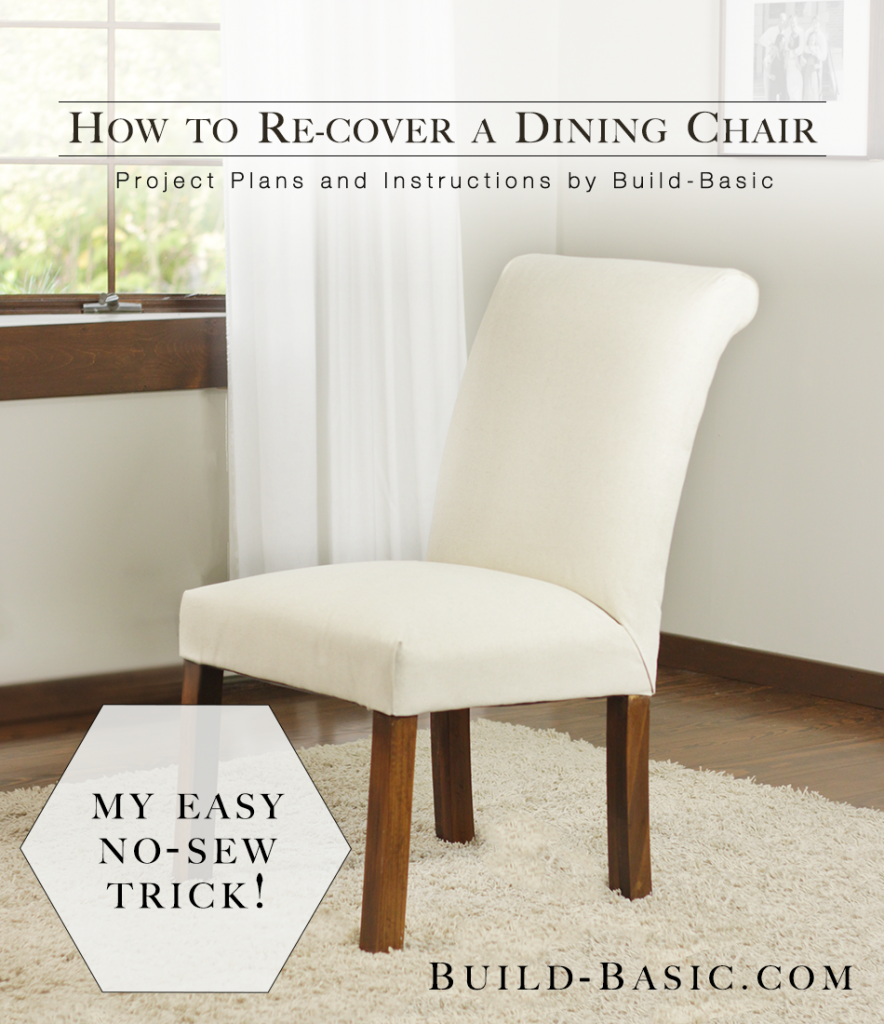
I researched for weeks how to re-cover them without sewing or using patterns, and while I found some really great tutorials for each part of the process, I had trouble finding a tutorial that had as many pictures as I needed, or a video that really showed the in-between steps that a novice like me required. And so, as I fumbled my way through (learning A LOT as I went) I came up with this 5 part series that seriously covers every single step and more.
But don’t let the number of steps scare you–the instruction is actually very simple….it’s just that, as a visual person, I felt the need to include a photo of every single bit of the process. I still have one more chair to cover, and I’m thinking I might shoot a video as well, but for now, I give you the final result and my new series
How to Re-Cover Dining Chairs (Without a Sewing Machine)




Demetria
I love that! Can I ask what type of fabric did you use? I just ask since I do sew & yes you can do this without sewing but I wanted to point out these helpful tips.
Anytime you use fabric for seating or pillows it is put under stress, specifically at certain points. The corners & seams where the staples are. The majority of home decor fabrics are more sturdy & don’t fray so they are made for this.
Fabric that frays can be treated with a generic no- fray gel along the edge. Some are better than others. Just make sure it’s dry before continuing. There are many brands of it available. Sewers can hem or stitch a zig zag or straight stitch the seams after cutting out the fabric if they want to.
Hope this helps lengthen the life of everyone’s chairs!!
Amy
You weren’t kidding…beautiful transformation.
Jenn Post author
Thanks Amy!!
Kelly Hasegawa
This was a fantastic tutorial. I also like lots of pictures to help people visualize the task. I have two barstools I can’t wait to re-cover!
Jenn Post author
Thank you, Kelly!! Good luck with your barstools!
Wendy L. Desplanque
Not Hess, lol, these are beautiful. I love watching you make stuff. You are very inspiring.
Wendy L. Desplanque
Hess are beautiful awesome job. I love watching you make stuff. You are very inspiring.