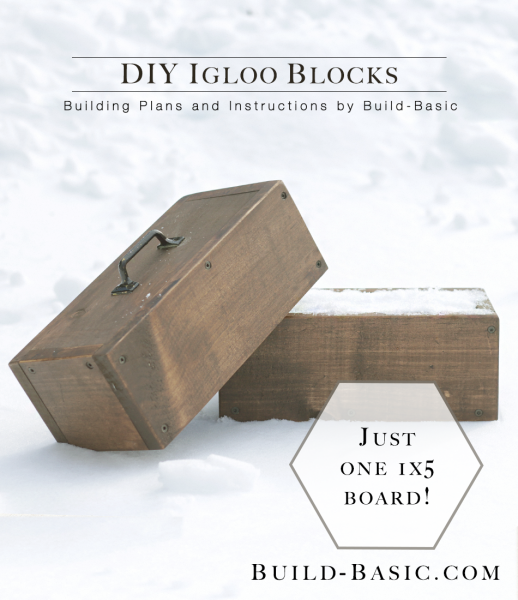
Create a fun day outdoors with the little ones building an igloo! The simple wood molds are made from a single 1×5 and a few screws! Click the tabs below to see the simple cut list and step-by-step instructions!
Cost: $5
Time: 30 minutes
Difficulty: Easy. Just cut the pieces from a single 1x5x8, and then screw them together using a drill/driver.
Tape Measure
Drill/driver
Miter Saw
(1) 1x5x8 Board to make two molds
1¼ inch Wood screws
Galvanized Door Pull (with ¾ inch screws)
Wood Glue
Stain or Paint (optional)
Polyurethane
*Cut list is to make one mold. Double to make two molds from one 1x5x8 board.
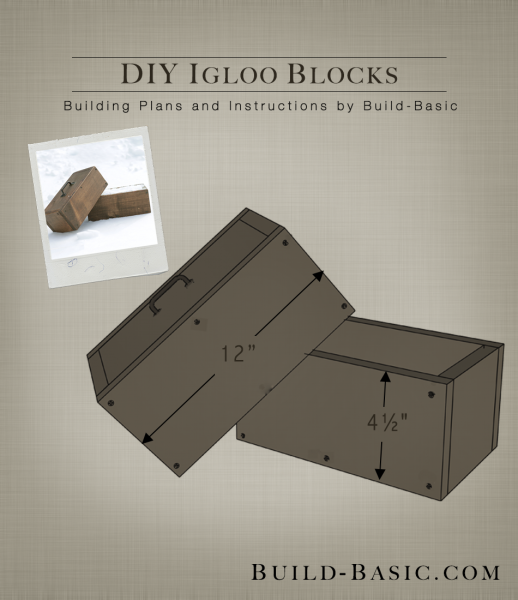
1×5 Sides – 2 @ 12 inches
1×5 Ends – 2 @ 4½ inches
1×5 Base – 1 @ 10½ inches
Steps
1. Size and Prep the Parts
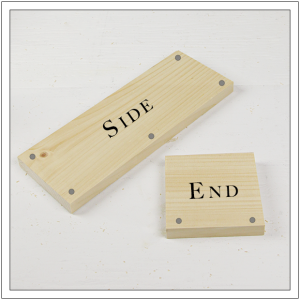
Using the cut list above, size the parts using a miter saw or a handsaw. Using a drill/driver, drill pilot holes along the bottom edge and ends of the Side pieces, as shown. Drill two pilot holes near the bottom edge of each End piece.
 2. Apply Wood Glue
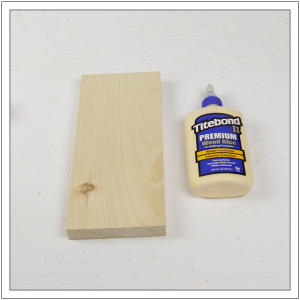
Apply wood glue to all edges of the Base piece. Additionally, apply wood glue to the side edges of each short End piece (as they will set between the Side pieces).
3. Assemble the Parts
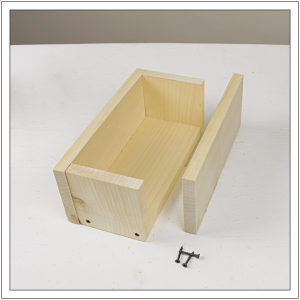
Stand the Ends and Sides around the Base, so that the Ends rest between the Sides. Drive a 1¼ inch woodscrews through the center pilot hole in each Sides, and into the edge of the Base. Drive two screws through each End piece, and into the edges of the Base.
4. Finish Assembling the Parts
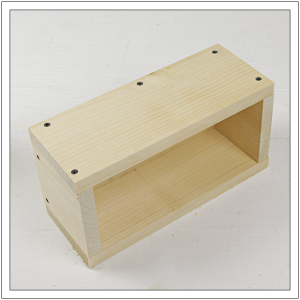
Drive additional screws through the remaining pilot holes in the Sides and into the edges of the End pieces.
5. Finish the Mold
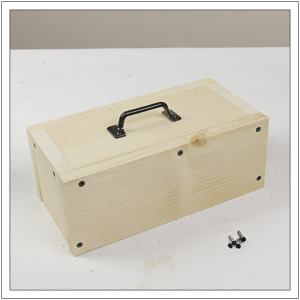
To protect the bare wood from the elements, coat the entire assembly in polyurethane, and allow it to dry completely. (Tip: On warm days, to keep snow from sticking, we sprayed a bit of non-stick cooking spray inside our mold.) Lastly, to help hold onto the mold while the snow “block” drops out, install a handle on the outside surface of the Base piece.
MORE BUILDING PLANS






Arthur Bainton
make winter fun