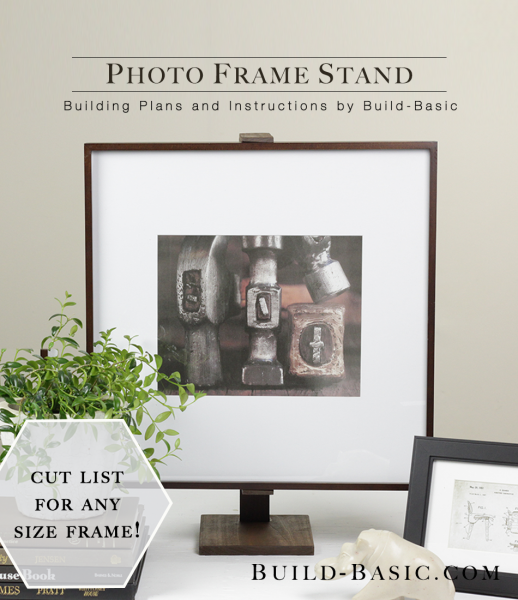
Elevate the look of a basic photo frame by mounting it inside this classy stand. No more “leaning” on a cheap cardboard flap. Check out the cut list below to see how easily this design sizes to fit ANY frame.
Cost: $8
Time: 1 hour
Difficulty: Easy. Simple cuts and basic assembly make this a great project for beginners.
(1) 1″ x 2″ board to make the vertical Leg and horizontal Spacers
(1) ½” x 2″ board to make the horizontal Frame Holders
(1) ½” x 6″ board to make the Base
(4) 1 inch L-brackets
1 inch Finish Nails
1 ¼ inch Finish Nails
Wood Glue
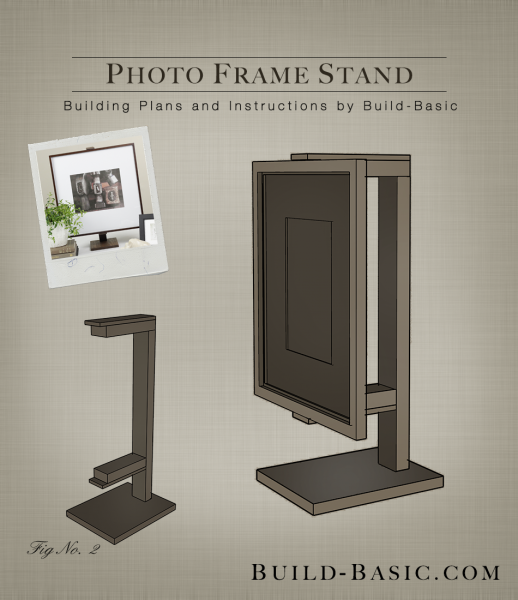
Top Arm
- 1 x 2 Spacer (Top) – 1 @ 4 inches
- ½ x 2 Frame Holder (Top) -1 @ Thickness of Photo Frame plus 4 inches
Bottom Arm
- 1 x 2 Spacer (Bottom) – 1 @ 3 ¼ inches
- ½ x 2 Frame Holder (Bottom) -1 @ Thickness of Photo Frame plus 3¼ inches
1 x 2 Leg – 1 @ Height of Photo Frame plus 3 inches
½ x 6 Base – 1 @ Length of Bottom Frame Holder plus 3 inches
Steps
1. Size and Cut the Pieces
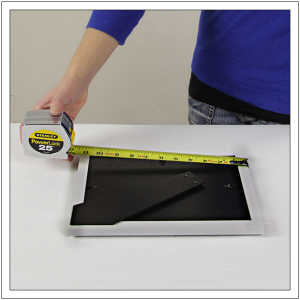
Measure the thickness (i.e. depth) and height of the photo frame. Using the cut list above, calculate the size of each piece. Using a miter saw or handsaw, cut the pieces to size. Remove any burrs with sand paper before assembly.
 2. Prep the Arm Pieces
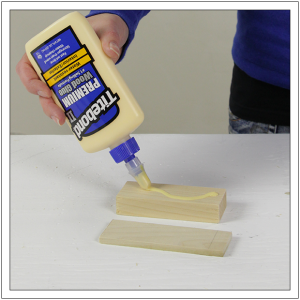
Group the pieces for the Top and Bottom Arms. Apply wood glue to the surface of each 1 x 2 Spacer.

3. Assemble the Arms
Place the ½ x 2 pieces on top of their corresponding 1 x 2’s, flush with one end. Each assembled Arm should now have an equal overhang on the opposite end that is equal to the depth of the Photo Frame. Using a hammer drive two 1-inch finish nails through each of the ½ x 2’s and into the corresponding 1 x 2 to join the pieces, and create the two Arms.

4. Attach the Leg and Top Arm
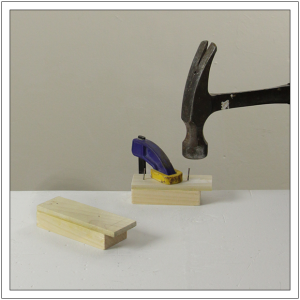
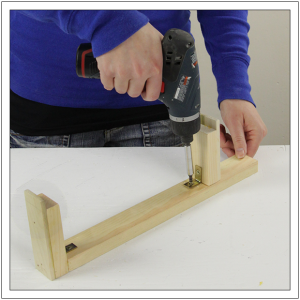
Apply wood glue to one end of the 1 x 2 Leg. Place the Top Arm onto the end of the Leg, flush with its back edge. Clamp the pieces to the work surface and drive two 1 ¼ inch finish nails through the surface of the Top Arm and into the end of the Leg. Next, install an L-bracket on the inside of the joint to strengthen the assembly.

5. Position the Bottom Arm
Set the assembled Top Arm and Leg on edge on the work surface. Position the Photo Frame against the overhang on the Top Arm. Slide the Bottom Arm into place below the frame. Mark the location of the Bottom Arm on the Leg.

6. Attach the Bottom Arm
Apply wood glue to the back end of the Bottom Arm, align it with the mark on the Leg made in step 5. Clamp the pieces to the work surface and drive two 1 ¼ inch nails through the backside of the Leg and into the end of the Bottom Arm. Finish by installing an L-bracket to the surface of the Bottom Arm and the face of the Leg to strengthen the joint.

7. Prep the Base
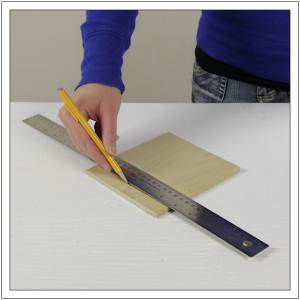
Mark the center of the 5½-inch-wide Base. Next, create a line 1 inch from the back edge of the Base.

8. Install the Base
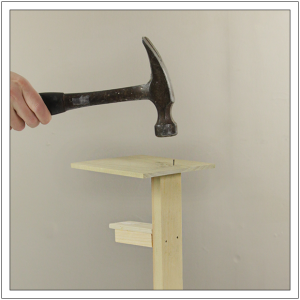
Apply wood glue to the bottom of the Leg, and then place it upright on the Base centered on it’s width and in front of the 1-inch line. Clamp the pieces in place (not shown). Using a hammer, drive 1 ¼ inch nails through the underside of Base and into the Leg.

9. Support the Leg
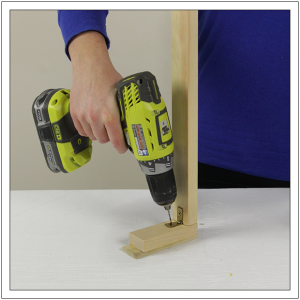
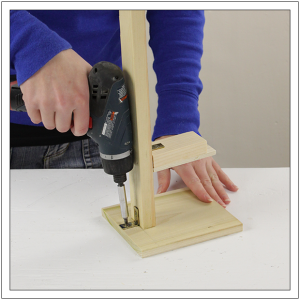
Using a drill/driver, install an L-bracket on the backside of the Leg to strengthen its connection to the Base.

10. Insert the Frame
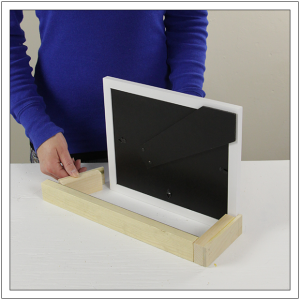
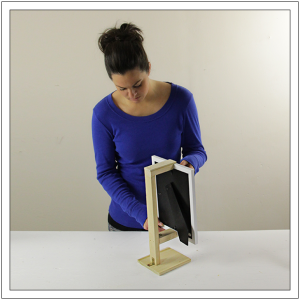
Slide the frame between the Arms as shown. Secure the frame by applying a dab of wood glue (permanent), or hot glue (removable) in the notches before sliding the frame back and into place.

MORE BUILDING PLANS
 2. Prep the Arm Pieces