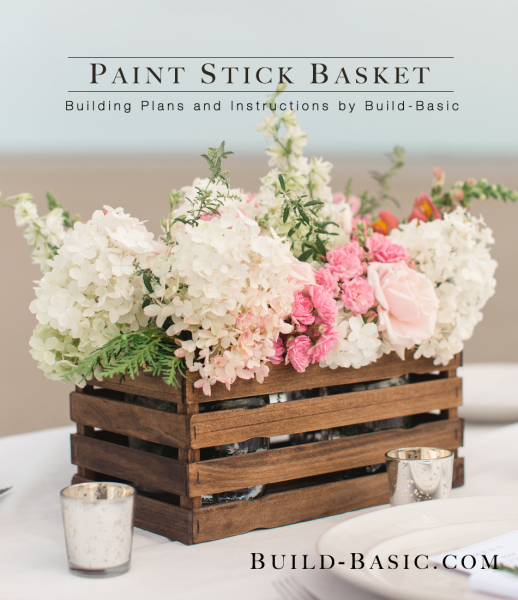
This beautiful (and inexpensive!) basket is made with a handful of paint stir sticks found at any homecenter, a square dowel, and some staples. Use it as a decorative centerpiece, or as stylish storage on a shelf. No matter the use, you’ll be amazed by how quick and easy it is to assemble!
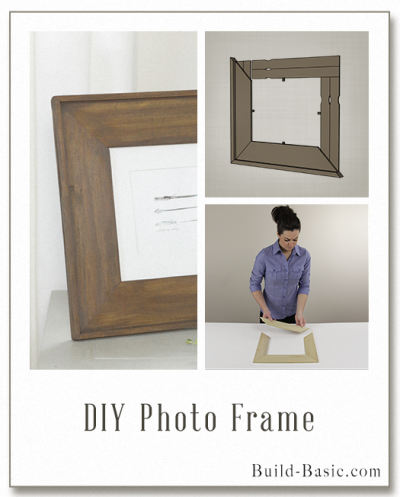
Looking for other paint stick projects? Check out how you can turn any molding into a DIY Picture Frame with just a few paint sticks and some glue!
Opener Photo Credit: Ashley Largesse Photography
Cost: $3
Time: 15 minutes
Difficulty: Easy. Just cut the paint sticks and dowel to size, and then assemble the parts with wood glue and staples.
(1) ½ inch Square Dowel – Get at least 4 feet
(20) Paint Stir Sticks
3/8 inch Staples
Wood Glue
Paint stick short sides – 8 @ 7 inches
Paint stick long sides – 8 @ 12 inches
Paint stick floor slats – 4 @ 11¾ inches
½ inch Square Dowels – 6 @ 5¼ inches
Steps
1. Prep the Parts
Cut the paint sticks and square dowel to size using the cut list above. (Try our
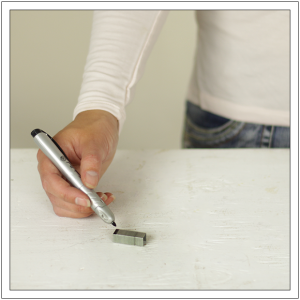
Safety Cutting Jig for easy, straight cuts.) Apply paint or stain to each paint stick. Using a paint pen or marker, color the staples.
Tip: Since I chose a dark stain, I started with a coat of Minwax pre-stain to avoid blotches. I finished with Minwax wood stain in Walnut and a coat of polyurethane to amplify the stain color and protect the finish.
 2. Attach the Paint Sticks to the Dowels
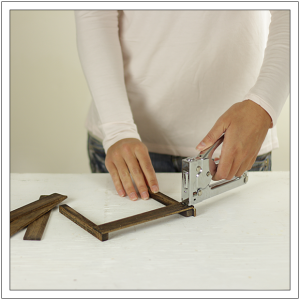
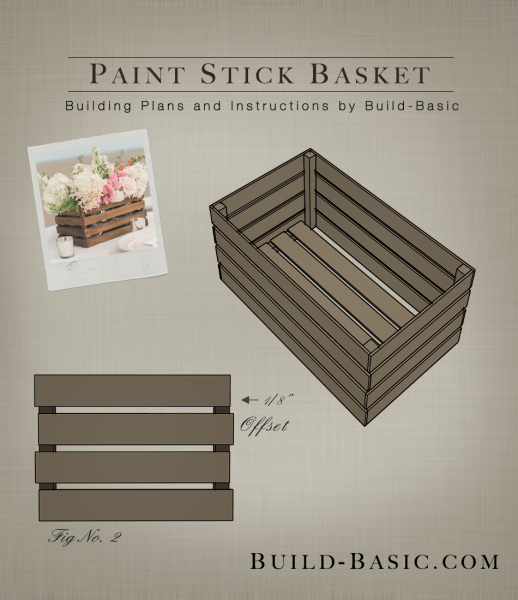
To create lapped corners, position the paint sticks so that one end overhangs the square dowels by 1/8 inch. Use the thickness of a scrap paint stick as a spacer. Alternate the overhanging edges as shown in the diagram below. Apply a dot of wood glue beneath the paint stick, and then secure it using a staple gun and 3/8 inch staples.
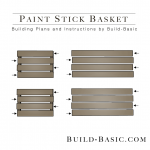

3. Finish Assembling the Short Walls
Continue gluing and stapling each paint stick in place, allowing about ¼ inch spacing between the slats. The top and bottom paint sticks should be flush with the ends of the dowels

4. Add the Floor Cleats
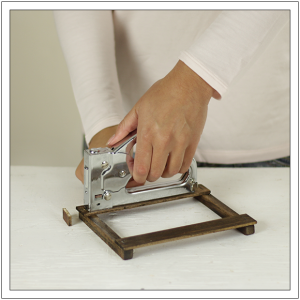
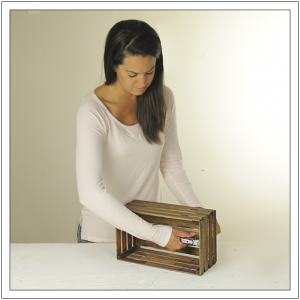
To create a cleat for the floor slats to set on, position a square dowel along the inside of each assembled wall, flush with its bottom edge. Apply glue between the cleat and the slat, and then shoot a staple through the outside face of the paint stick and into the cleat to hold it in place, as shown.

5. Attach the Long Slats
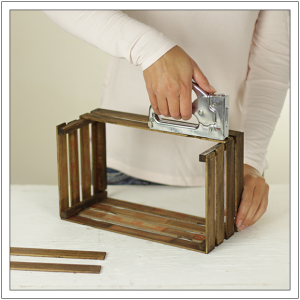
Lay the long slats across the dowels, alternating their overhanging ends as shown in the diagram in step two. Apply glue, and then attach the paint sticks using a staple gun and 3/8 inch staples.

6. Insert the Floor Slats
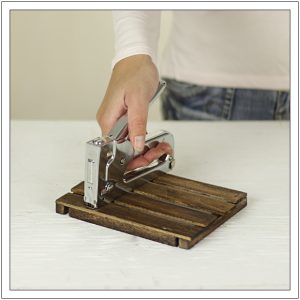
To create the base of the basket, lay the 11¾ inch paint sticks onto the cleats. Space them evenly, apply a dot of glue beneath each end, and then staple them in place.

MORE BUILDING PLANS
 2. Attach the Paint Sticks to the Dowels






Pingback: DIY Spring Decor Ideas | Mariner Finance
Pingback: 45 Awesome DIY Wedding Centerpiece Ideas and Tutorials - Crafts Booming
Brittney
Every time I put one side on the side I just stapled falls off. What am I doing wrong?
Jenn Post author
Hi Brittney! Ahhh that sounds so frustrating! Are you using 3/8-inch staples and wood glue? My best advice is to let the glue dry on the assembled sides before tying to connect them. The glue is the strongest part of the construction…the staples just really hold things in place while the glue dries. Hope this helps!!!–Jenn
Pingback: Best 35 Spring Decorating Ideas to Inspire Your Home – How Design
Pingback: 15 Fun And Easy DIY Paint Stick Ideas To Spice Up Your Home Decor | Curtain Arinalove