


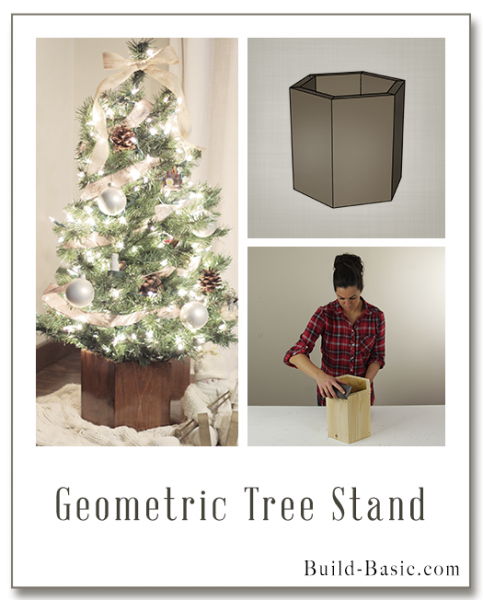

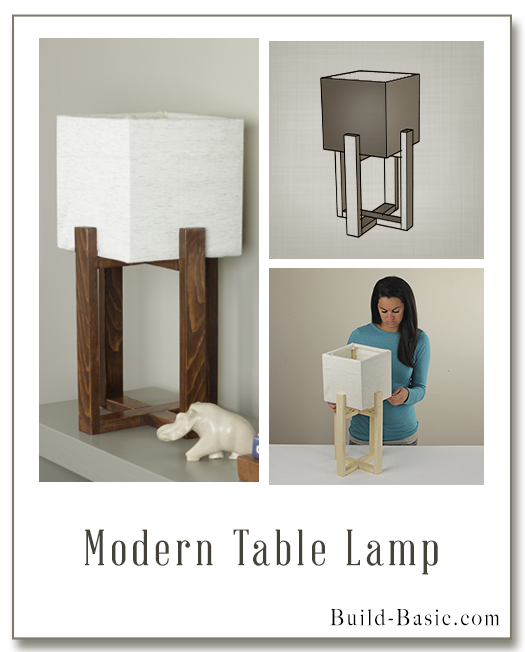
This geometric tree stand is made from just one 1×6 board and can be adjusted to any height by changing only one number on the cut list below. And depending on how the piece is finished, this little gem can easily double as a planter in the off-season.
Click the image above to view the building plans, and the tabs below to view the tool, materials, and cut list.
Cost: $6
Time: 1 hour
Difficulty: Easy. Ripping the edges of the boards takes some prep work, but, once cut, the parts assemble with ease.
Tape Measure
Miter Saw
Circular Saw
Pneumatic Nail Gun
Hammer
Nail Punch Set
Hand Clamps
(1) 1 x 6 x 6
1 ¼ inch finish nails
Wood Glue
Wood Filler
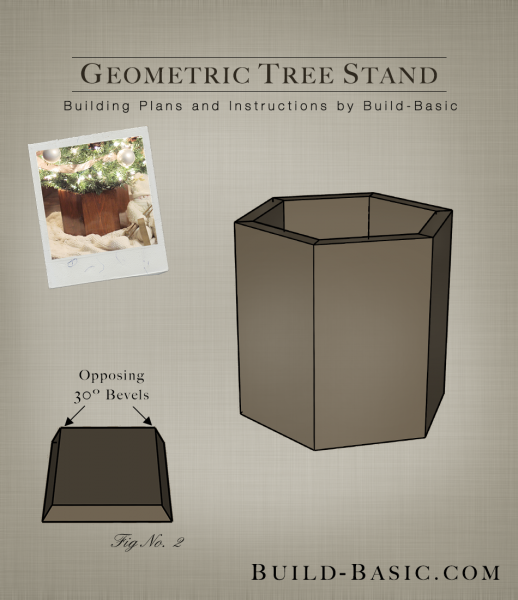
Bevel both edges of a 1 x 6 at opposing 30-degree angles
1 x 6 sides – 6 @ 10 inches
Steps
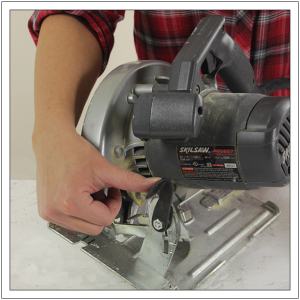
1. Prep the Saw
Unplug the circular saw and set it on the work surface. Loosen the lever or knob that holds the “tilt” of the base plate. Adjust the base plate to 30-degrees, and then tighten.
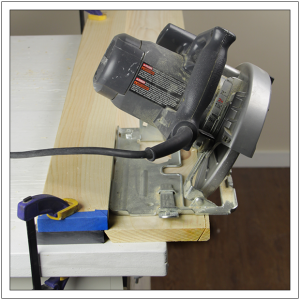
 2. Bevel the Board’s Edges
Set up the 1×6 for the cut by allowing one edge to overhang the worktable. Place a scrap “filler” board (gray end) alongside the other edge. To make a straight cut, create a guide for the circular saw to ride along by using a second “fence” board (blue end), stacked on top of the filler board. To position the fence board set the saw on the 1×6 so that the blade is flush with the outer edge of the board. Mark the opposite edge of the base plate on the 1×6. Align the fence with this mark, and then clamp it into place. Repeat near the other end of the 1×6. Now, the circular saw can ride along the fence to create a straight bevel cut. Repeat this process on the second edge of the 1×6 so that both edges are beveled at opposing 30-degree angles as shown.
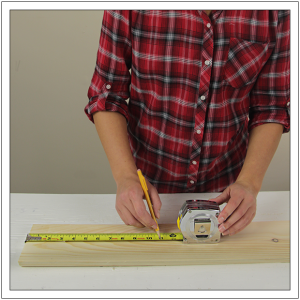
3. Size the Pieces
Using the tape measure and pencil, make a mark 10 inches from one end of the 1×6. Cut the piece to size, and the repeat to cut the remaining 5 pieces.
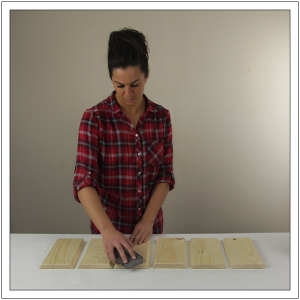
4. Prep the Parts
Sand the faces and ends of each piece until smooth. If necessary, lightly sand the beveled edges to remove burrs.
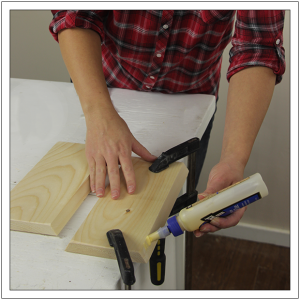
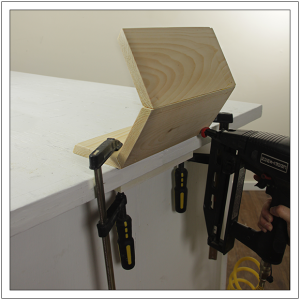
5. Assemble the First Pieces
Clamp a side piece along the edge of the table so that the board is slightly overhanging the edge. Apply glue to the beveled edge of the board and the edge of a second board. Align the ends of the boards, and then tip the second board up until the joint closes.
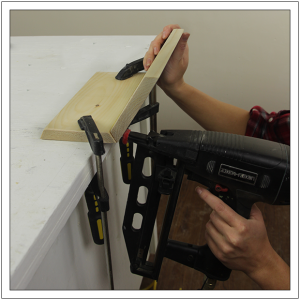
6. Secure the Pieces
Holding a pneumatic nail gun level, not angled to the face of the second board, secure the joint with three nails shot through the second board and into the edge of the first board. To further close and secure the joint, drive additional nails through the opposite side of the joint. The best way to do this properly is to unclamp and reposition the assembled pieces. Also, because this is a bit of an awkward angle for the nail gun, the nails may need to be driven further into the surface using a hammer and a nail punch.
7. Attach Additional Sides
Continue lining the joints with glue and securing the pieces by nailing through both sides of each joint. Wipe away excess glue.
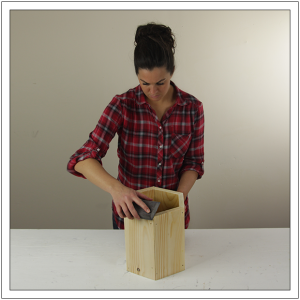
8. Finish the Sides
Once all the sides are assembled, fill the nail holes with wood filler, let dry, and then sand the assembly smooth. Finish with a coat of paint or stain and a protective topcoat like polyurethane.
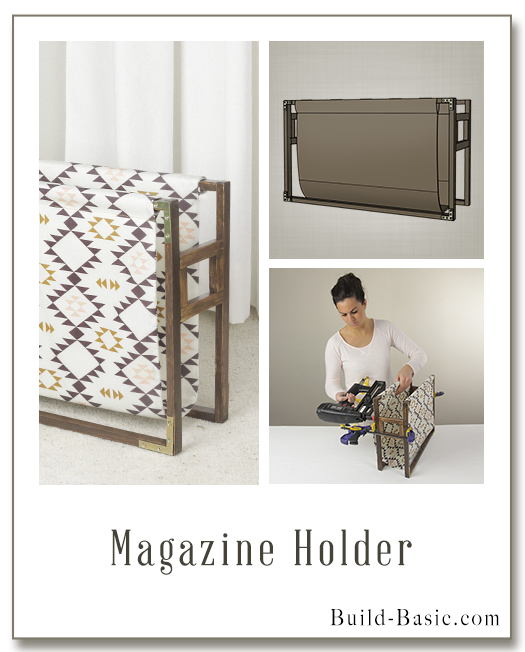
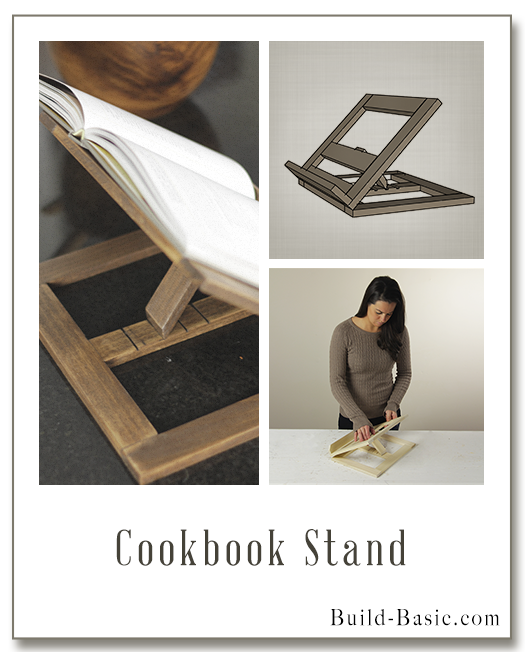
MORE BUILDING PLANS


Pingback: Geometric Christmas Tree Stand – Free Woodworking Plan.com
Thom
What a incredible idea and the way you have done this it makes it simple. Your directions are so good.