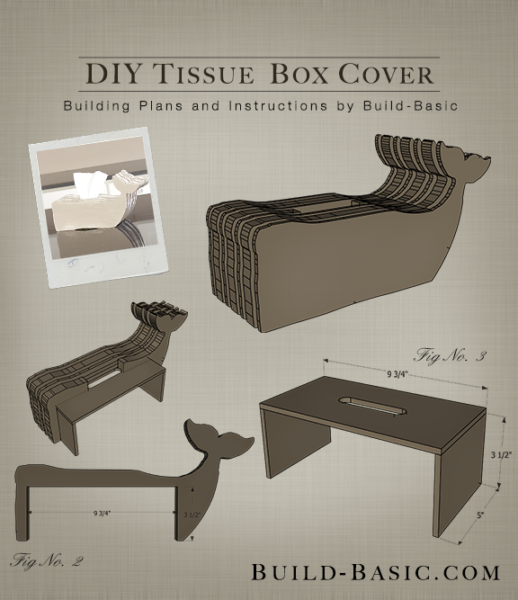
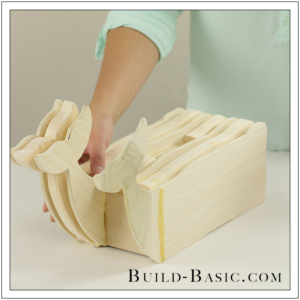
Hide the cardboard tissue box with this clever wood cover shaped like a whale—perfect for a coastal interior or kids room. Just print out my FREE template and trace it onto a board to make the shapes!
TIP: Click the image above to reveal the free building plans. Click the tabs below to see the tools, materials and cut list.
Cost: $18
Time: 3 hours
Difficulty: Moderate. Cutting the pieces with a jigsaw requires some accuracy, but assembling the parts with glue is easy.
Time: 3 hours
Difficulty: Moderate. Cutting the pieces with a jigsaw requires some accuracy, but assembling the parts with glue is easy.
Note: This list may contain affiliate links
Drill/Driver
Drill/Driver
Note: This list may contain affiliate links
(2) ¼ x 6 x 6′ Hobby Board (or ¼-inch plywood)
(1) 1 x 6 x 6′ Board
(4) 3/8″ x 3/8″ x 36″ Square Dowels
Wood Glue
*Download PAGE ONE and PAGE TWO of my free template to create the Whale shapes
¼-inch-thick Box Top – 1 @ 9¾”W x 5″D
¼-inch-thick Box Sides – 2 @ 5″D x 3¼”H
3/8″ x 3/8″ Vertical Spacer – 12 @ 3¼ inches
3/8″ x 3/8″ Horizontal Spacers – 6 @ 10¾ inches
¼-inch-thick Full Whale – 2 @ Use Template Above
¼-inch-thick Divider Whale – 2 @ Use Template Above
¾-inch-thick Divider Whale – 3 @ Use Template Above
Steps
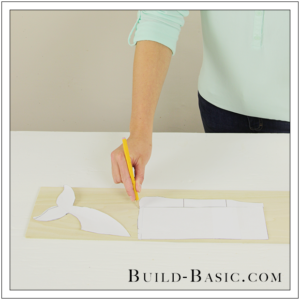
1. Trace the Template
Print the Template found under the “Cut List” tab above. Using scissors cut out the Template. If you’re using plywood, you can likely fit the entire shape of the Whale on the board in one piece. If you’re working with a ¼” x 5½” hobby board and ¾” x 5½” board (1×6) like me, you’ll need to cut the Tail off the Whale to fit the parts on the width of the boards. Outline two Whales (or its parts) onto the ¼-inch material.

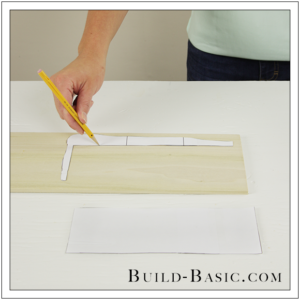
2. Alter the Template
Cut the center rectangle (outline of the tissue box) from the Template. Now trace the outer part of the Whale (and Tail) twice onto the ¼-inch material and three times onto the ¾-inch-thick board to create the Dividers.

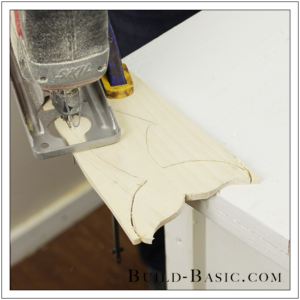
3. Cut out the Parts
Using a jigsaw, cut out the pieces traced on each board. Using the cut list above, cut the Top and Sides of the box from ¼-inch material.

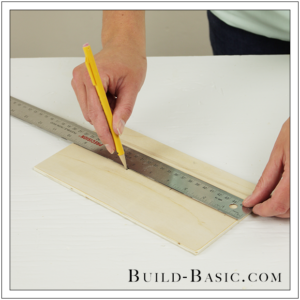
4. Mark the Box Top
Using a ruler, mark a centerline along the width of the Box Top. Make additional marks 3 3/8-inches from each end.

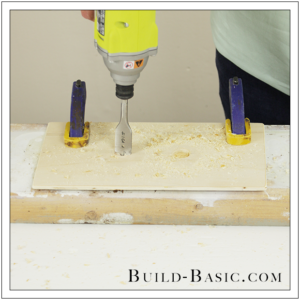
5. Drill Holes in the Box Top
Clamp the Box Top onto a thick scrap piece of wood. Using a drill/driver and a ¾-inch paddle bit, drill a hole though the Box Top at each of the two marks on the centerline.

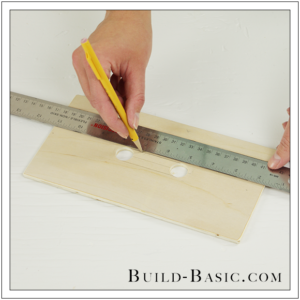
6. Mark the Edges of the Opening
Using a ruler, mark two lines that run parallel to the centerline and connect the edges of the holes drilled in Step 5.

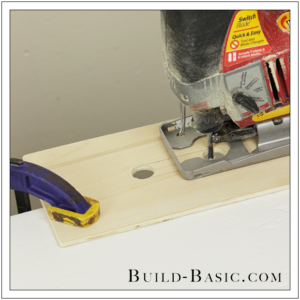
7. Finish Cutting the Opening

8. Mark the Whale Cutouts
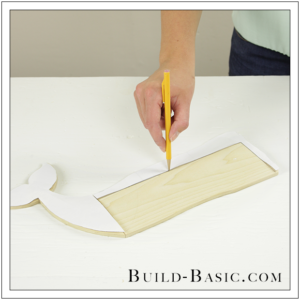
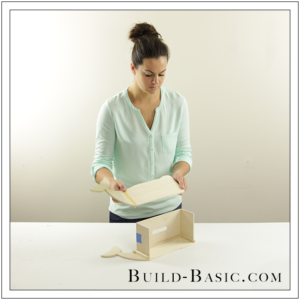
On the full Whale cutouts, glue the Tails to the Body. Allow the glue to dry. Now place the Template back onto the inside face of each Whale and trace the outline of the tissue box cutout.

9. Place the Spacers
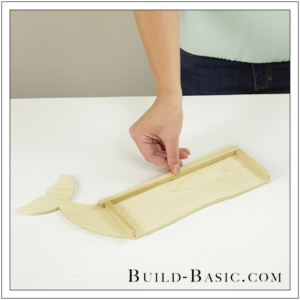
Using the cut list above, cut the square dowels to size to create the Spacers. Apply wood glue to a face of two shorter, Vertical Spacers. Place the Spacers onto the Whale so that they run along the outside of the vertical lines. Apply glue to a longer, Horizontal Spacer, and then position it above the horizontal line on the Whale so that it caps the top of each vertical Spacer. The horizontal Spacer should have a slight overhang at the tail end so as to help strengthen the joint of the bonded Tail. Repeat to attach the Spacers to the remaining Whale cutout. Allow all the pieces to fully dry.

10. Insert the Box Top
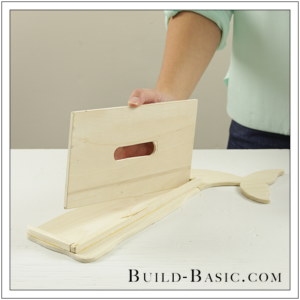
Apply wood glue to the underside of the Horizontal Spacer on one of the Whales, and then press the Box Top against it.

11. Add the Sides
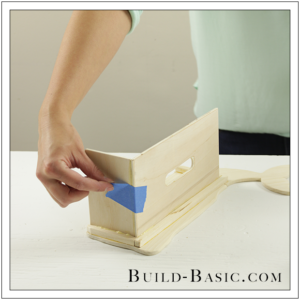
Apply wood glue to the inside edge of a Spacer and the underside of the Box Top, and then set a Box Side in place. Using painter’s tape, sturdy the Box Side. Repeat to install the second Box Side.

12. Add the Second Side
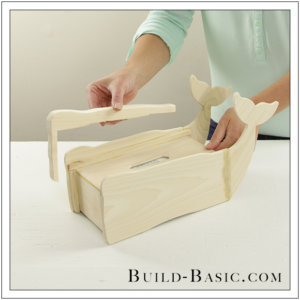
Apply wood glue to the inside edges of the Spacers on the remaining Whale, and then slide it onto the assembled Box Top and Sides. Allow the glue to dry.

13. Add the Dividers
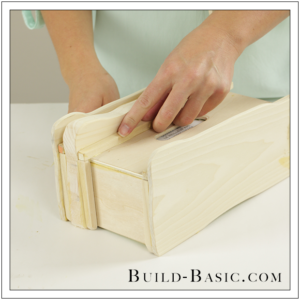
Apply wood glue to the inside edge of the Spacers, and the underside of a cutout ¾-inch-thick Divider. Place the Divider onto the Box Top, pressed tightly against the Spacer.

14. Add the Spacers
Apply wood glue to a Horizontal Spacer. Place the Spacer onto the Box Top and Side against the installed Divider. Make sure to apply glue so that the Spacer is secured to both the Box Top and Side, and the Divider beside it. Repeat this process to install another ¼-inch-thick Divider.

15. Make a Hole for the Tissue Opening
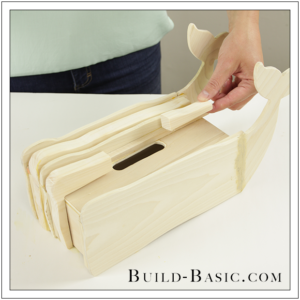
To create a gap in centermost ¾-inch-thick Divider for the tissue opening, cut the Divider to remove the section over the opening. Apply wood glue to the Divider, and then install in on the Box Top and Side as shown.

15. Add the Tail Dividers
In the same way as the Dividers installed in Steps 13 and 14, attach the Tail Dividers and Spacers along the remaining Side of the Box. Be sure to apply wood glue to the overhang on the Horizontal Spacers before pressing the Tails in place to create a sturdy finger joint. Allow all the glue to dry before sanding and spraying with primer and paint.

MORE BUILDING PLANS


