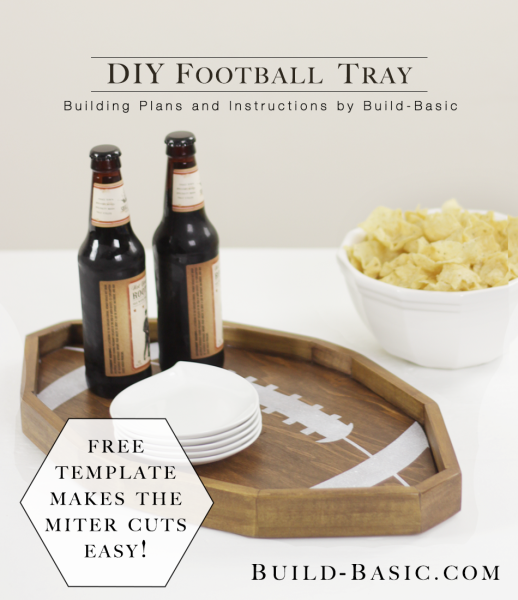
Trace and cut out my easy template to create this custom football tray that’s sure to impress your guests! Worried about the angled edges? The template has an easy-to-follow layout that turns this into a beginner project that’s great for practicing your miter saw skills. Download the template by clicking HERE and follow along!
TIP: Click the image above to reveal the free building plans. Click the tabs below to see the tools, materials and cut list.
Cost: $15
Time: 2 hours
Difficulty: Moderate. The cut list makes the measurements easy, but accuracy is key when mitering the edges of the tray.
Note: This list may contain affiliate links
(1) ¾” x 2′ x 2′ Plywood
(2) ½” x 2 x 4′ Hobby Board (Actual size: ½” x 1½” x 48″)
1¼-inch Brad Nails
Wood Glue
Wood Stain
Polyurethane
White Spray Paint
Use my
FREE TEMPLATE to trace and cut the plywood and edging to size!
Steps
1. Print the Template
Print my
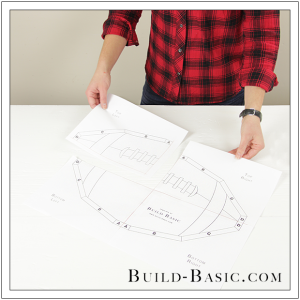
FREE TEMPLATE. It’s a four-page template. Cut along the red lines on each page. Align the edges of the pages, and then tape them together.

2. Cut the Template
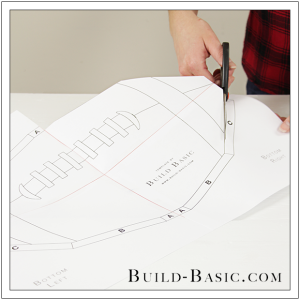
Using scissors, cut along the edge of the inner football, as shown. Leave the outside cutoff in tact as you cut so that it can be used later in the project.

3. Trace the Template onto the Plywood
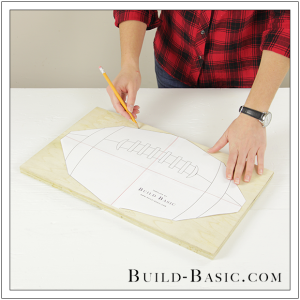
Place the football template onto a small piece of ¾-inch plywood. Carefully trace the outer edge of the template onto the plywood.

4. Cut the Tray Floor
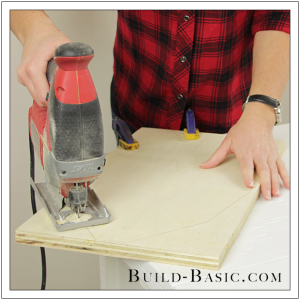
Clamp the plywood to the work surface overhanging its edge. Using a jigsaw, cut along the outside of the marked line on the plywood. Continue repositioning the plywood, clamping it in place, and then cutting along each line until the entire shape is cut from the plywood.

5. Cut the Edge Pieces
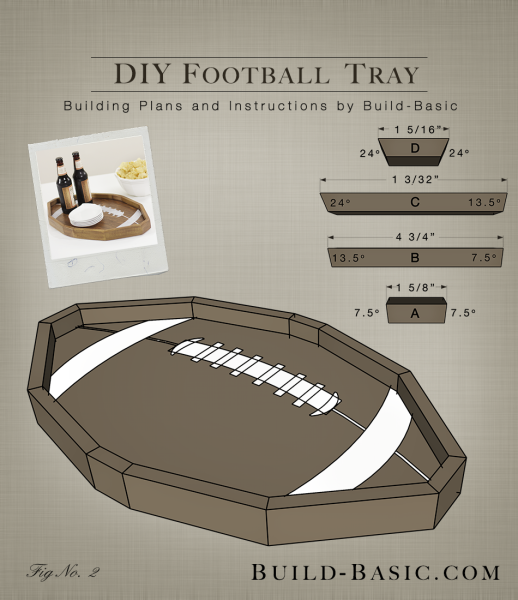
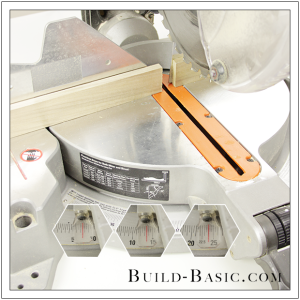
Using a miter saw and the building plans above, miter the ½” x 2 edge pieces to size. Since the cut pieces are short, make sure to always cut them from the end of a longer board so that you have a safe hand-hold on the board.

6. Mark the Pieces
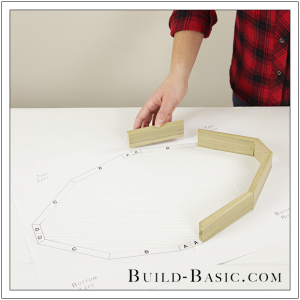
Place the cutoff from the template back on the work surface. As you miter the pieces, note their miters on each end, and then position them in place on the template. Pay special attention to the “miter degrees” marked at each joint on the template, so that you properly flip the pieces when working from one side of the football the the other. Lightly sand the edges of the miter cuts to remove and burrs leftover from the saw.

7. Dryfit the Plywood Floor
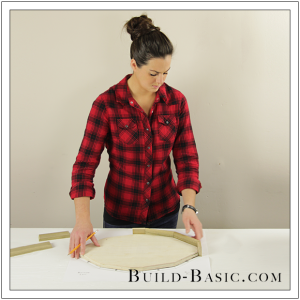
Place the plywood cutout into the center of the mitered edge pieces. Adjust the edge pieces to ensure their miters fit tightly. If the edges are too long (i.e. holding away from the plywood), trim them using the miter saw. If the piece is too short to trim, mark the new length on the long board and recut the piece. If an edge is too short (i.e. joint has a gap), you can also shave a bit off the plywood using the jigsaw.

8. Attach the Edges
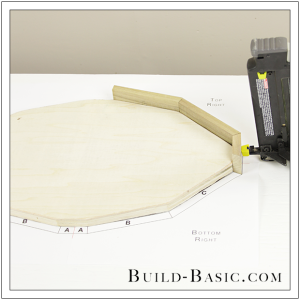
Apply wood glue to an edge of the plywood, and then position the board in place. Dryfit the adjoining edge pieces on either side to make sure the glued piece is properly positioned. Nail through the board and into the edge of the plywood using a pneumatic nail gun and 1¼ inch brad nails. Repeat to finish installing the remaining edges, making sure to also apply wood glue to the edge of the plywood and mitered ends of each board. Fill the nail holes, and then sand, stain, and polyurethane the assembled tray.

9. Create the Stencil
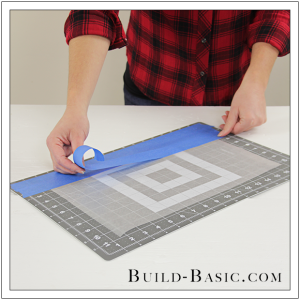
Position a piece of wax paper on a cutting matt, and then cover it with overlapping rows of painters tape.

10. Cut Out the Stencil
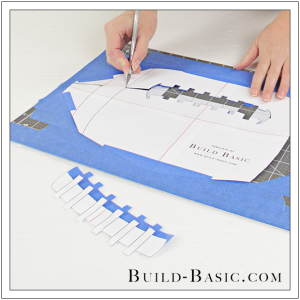
Place the football cutout onto the painters tape, and then tape along its edges. Using a craft knife, cut and remove the football detail from the template.

11. Remove the Stencil Backing
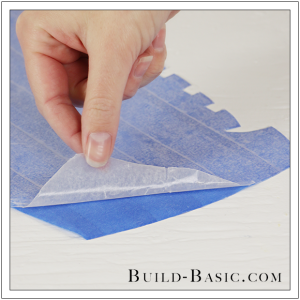
Cut around the edge of the football to remove the stencil from the cutting mat. Remove the wax paper backing from each piece.

12. Position the Stencil
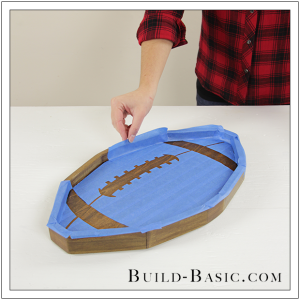
Position the painters tape onto the plywood floor of the tray. Protect the edges of the tray with painters tape, as well.

13. Spray the Design
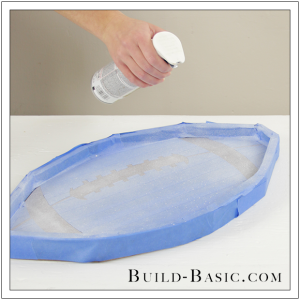
Using white spray paint, apply a quick, light mist to the tray. Allow the paint to dry.

14. Remove the Stencil
Once the paint is dry, carefully remove all the painter’s tape. Apply a final coat of polyurethane to the floor of the tray to protect the design.

MORE BUILDING PLANS







Jenny
Saw you on Instagram. I love how well you explained this. Pinned this for later 😉
Amy
Jenn your football tray is so cool!!!
tmsbmx
Awesome serving tray. Great idea