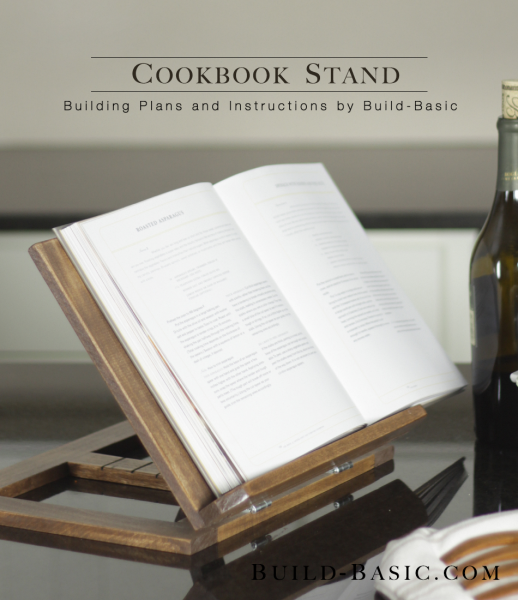
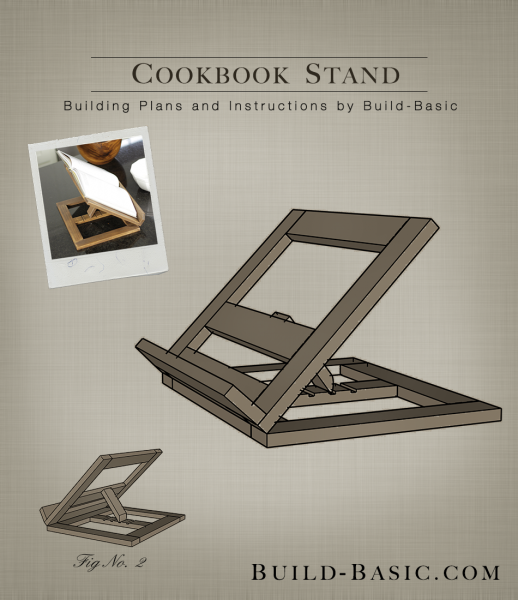
Whether you’re pulling out the secret family recipe or looking for a thoughtful hostess gift for your next gathering, this handmade cookbook stand is the perfect solution. With straightforward cuts and a simple assembly, this project comes together in no time. The design boasts hinges for fold-flat storage, and book holder that tilts to a range of viewing angles to accommodate any cook. Once complete, all you need to make the perfect meal–if you’re like me–is some serious practice and a handy fire extinguisher.
Cost: $11
Time: 1 hour
Difficulty: Easy. Square cuts and butt joints make the parts of this project fairly easy to assemble.
*Note: a ½ x 2 board has an “actual” width of 1½-inches.
(3) ½ x 2 x 4 Boards
(3) 1 inch hinges
1 inch wood screws
Wood Glue
*Note: a ½ x 2 board has an “actual” width of 1½-inches.
½ x 2 board – 9 @ 10 ½ inches
½ x 2 Leg – 1 @ 4 ¼ inches (Bevel one end at 45-degrees)
½ x 2 Slotted Stand – 1 @ 7 ½ inches
½ x 2 Book Rest – 1 @ 13 ½ inches
Steps
1. Size and Layout the Parts
Using the cut list above, cut the pieces to size using a miter or hand saw. Using the drawing provided, layout the pieces on a flat work surface. Note that all pieces are 10½ inches long unless marked as a “specialty part” on the drawing. The specialty parts are the leg, bookrest and slotted stand.
 2. Customize the Leg and Bookrest
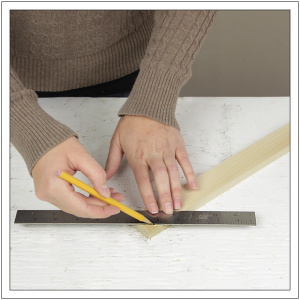
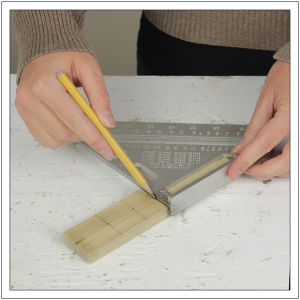
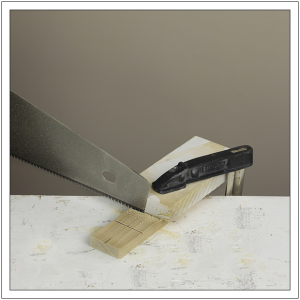
Using a miter or handsaw, clip the front corners of the bookrest and bevel one end of the leg piece at 45-degrees. Return the pieces to their place in the front frame.

3. Mark the Slotted Stand
To create the slots for the leg to rest in, mark four lines on the “slotted stand” that are 3, 4, 5 and 6 inches from the top edge of the board.

4. Cut the Slots
Clamp the straight edge of a scrap block along the first line. Using a handsaw, carve a shallow groove. Repeat to create a grove at each marked line. Return the board to its place in the back frame.

5. Drill the Pocket holes
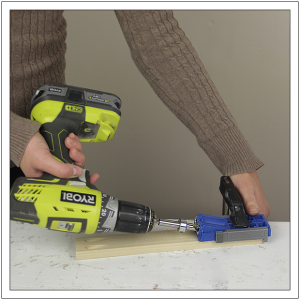
Remove each of the horizontal 10½ inch pieces and the “slotted stand” from the frames. Flip the first board face down, and, using a
Kreg Jig, bore two pilot holes into the end of the board. Repeat of the opposite end of the board. Repeat this process with the remaining horizontal pieces and the “slotted stand”. Once complete, each of these boards should contain four pilot holes.

6. Assemble the Frames
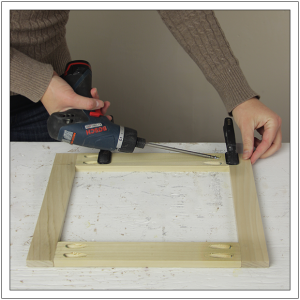
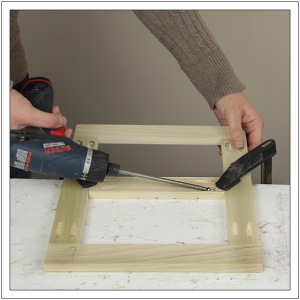
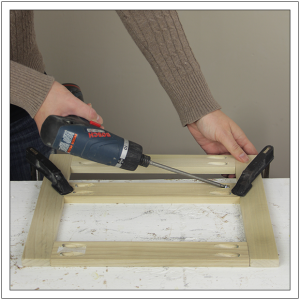
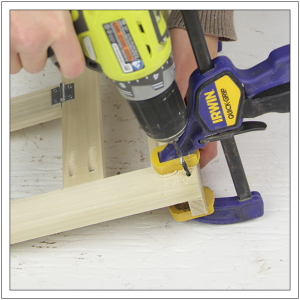
One-by-one, apply wood glue to the joints, and then clamp them to the work surface. Drive 1 inch wood screws through the pilot holes to secure the parts in place.

7. Insert the Slotted Stand
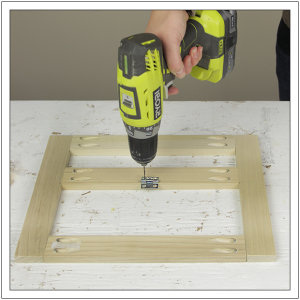
Apply wood glue to the ends of the slotted stand, and then place the board centered vertically in the frame. Drive wood screws through the pilot holes in the slotted stand to hold it in place in the back frame.

8. Insert the Crosspiece
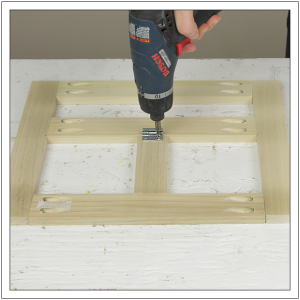
On the front frame, make a mark 5¾ inches from its top edge. Apply wood glue to the ends of the remaining 10½ inch board. Place the board horizontally inside the frame. Position the board so that its top edge aligns with the marks, and then use wood screws to secure it in place.

9. Mark the Crosspiece
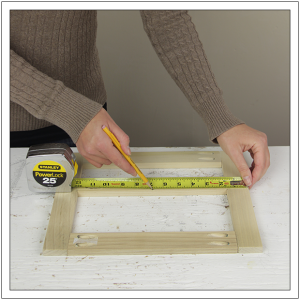
Using a tape measure, mark the center of the crosspiece installed in the last step.

10. Drill the Hinge Pilot Holes
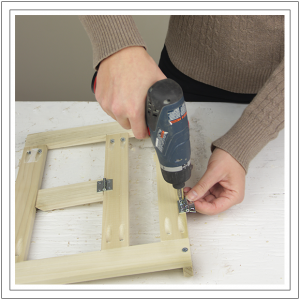
Center a hinge on the mark, and, using a drill/driver, drive a shallow pilot hole through the holes in the hinge and into the crosspiece. Now drive the screws provided with the hinge into the pilot holes to hold the hinge in place.

11. Attach the Leg
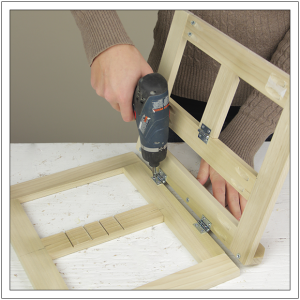
Position the leg centered on the hinge so that the bevel side is facing downward as shown. Position the hinge on the leg, drill pilot holes, and secure the hinge in place.

12. Add the Bookrest
Clamp the bookrest against the face of the front frame. Position the board so that the underside is flush with the bottom edge of the frame. Apply wood glue to the back edge of the bookrest board. Clamp it in place. Carefully drill pilot holes through the backside of the frame and into the back edge of the bookrest. Using 1 inch wood screws, secure the bookrest in place.

13. Attach the Hinges
Make marks on the backside of the front frame that are 4 inches from each end. Position and secure a hinge inside each mark.

14. Attach the Front and Back Frames
Position the hinges of the face of the back frame. Align the sides of the frames, and then secure the hinges to the frame.

15. Adjust the Angle of the Stand
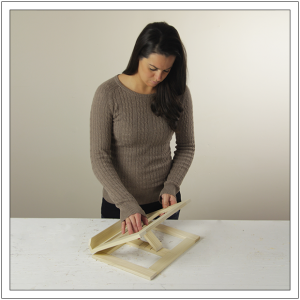
Tilt the top edge of the front frame upward, allowing the leg to drop down. Once the beveled end of the leg drops into a slot, it will hold the face frame in place.

MORE BUILDING PLANS
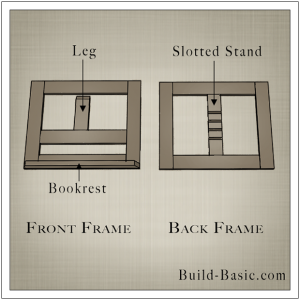
 2. Customize the Leg and Bookrest






Pingback: 10 Best Kitchen Builds - Oh Everything Handmade
R. Evan David
The cut list for the Cookbook Stand were 1/2″ thick X 2″ wide cut to length per the cut list. I used the 1/2″ thick but the 2″ wide did’t work for me. What is the actual width so that all of the cut list lengths will work?
Mellinda Poor
The 1/2 x 2 inch boards proved hard for me to find. I went to a local lumber yard and the representative helped me find something close–trim pieces that were 1/2 x 1 3/4 inches. I then tried Home Depot and they did not have boards of that dimension either. I ended up buying the trim pieces from the local lumber yard, but spent close to $20 on the wood alone. If I were set up to rip strips from a 1/2″ piece of plywood, I would have done that instead, but my workspace isn’t set up for that at the moment. Where did you find the wood that you used and how did you come up with the materials’ cost? Now that I have the materials I am excited to get to work!
Janet
I forget if I commented on this project. I saw a picture of this book stand but did not know about your sight so I just made the pattern up as I saw it. The book back was solid and the prop stick was one position only. It was also bigger. Then I found your pattern. I needed someting I could make as a Mother’s Day gift. I made four for Mother’s Day gifts and two for birthday gifts. I was pleased with the outcome.
Pingback: 24 DIY Father’s Day Gifts He’ll Actually Want