


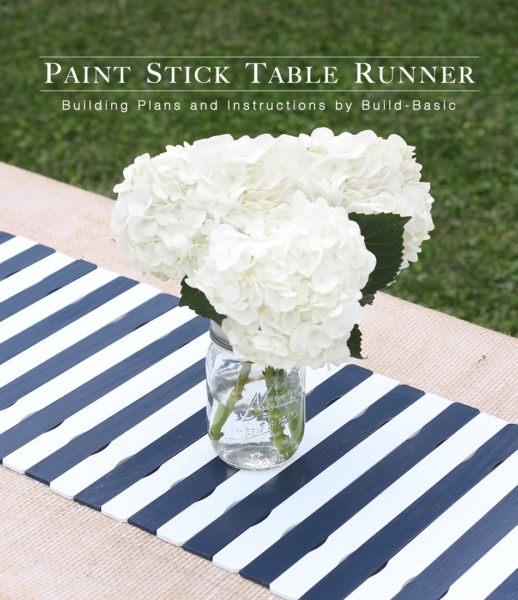

Add a splash of color to your tablescape with this DIY Paint Stir Stick Table Runner. With a little paint, some burlap (or fabric), and glue, this runner comes together in under 15 minutes! Scroll down to see how easy it is to make your own!
TIP: Click the image above to reveal the free building plans. Click the tabs below to see the tools, materials and cut list.
Note: This tutorial may contain affiliate links. To read my full disclosure policy, click HERE.
Cost: FREE (if you ask nicely at the home center)
Time: 15 minutes
Difficulty: Easy. Coat stir sticks with paint, and then glue them to a piece of burlap or fabric to hold them in place.
Time: 15 minutes
Difficulty: Easy. Coat stir sticks with paint, and then glue them to a piece of burlap or fabric to hold them in place.
Note: This list may contain affiliate links
Paint Sticks – Get about 48 to create a 4-foot runner
Craft Glue – Choose an all-purpose glue
Paint – Get at least two colors to create a pattern. You can probably get by with the mini samples from the home center.
Burlap or Fabric
Wax Paper
Burlap or Fabric – 1 @ 10″W x 48″L
Steps
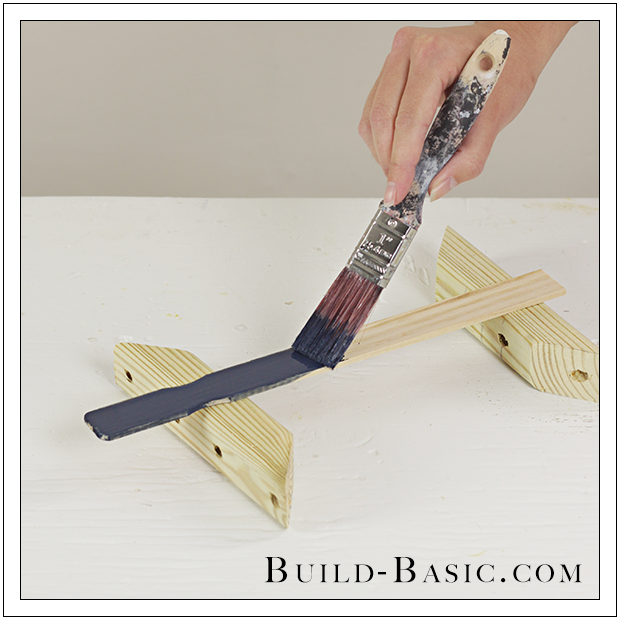
1. Paint the Paint Sticks
Divide the paint sticks into two equal groups. Using a paintbrush or small roller, paint the paint sticks in each group in contrasting colors.

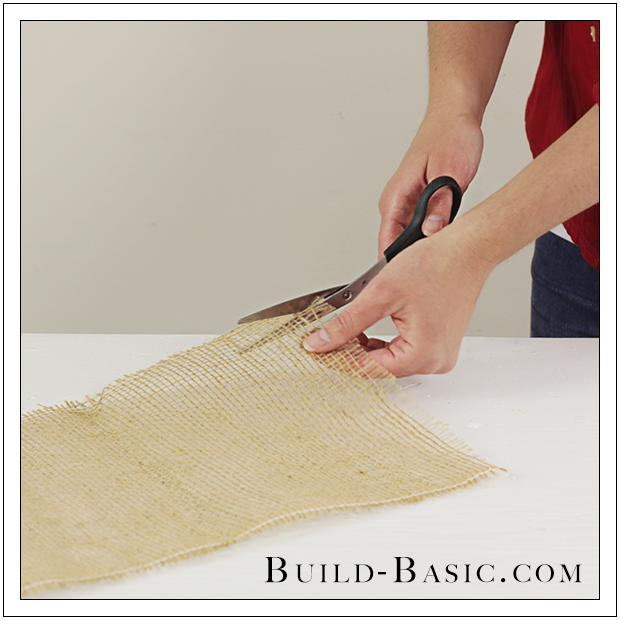
2. Prep the Burlap
Using scissors, trim the burlap to a strip that runs 48-inches-long and 10-inches wide. Note you can also use fabric or another flexible underlayment for this step.
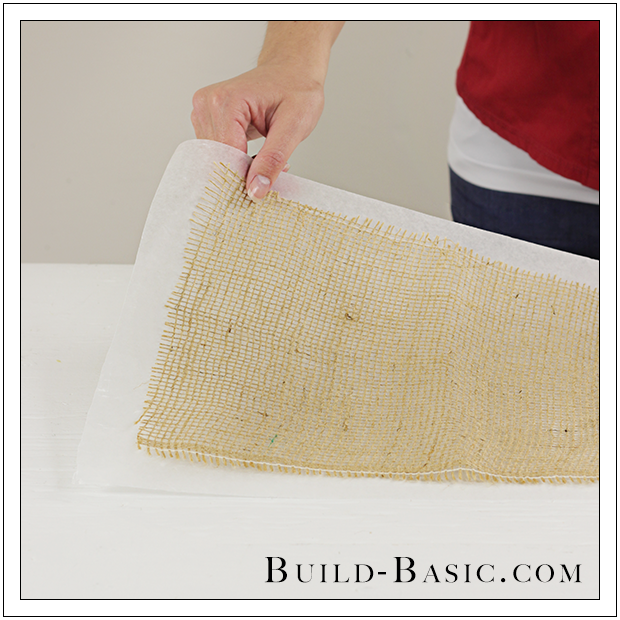
3. Position the Burlap
Lay the burlap on a 4-foot-long piece of wax paper. This will prevent the glue that seeps through the burlap from sticking the assembled runner to the work surface.
4. Apply the Glue
Apply glue to the backside of the first paint stick stopping within one inch of each end where the paint sticks will overhang the edges of the burlap.
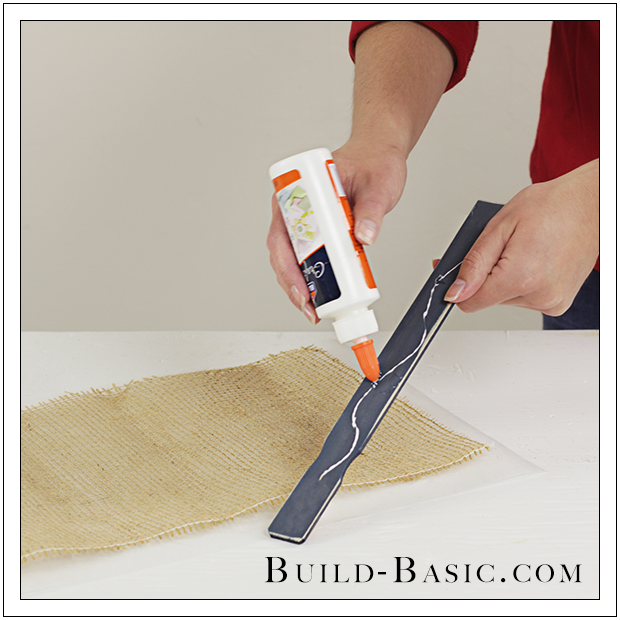
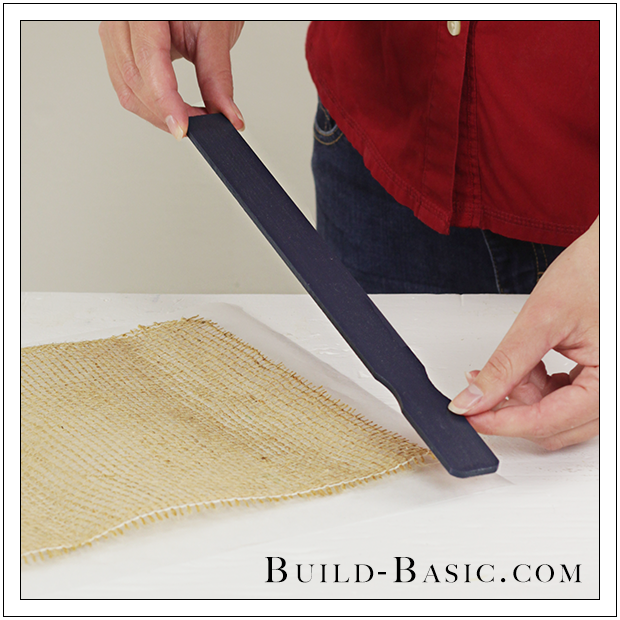
5. Attach the First Paint Stick
Place the first paint stick along the end of the burlap so that it completely covers the edge. Ensure the paint stick runs square to the strip of burlap.
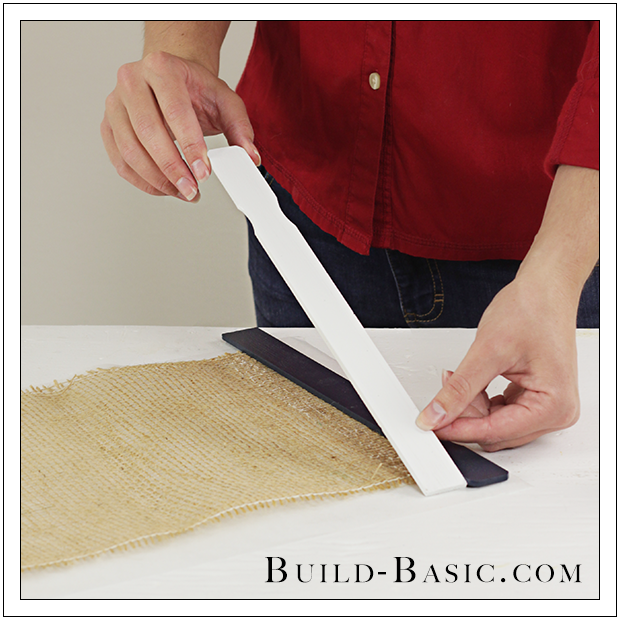
6. Attach the Second Paint Stick
Apply glue to the second paint stick. Position the paint stick so that the indentation on the “handle side” of the stick is placed in the opposite direction as the handle on the first paint stick. Press the paint stick into place snuggly beside the first stick so that the two are touching.
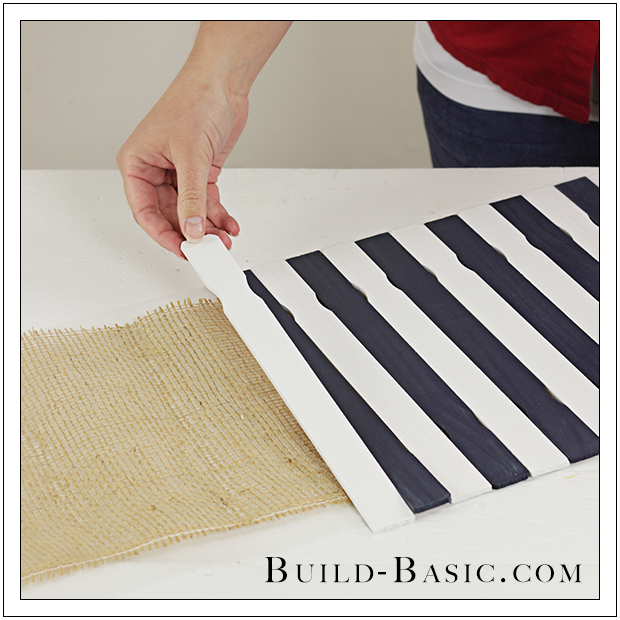
7. Finish the Runner
Finish attaching the paint sticks in alternating directions and colors to create the pattern. Allow the glue to dry, and then remove the wax paper beneath the runner.
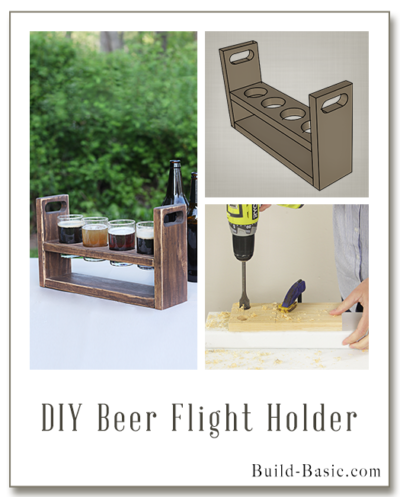
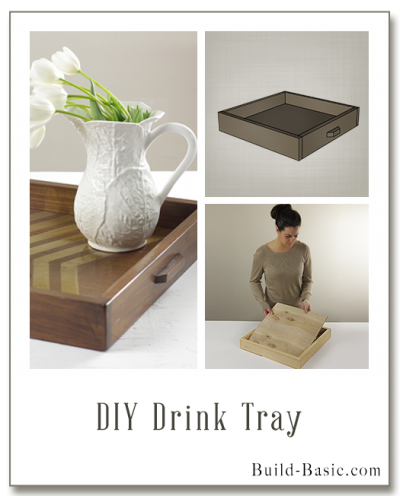
MORE BUILDING PLANS


Pingback: DIY Table Runner Made from Paint Sticks – Home and Garden
Pingback: 16 Fresh Ideas for DIY Summer Home Decorations – chuckiesblog
Pingback: 16 Fresh Ideas for DIY Summer Home Decorations - Style Motivation
Sue Thomas
You know, it never ceases to amaze me the way you can take a simple little thing (like a paint stick) and turn it into something really quite spectacular! Well done. I shall definitely be trying this one soon.
Trudi
Thank you! What a cute, quick, and colorful idea!