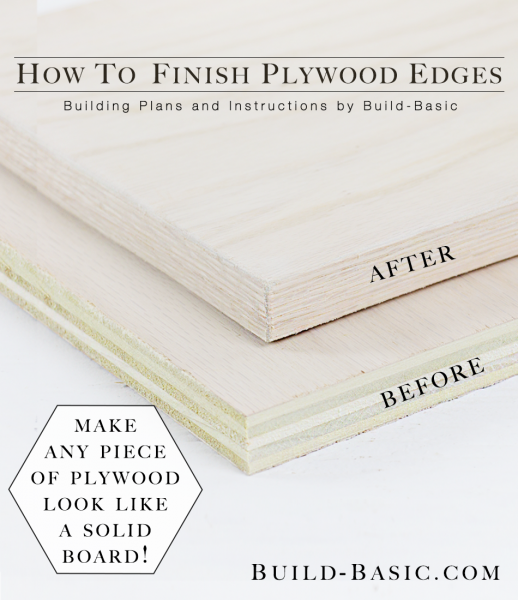
Building with plywood is convenient and inexpensive, but the exposed edges typically look unfinished. To clean up the look without covering or hiding every edge, you can just cover them with a strip of self-adhesive veneer edge banding. This simple method makes plywood look more like a solid board without the upcharge. Read on to see how it’s applied with a regular household iron.
Cost: About $7 for a 25 foot roll
Time: 5 Minutes
Difficulty: Easy. Just place the veneer strip on the edge of the plywood, and then heat it with a household iron to melt the glue and secure it in place.
Self-adhesive veneer edge banding – choose a wood species and “width” that matches your plywood. Most home centers carry 3/4″ Red Oak and White Birch, but other species and widths can easily be found and ordered online.
Cut List
None
Steps
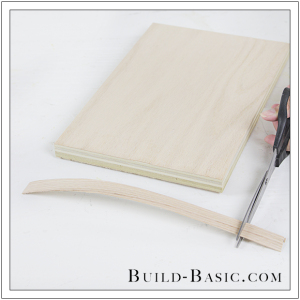
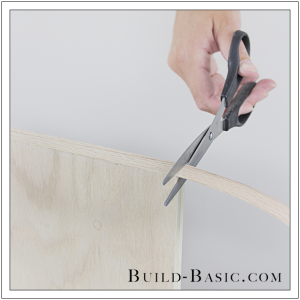
1. Trim the Veneer
Using scissors, trim the veneer strip to a length about 1 inch longer than the board’s edge.
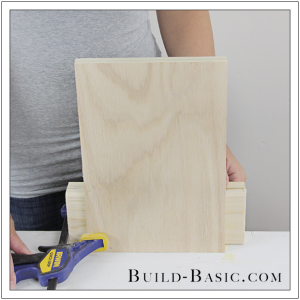
 2. Clamp the Board in Place
Since a rough edge will be harder for the veneer to adhere to, begin by sanding the edge of the plywood smooth. Now, using a vise, clamp the board upright. If you don’t have a vise, just clamp a 2×4 on edge to your work surface, and then use a second clamp to hold the board upright against the 2×4.
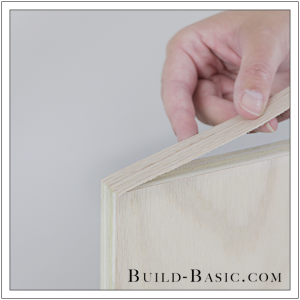
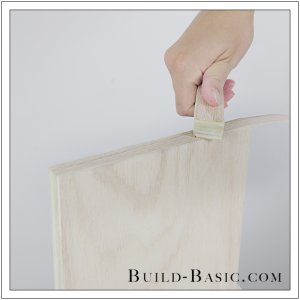
3. Position the Veneer
Place the end of the veneer onto the board, leaving a slight overhang.
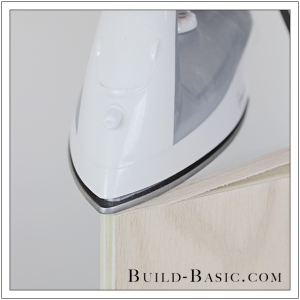
4. Press the End in Place
Preheat a household iron to the setting marked for cotton with the steam setting off. Press the iron onto the veneer to tack it in place. Remove the iron and check its placement.
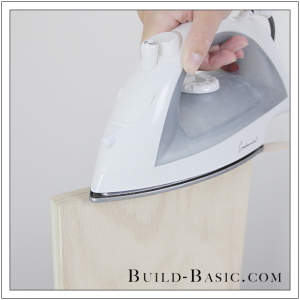
5. Finish Adhering the Veneer
Run the iron down the veneer to tack it in place, and then double back on a slower pass to really heat the glue and melt it to the edge of the board.
6. Press the Glue in Place
While the glue is still hot, run a scrap block over the veneer to press the strip firmly in place.
7. Trim the End
Once the glue has dried, use scissors or a utility knife to trim the ends of the veneer flush with the end of the board.
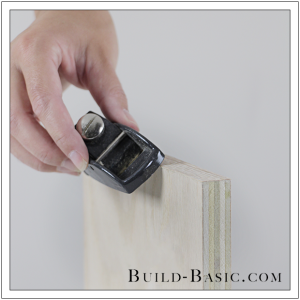
8. Trim the Edges
Using an edge trimmer or a small block plane, trim the edges of the veneer until runs flush with the face of the plywood.
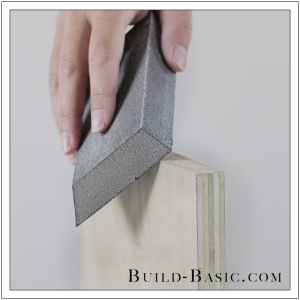
9. Sand the Edges
Using a sanding sponge or sandpaper wrapped around a block, round-over and smooth the edge of the veneer.
MORE BUILDING PLANS


chris
What are your thoughts concerning the longevity of this stuff remaining intact and not coming off? Obviously depends on the application of the plywood I know. Wondering, ‘how have your projects held up that you have used this veneer stripping on?’ How well is the bond, it is a super strong adhesive or just a mild?
thank you bunches, chris
Bill
When doing all 4 sides of plywood (for a table top), do you cut 4 separate strips or do you do one continuous strip? Just trying to make sure I have good looking corners. Thanks!!
Jenn Post author
Bill, Thanks for reading! To (hopefully) answer your question, I cut at each corner. The veneer tape doesn’t “bend” that well, so I found I got a more crisp-looking corner by cutting one piece and then starting a new strip on the adjacent side.Hope this helps! –Jenn
Anonymous
where do you buy the veneer edge banding
Jenn Post author
I got mine at Home Depot, but it’s also available on Amazon and some other online retailers. -Jenn
M.S.
This instruction is awesome! Now we can improve our DIY skills and make them look like they were professionally made! Thankyou for sharing this.
lelobo
Hi Jenn,
Edge banding on plywood is great, Looks like a solid board at a fraction of the cost and the thicker pcs. will be nice and flat to boot.
Thanks Jenn,
RR.