*This post is sponsored by Rust-Oleum. All opinions are my own.
Click here to read my full disclosure policy.
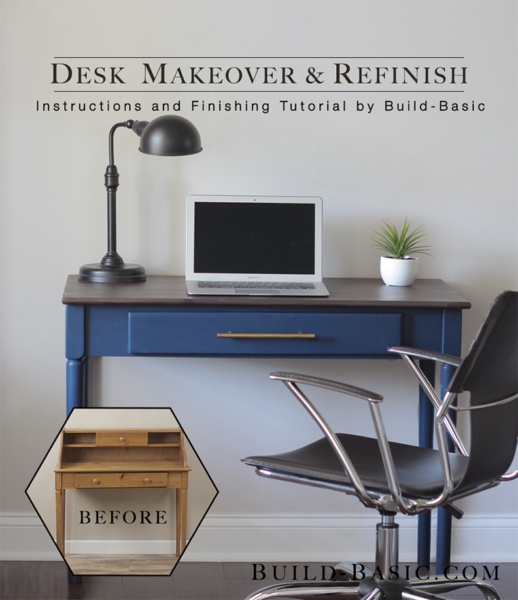
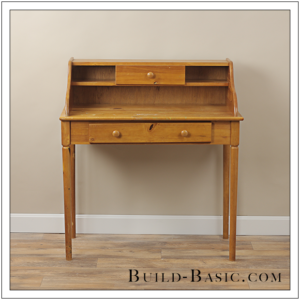
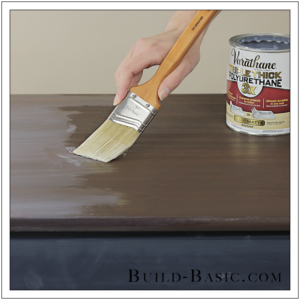
Who can pass up a dated pine desk with an yellowing finish, oversized hutch, and rounded wood hardware? Not me! Just a few quick steps to remove the top and add a fresh finish to turn this find into the perfect writing desk! Plus, I teamed up with my friends at Varathane to coat the top with a beautiful coat of Dark Walnut stain using their 3X Wood Stain, and a protective coat of Triple Thick Polyurethane. Read on to see how easy it was to transform this desk!
WATCH THE VIDEO
TIP: Click the tabs below to see the tools, materials and cut list.
NOTE: This tutorial may contain affiliate links. To see our full disclosure policy, click HERE
Time: 2 Hours with drying time in between
Difficulty: Easy. Applying the stain and polyurethane is surprisingly straightforward.
Hammer
PryBar
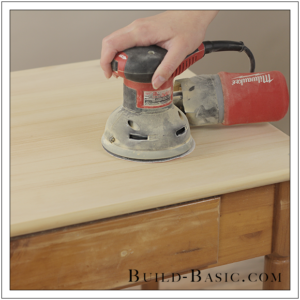
Random orbital sander
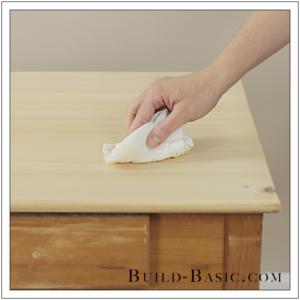
Lint-free rags
Sanding Sponge
Sponge Brush
High-quality synthetic Bristle Brush
Varathane Satin Triple Thick Polyurethane
Paint
Wood Filler
Nitril or neoprene gloves (Get at least two pair)
Safety glasses
Face Respirator
Mineral Spirits (optional for cleanup of stain)
Steps
1. Choose a Desk to Upcycle

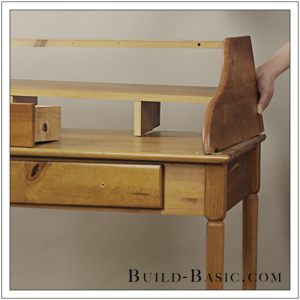
2. Remove the Top
3. Remove the Hardware

4. Fill the Holes

5. Sand the Top
6. Prep the Top for Stain
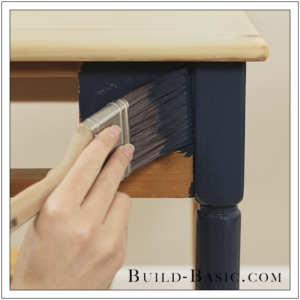
7. Paint the Base
8. Apply the Stain

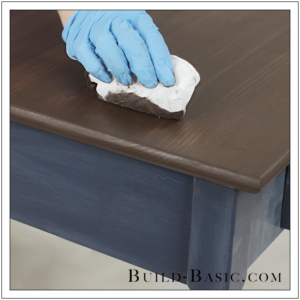
9. Wipe the Stain
10. Apply the Polyurethane
MORE BUILDING PLANS