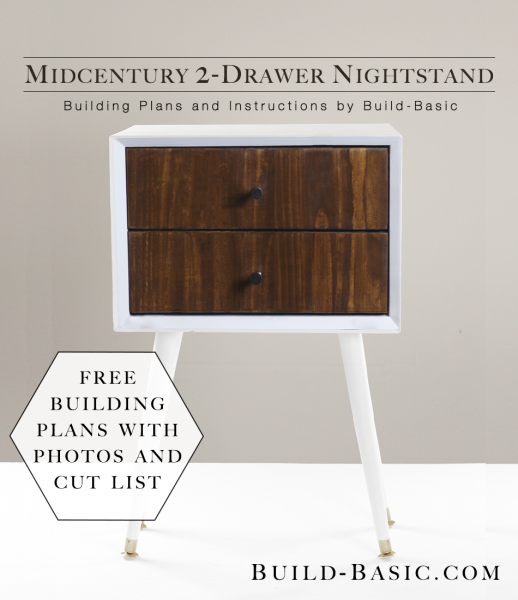
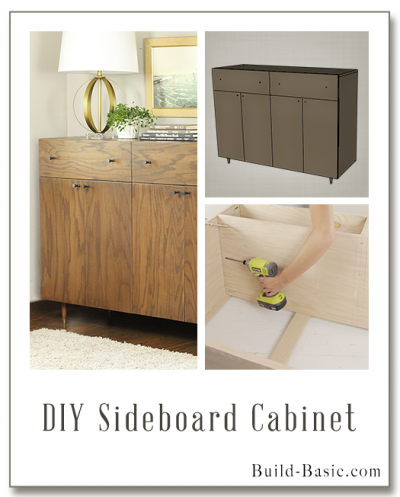
This midcentury nightstand was inspired by a similar version available at West Elm, and was actually built long before Build Basic was launched. To hear the full story about how a reader spotted it in the background of another photo, check out the full Blog Post!
TIP: Click the image above to reveal the free building plans. Click the tabs below to see the tools, materials and cut list.
Cost: $42
Time: 4 Hours
Difficulty: Moderate. Beveling the edges takes some careful work with the saw, but our instruction helps create professional-looking results.
Walls
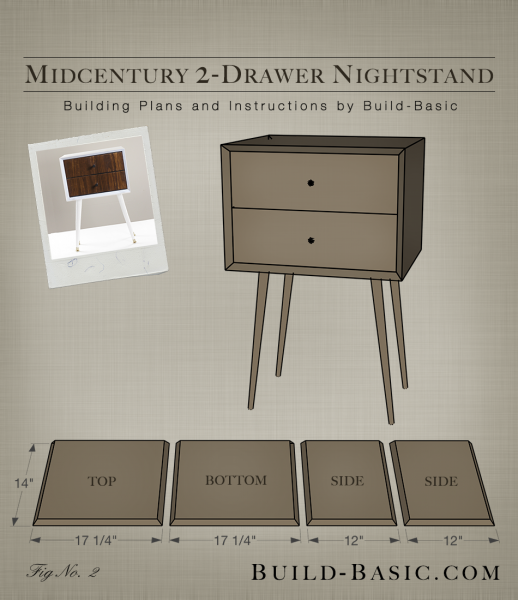
- 1×18 Top and Bottom – 2 @ 14 inches (Beveled at 45-degrees along the front and side edges)
- 1 x 18 Sides – 2 @ 14 x 12 inches (Beveled at 45-degrees along the front and side edges)
- ¼-inch Plywood Backing – 17 x 12 inches
Drawers
- 1 x 3 Sides – 4 @ 12 inches
- 1 x 3 Front and Back – 4 @ 13 3/8 inches
- 3/8 x 3/8 Cleats – 2 @ 9 5/8 inches
- 3/8 x 3/8 Cleats – 2 @ 13 3/8 inches
- ¼ inch Plywood – 1 @ Trace outline of Drawer Walls, and then cut to size
- 1 x 18 Drawer Face – 2 @ 16 ¾” W x 5¼” H
Steps
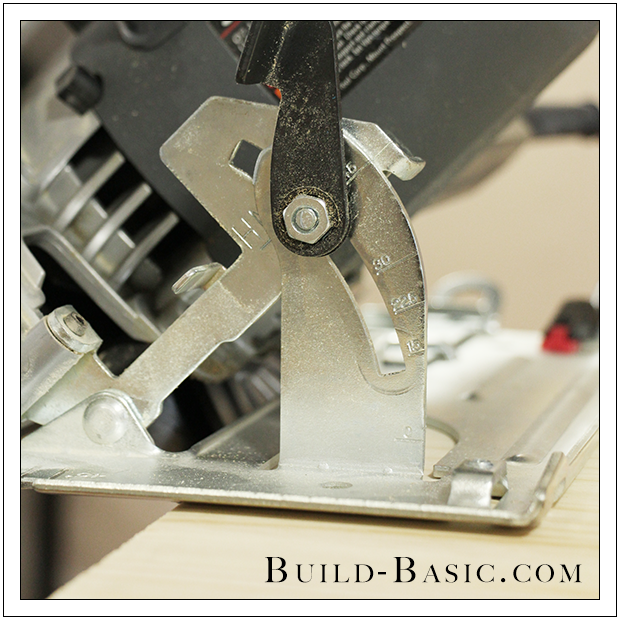
1. Prep the Saw
Whether you’re using a circular saw or table saw, set the bevel of the blade to 45-degrees.
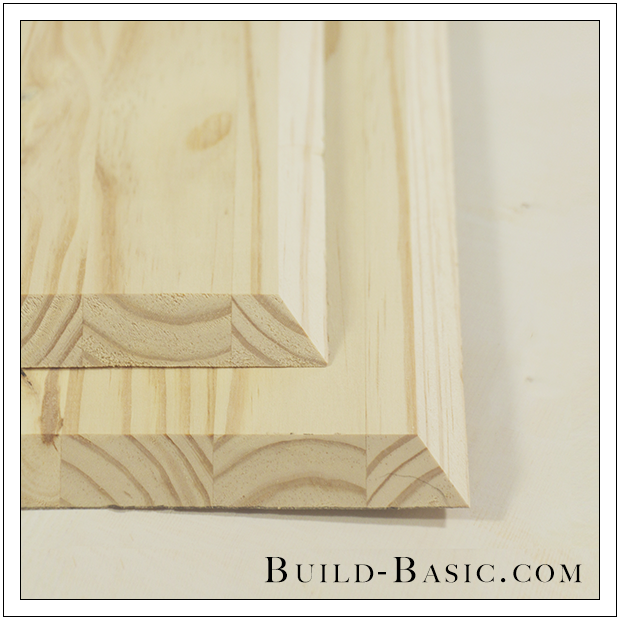
 2. Cut the Parts
Begin by beveling the entire front edge of a 1 x 18 board at 45-degrees. Using the Cut List above and our Building Plans (click the main image to view the plans), cut the parts to size.
3. Prep the Parts
Using a sanding sponge, smooth the cut edges to remove burrs before assembly. Be careful not to round-over or dull the cut edges.
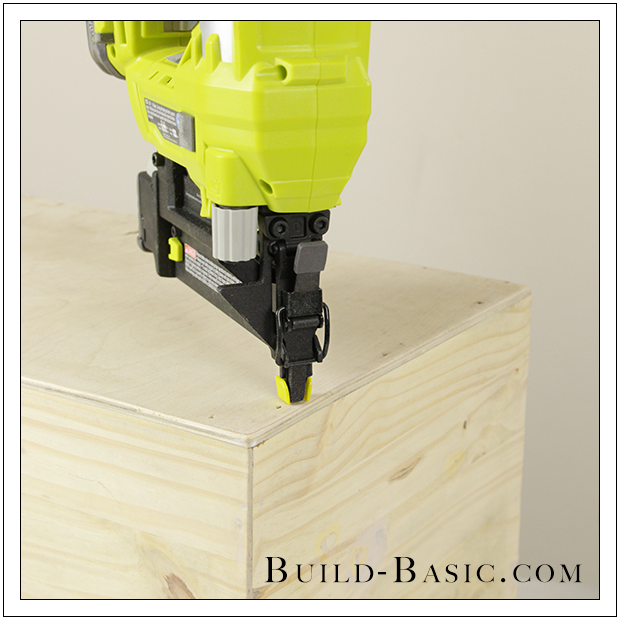
4. Assemble the Walls
Position the Top, Bottom, and Side Walls on their back edge. Stand the parts in corner clamps, or use bar clamps and a speed square to position the pieces. Apply wood glue to the adjoining beveled edges, and then clamp the parts firmly in place. Using a pneumatic nail gun, shoot 1¼-inch finish nails through both sides of each joint.
5. Attach the Back
Apply wood glue to the back edge of the Walls. Set the ¼-inch plywood Back onto the assembled Walls. Using a pneumatic nail gun, shoot 5/8-inch finish nails through the plywood and into the back edge of the Walls to secure the backing and sturdy the assembly.
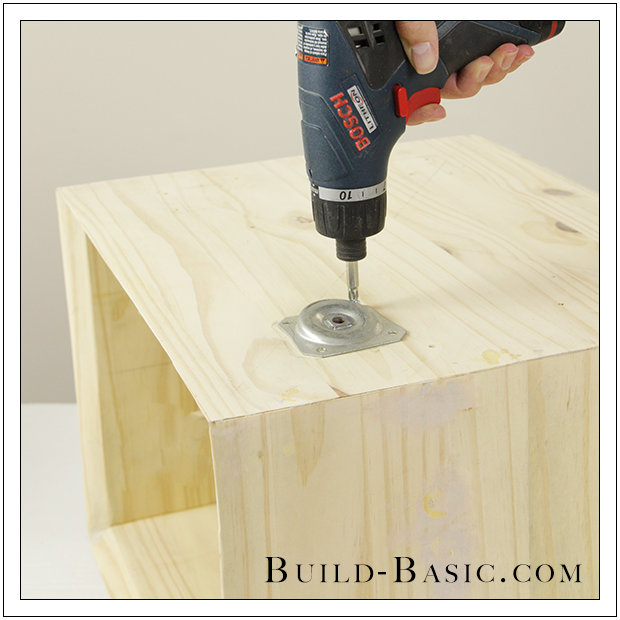
6. Attach the Footplates
On the underside of the assembly, mark a line 1½-inches from the front and back edge. Mark additional lines 1 inch from each Side. Now align the footplates in the intersections of the lines. Spin each footplate until the angled part of the plate tapered down toward the Sides of the assembly. Using a drill/driver, create shallow pilot holes through the installation holes in each footplate. Follow by driving the provided screws through the plate and into the base of the assembly.
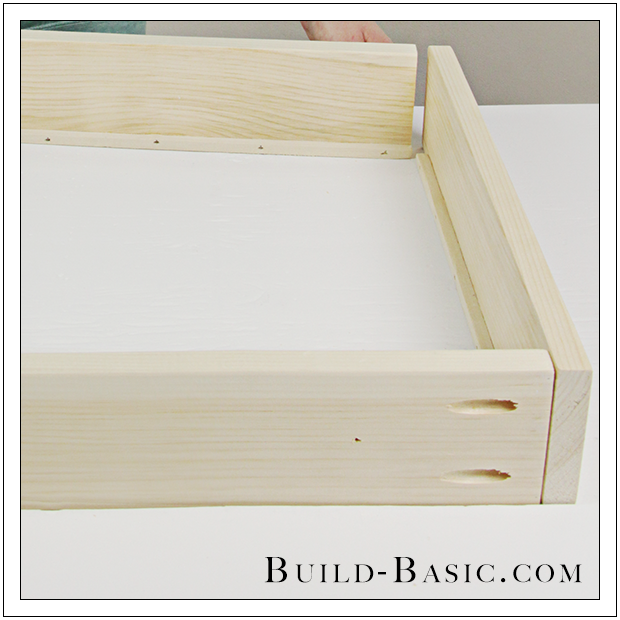
7. Build the Drawers
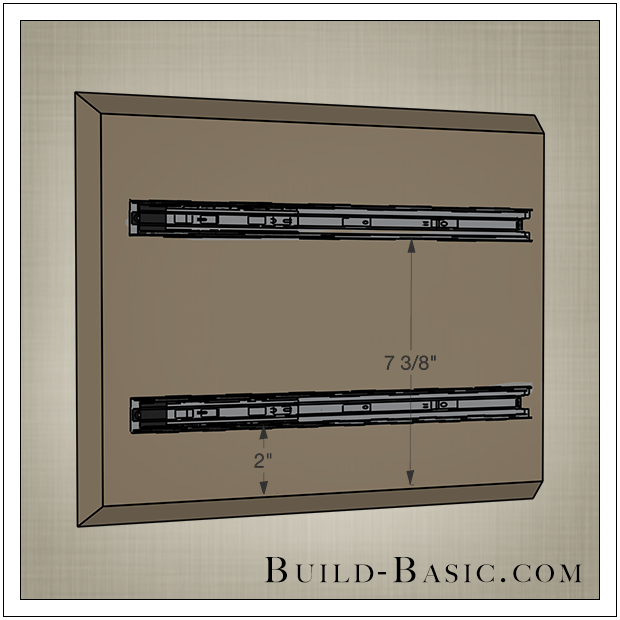
8. Install the Drawer Slides
9. Attach the Drawer Fronts
Insert the Drawers into the cabinet. Lay the cabinet on its back. Apply wood glue to the face of the drawers. Press the Drawer Fronts in place on the Drawers, ensuring that there is an even gap around, and between them. Once the glue has dried, open the Drawers. Secure the Drawer fronts by driving 1 inch screws or finish nails through the inside of the Drawer and into the backside of each Drawer Front.
10. Add the Legs
Lastly, screw a leg into each footplate, and stand the assembled nightstand upright. Apply a finish and attach hardware as desired.
MORE BUILDING PLANS


Cameron
How tall is this table after final completion?
Jenna
Again…how did you come to $42 for the final cost? That’s not accurate. Also, it looks like you have a couple other outstanding questions in the comment area. Probably would help to answer those.
Jenna
How did you come up with a cost of $42? The legs alone cost $31…
Eliza Brooker
One more question: I got an 8′ long 1×3 board but I’m confused about how to get 4 12″ lengths and 4 13 3/8″ lengths out of it? It seems like an 8′ board will be 5 1/4″ too short.
Eliza Brooker
Hey there! If I don’t own a pneumatic nail gun, what other way would you recommend I secure the pieces together?
Timothy Hotze (@sing_electric)
Hi Eliza – You sent this comment months ago so I’m sure that you either figured it out or stopped caring, but in case you haven’t, and for others that have: I actually do own a nail gun, but I thought the piece would look so much better without visible nail marks on the outside. There’s a few options, depending on what tools you have. First, you can always buy finishing nails and hammer them in (carefully!).
Another option is to install cleats to each corner of the drawer box; it’s essentially copying the technique used in the drawer tutorial. If you go that route, I’d recommend using wood glue on the corner pieces, and then nails or screws through the cleats to secure them to the box.
Just be sure to alternate which side you put nails/screws in, since you have to secure both corners of the ‘el.’