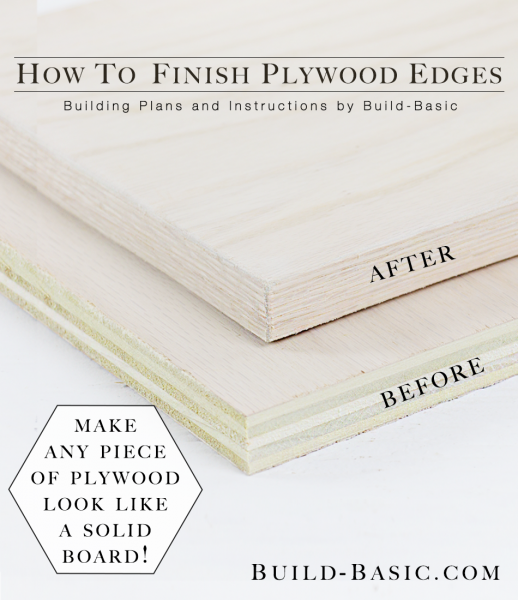
Building with plywood is convenient and inexpensive, but the exposed edges typically look unfinished. To clean up the look without covering or hiding every edge, you can just cover them with a strip of self-adhesive veneer edge banding. This simple method makes plywood look more like a solid board without the upcharge. Read on to see how it’s applied with a regular household iron.
Cost: About $7 for a 25 foot roll
Time: 5 Minutes
Difficulty: Easy. Just place the veneer strip on the edge of the plywood, and then heat it with a household iron to melt the glue and secure it in place.
Self-adhesive veneer edge banding – choose a wood species and “width” that matches your plywood. Most home centers carry 3/4″ Red Oak and White Birch, but other species and widths can easily be found and ordered online.
Cut List
None
Steps
1. Trim the Veneer
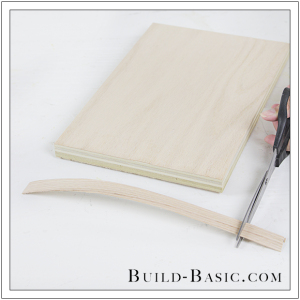
Using scissors, trim the veneer strip to a length about 1 inch longer than the board’s edge.
 2. Clamp the Board in Place
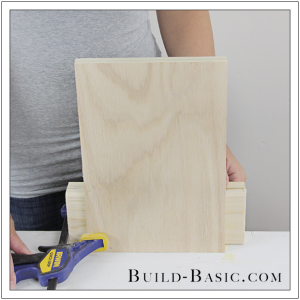
Since a rough edge will be harder for the veneer to adhere to, begin by sanding the edge of the plywood smooth. Now, using a vise, clamp the board upright. If you don’t have a vise, just clamp a 2×4 on edge to your work surface, and then use a second clamp to hold the board upright against the 2×4.

3. Position the Veneer
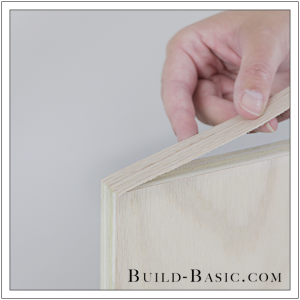
Place the end of the veneer onto the board, leaving a slight overhang.

4. Press the End in Place
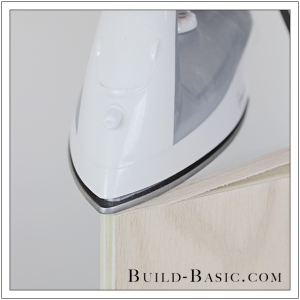
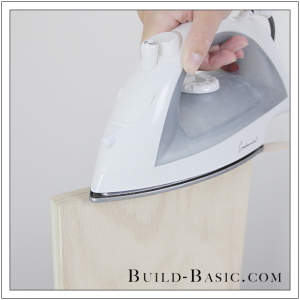
Preheat a household iron to the setting marked for cotton with the steam setting off. Press the iron onto the veneer to tack it in place. Remove the iron and check its placement.

5. Finish Adhering the Veneer
Run the iron down the veneer to tack it in place, and then double back on a slower pass to really heat the glue and melt it to the edge of the board.

6. Press the Glue in Place
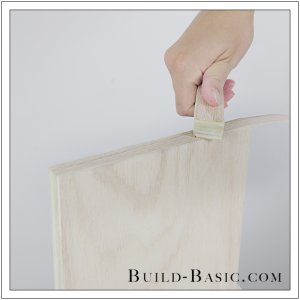
While the glue is still hot, run a scrap block over the veneer to press the strip firmly in place.

7. Trim the End
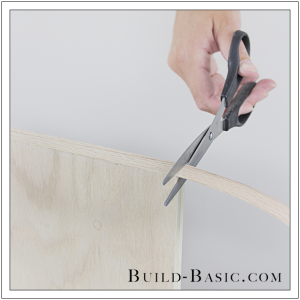
Once the glue has dried, use scissors or a utility knife to trim the ends of the veneer flush with the end of the board.

8. Trim the Edges
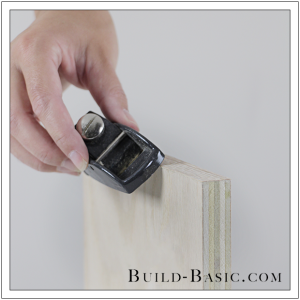
Using an edge trimmer or a small block plane, trim the edges of the veneer until runs flush with the face of the plywood.

9. Sand the Edges
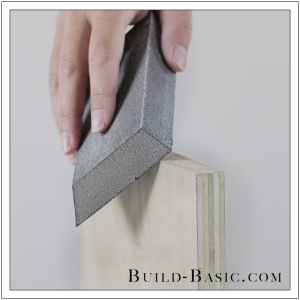
Using a sanding sponge or sandpaper wrapped around a block, round-over and smooth the edge of the veneer.

MORE BUILDING PLANS
 2. Clamp the Board in Place




Summer
Will the veneer take stain?
Stacie
I was wondering the same thing…
Jenn Post author
Yes! That’s the great thing about veneer—it’s actually a very thin slice of real wood with a pre-glued backing. That meants it takes the stain just like the rest of the plywood. Just be careful to choose a veneer that matches the species of the plywood so that it all takes the stain the same way. Hope this helps! –Jenn
Harold Pritchard
This is not the best way to hide plywood. Veneer still looks like veneer.
TeriG
It’s still a nice finish using the veneer than not. I think it’s a great tip!
Jenn Post author
Thanks, Teri!!
Anonymous
…and your better solution is? Being critical without providing a solution is not helpful in any way.