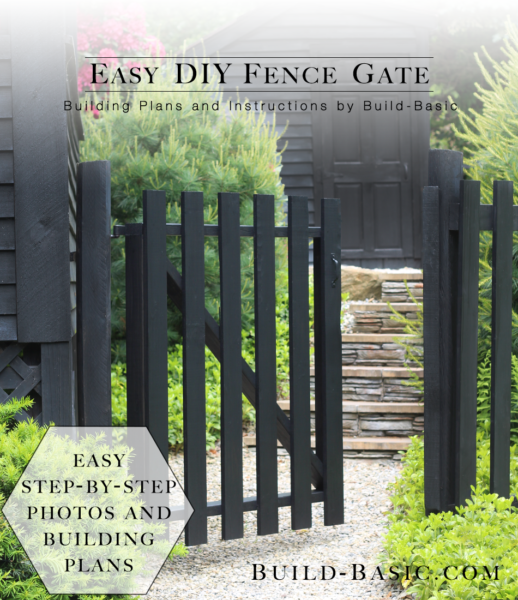
Our gate had been slowly rotting since we bought our house a few years ago. My lazy self kept adding screws until a guest accidentally knocked a picket off. Enter embarrassment. With an hour to spare this week, I finally pulled the whole gate off the hinges and built a new one. Let’s just say I was SHOCKED how easy it was to pull together with just a few boards and basic tools.
TIP: Click the image above to reveal the free building plans. Click the tabs below to see the tools, materials and cut list.
Cost: About $20 depending on gate size
Time: 1 hour
Difficulty: Easy. The square cuts and pocket hole assembly make this a great beginner project.
2 x 4 Top and Bottom Boards – 2 @ full width of gate
2 x 4 Side Pieces – 2 @ 3 inches less that full height of gate
2 x 4 Crosspiece – 1 @ Cut to fit
1 x 4 Pickets – Cut to height
Steps
1. Prep the Frame Pieces
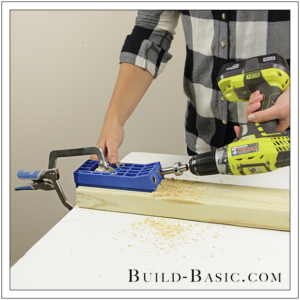
Using a
miter saw and the cut list above, cut the 2 x 4 frame pieces (Top, Bottom, and Sides) to length. Set the Top and Bottom boards aside. Using a
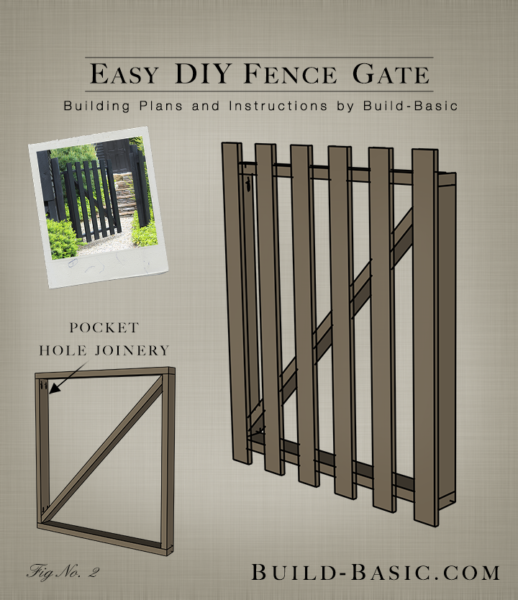
Kreg Jig HD (meant for 2 x 4 material) drill two pocket holes into each end of the Side Boards.

2. Assemble the Frame
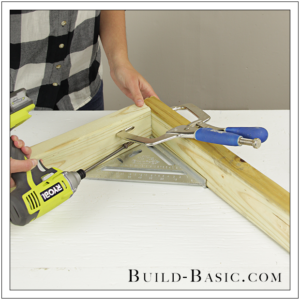
Position the Side Boards between the Top and Bottom Boards flush with their ends. With the pocket holes facing inward,
clamp the joint in place. Use a
square to adjust the placement of the boards. Using a drill/driver, drive 2½-inch
Kreg Jig HD screws through the pocket holes in the Side Boards, and into the Top or Bottom Boards. Repeat to secure the remaining joints.

3. Mark the Crosspiece
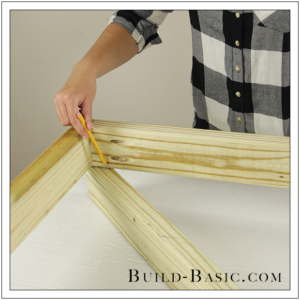
Prop the frame on a few scrap 2 x 4’s positioned on edge. Slide the 2 x 4 Crosspiece under the frame on a diagonal stretching from the top of the one Side Board to the bottom of the other Side Board. Mark the angled cut on the Crosspiece.

4. Cut the Crosspiece
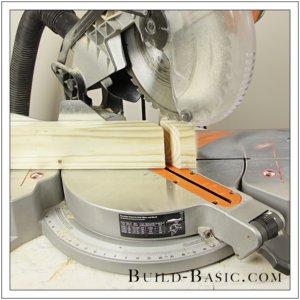
Adjust the blade of a
miter saw to the angle marked on the Crosspiece, and then cut the board at both ends.

5. Install the Crosspiece
Slide the Crosspiece into place inside the frame. Drive 2½-inch exterior screws through the Crosspiece and into the frame being careful to avoid the pocket hole screws.

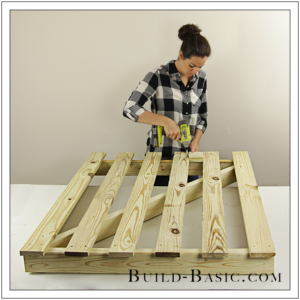
6. Position the First and Last Pickets
Place a Picket at each side of the frame flush with its edge. Using a measuring tape or combination square, adjust the vertical placement of the Pickets.

7. Attach the Pickets
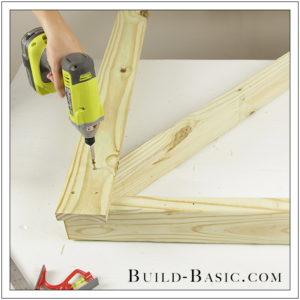
Drill two pilot holes through the top and bottom of the Picket and into the frame. Using a
drill/driver, drive 1½-inch screws through the pilot holes and into the frame. Drill a pilot hole and drive an additional screw through the Picket and into the Crosspiece. Repeat to attach the Picket at the opposite end of the frame.

8. Space the Pickets
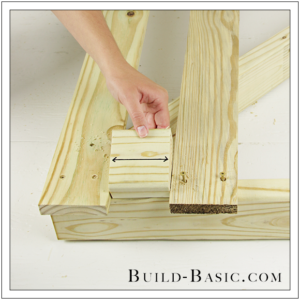
Subtract the collective width of the total number of pickets from the width of the gate. Divide the measurement by the number of gaps between the Pickets to determine their spacing. Cut a block to this measurement, and then place it on the frame to space the Pickets.

9. Finish Installing the Pickets
Using the spacer, and working from the outsides towards the center, install the remaining Pickets.

MORE BUILDING PLANS









Harry Brancheau
The gate looks good. However, I noticed that the diagonal is going in the wrong direction. It should be going from the lower hinge corner upward to the top latch side to minimize long term sagging.
Anonymous
The only problem is that in the picture the diagonal brace is going the wrong way.
Anonymous
Too many ads!! What a mess when trying to read your great projects.
Anonymous
Nice project.
Keith
FAIL diagonal is installed wrong