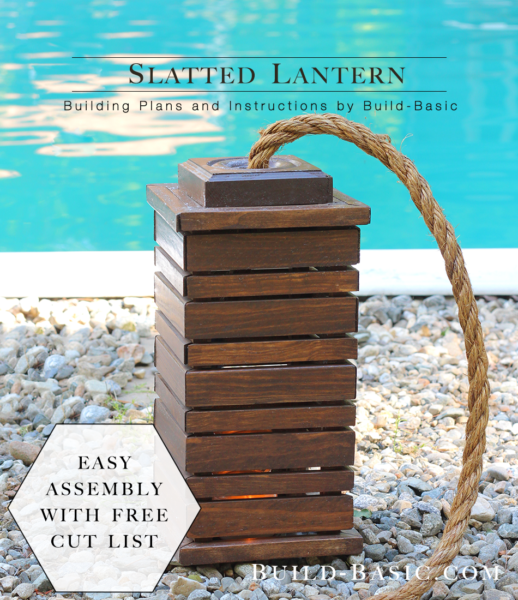
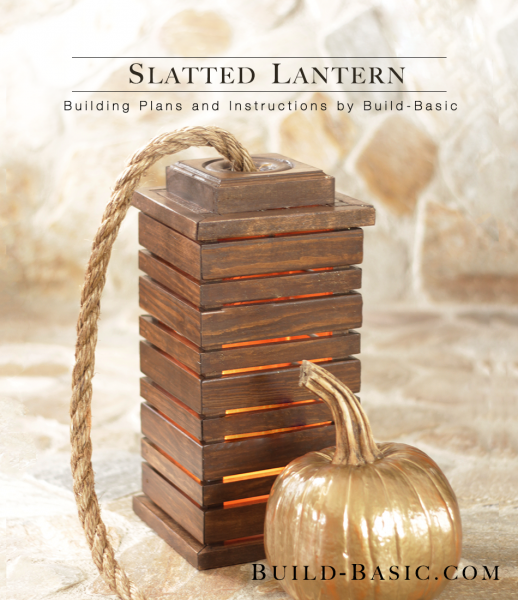
Add a soft glow to your space this season with this simple DIY slatted lantern complete with a rustic rope “wick”. With a fully customizable cut list, this little lantern can be easily modified to fit a smaller space, or make a statement with a larger footprint. And while this is a great project to practice making miter cuts, it can just as simply be made with straight cuts without sacrificing the rustic look.
Cost: $20
Time: 2 hours
Difficulty: Moderate. The angled cuts and small pieces require some comfort with a miter saw, but beginners can just as easily use a hand saw to make straight cuts.
(4) 5/8 x 5/8 x 3′ Square Dowel to make the lantern frame, base and cap pieces
(1) 3/8 x 1¼ Pine Stop Molding. Get 10 feet o make the wide lantern slats
(1) 3/8 x ¾ Molding. Get one eight-foot board to make the skinny lantern slats
(1) 4½ inch Molding Corner Block to make the lantern top
(1) ¾ inch Rope. Get about 2 ½ feet
¾ inch brad nails
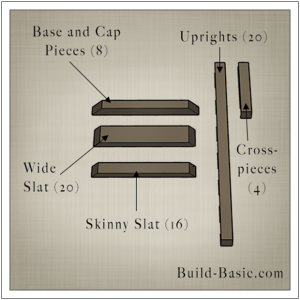
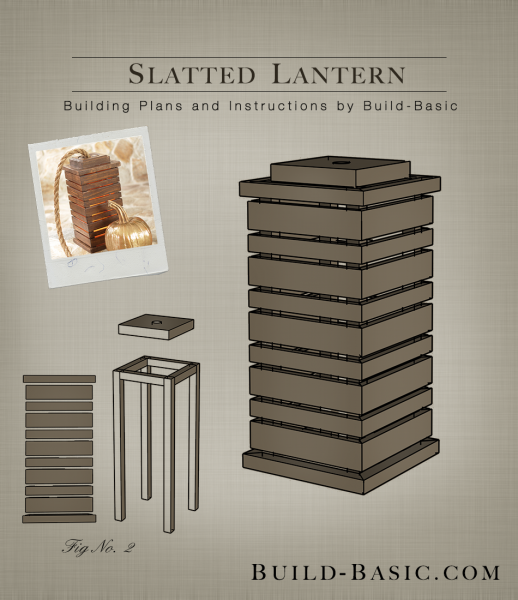
5/8″ Square Dowel Uprights – 4 @ 13 inches
5/8″ Square Dowel Crosspieces – 4 @ 4 inches
5/8″ Square Dowel Base and Cap Pieces – 8 @ 6½ inches
3/8 x ¾ Slats – 16 @ 6 inches
3/8 x 1¼ Slats – 20 @ 6 inches
Steps
1. Size the Parts
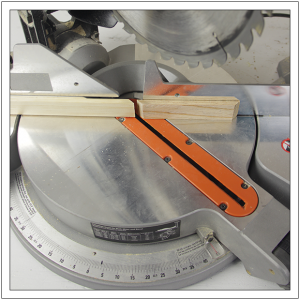
Using a miter saw, size the slats using the cut list above. Miter opposing 45-degree angles the ends of each slat. When cut properly the total length of each slat, from long point to long point, should 6 inches. To avoid adjusting the saw blade angle after each cut, set it at a 45-degree angle to the right, and then “roll” the molding after each cut so that the long point is always against the back fence. Safety note: When cutting small pieces like molding, allow the saw to fully stop rotating before lifting the blade.
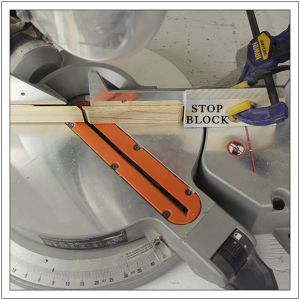
 Tool Tip: Set a Stop Block
The process of “gang cutting” boards to the same length using a stop block speeds up the process, and also makes cuts more accurate. To set up the stop block, cut a board to size, release the saw’s trigger, and then let the saw come to a stop while in the down position. Place the stop block against the end the cut piece, so that the board is lightly pinched between the saw blade and the stop block. Clamp the block securely in place. Raise the saw, remove the cut board, slide a new piece under the blade until it reaches the stop block, and then make a cut. Check the length against the first block and make adjustments as needed. Safety note: when using a stop block, always wait for the blade to stop rotating before raising it after a cut.

2. Cut the Parts
Using a miter saw or handsaw, cut the framing pieces to size. For the base and cap pieces, insure their shorter face is equal to the length of the shorter face of the slats. For the uprights, layout the slats on a scrap board, including the gaps between them, and mark the height to ensure proper sizing.

3. Sand and Finish the Parts
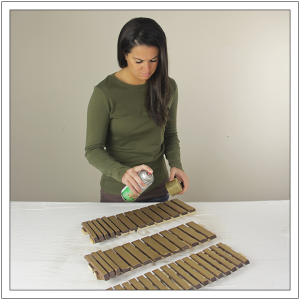
Lightly remove any burs from the cut ends using sand paper. Sand the parts and apply a coat of paint or stain.
Note: I don’t typically finish the parts until the end of a project, but in this case, I wanted to use stain, which can be tricky to get inside the lantern and between the slats. I also wanted to spray the inside of each slat with a glittery spray paint to bounce the light inside lantern, which would have been difficult to apply once the pieces were assembled. If you plan to spray paint the exterior, I’d recommend waiting until the end of the project so that you can properly fill and sand the nail holes.

4. Space the Uprights
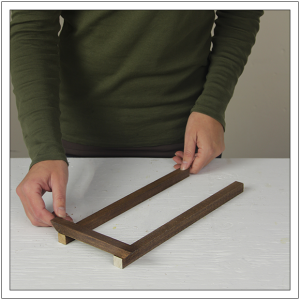
To create the proper spacing between the uprights, lay them parallel on the work surface and lay a base piece across them, flush with their bottom ends. Align the short point of mitered ends with the outside edges of the uprights, as shown.

5. Attach the Base and Cap Pieces
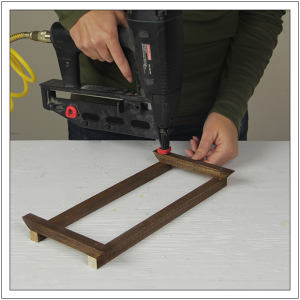
Repeat the process in step four to properly place a cap piece across the top of the uprights. Using a nail gun and ¾ inch brad nails, secure both the base and cap piece in place by nailing one nail through each end of each piece.

6. Space the Slats
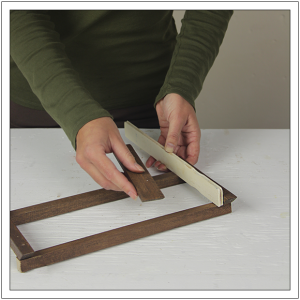
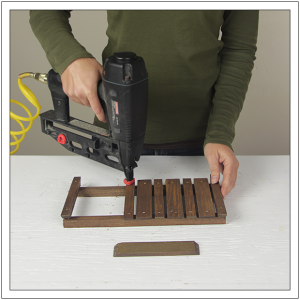
To create the spacing between the base and the fist slat, place two paint sticks alongside the base and then butt the first wide slat against it. Position the slat so that the short point of the mitered ends is flush with the outside edges of the uprights. Nail the slat in place using the pneumatic nail gun and ¾ inch brad nails.

7. Install the Second Slat
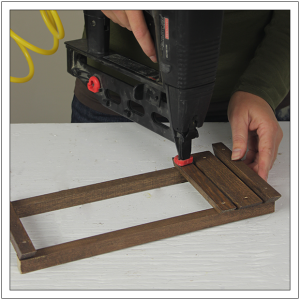
To create the pattern, place a thinner slat above the first slat. Using the paint sticks as a spacer, position the slat, and then install it using the pneumatic nail gun.

8. Finish Installing the Slats
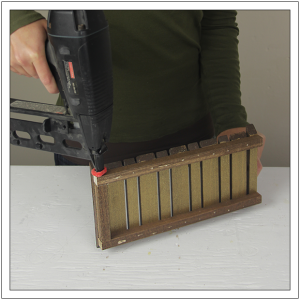
Continue alternating the two slat widths to create the pattern, using the paint sticks as spacers. Towards the top of the assembled side, dry fit the pieces to ensure proper spacing between the top slat and the cap piece. Should you be short on space, equally cheat the lower slats down (very slightly) to allow room at the top for a gap between the uppermost slat and the cap piece. In our design, we used five wide slats and four skinny slats per assembled side.

9. Insert the Crosspiece
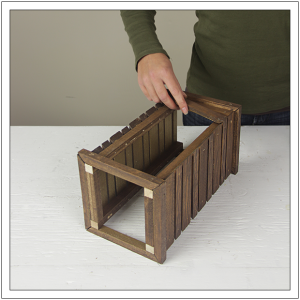
To gie the lid a ledge to rest on, place a crosspiece between the uprights, flush with their top ends. Nail through the upright and into the end of each crosspiece to hold it in place. Repeat steps 5-9 to assemble a second side of the lantern.

10. Attach the Assembled Sides
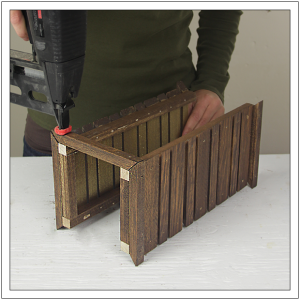
Stand both assembled sides on edge so that are parallel on the work surface with their insides facing each other. Set a base piece across the gap between them. Align the mitered ends, and then use a pneumatic nail gun to secure the piece in place.

11. Install the Last Base Piece
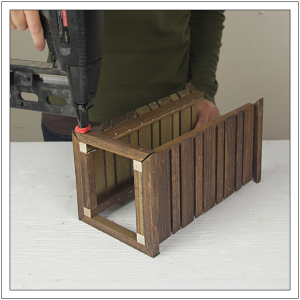
Flip the assembly over and repeat step 10 to attach the last base piece to the walls. In the same way, install the remaining two cap pieces to space and connect the top of the assembled walls.

12. Attach the Slats
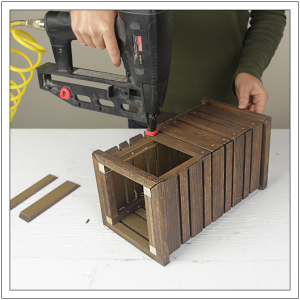
Using the ends of the slats on the assembled walls as a guide, place the first slat across the uprights. Nail the slat in place using a pneumatic nail gun and ¾ inch brad nails.

13. Finish Installing the Slats
Continue installing the slats on both remaining sides of the lantern by aligning their size and placement with the adjacent slats.

14. Insert the Remaining Crosspieces
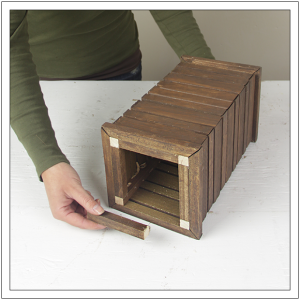
Insert the remaining crosspieces along the top edge of the lantern between the uprights. Holding the nail gun at an angle, nail through the crosspieces and into the caps to hold them in place.

15. Prep the Lid
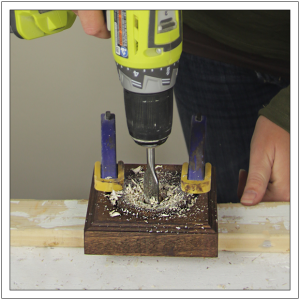
Place a scrap piece of wood beneath the molding corner block, and then securely clamp both pieces to the work surface. Mark the center of the block. Using a drill fitted with a ¾ inch paddle bit, drill a hole that is about ½ inch deep into the block. Place the block on the top of the lantern so that it rests on the crosspieces. Drive a long nail though each corner of the block into the lantern. Note: This block can be attached using hinges to allow easy access to the inside of the lantern, or the lantern can simply be lifted to place a candle inside.

16. Insert the Rope
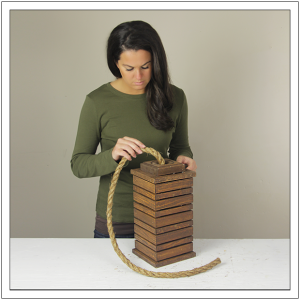
Apply a bead of glue to the inside of the hole drilled in step 15. Insert the end of the rope into the hole, giving it a quarter twist to distribute the glue. Using a clamp, hold the rope in place to allow the glue to completely dry.

MORE BUILDING PLANS
 Tool Tip: Set a Stop Block






Pingback: 15 DIY Lanterns To Illuminate Outdoor Areas
Mike Pridmore
I have concerns about the practical use of a candle inside a small wooden structure. Anybody else??
Anonymous
I know this comment is old but you could use a led candle.
GSB
I found this idea a good one.
Easy to follow instructions and plans.
Ideas: make a unit with a larger base, larger spacing between slats and last but not least I am thinking Vertical slats, i.e. paint sticks or similar wooden pieces.
Thaks for the project ideas.
Dirk Jansen van Rensburg
Fantastic idea
Pingback: 15 Fall Decor DIY Projects DIYReady.com | Easy DIY Crafts, Fun Projects, & DIY Craft Ideas For Kids & Adults