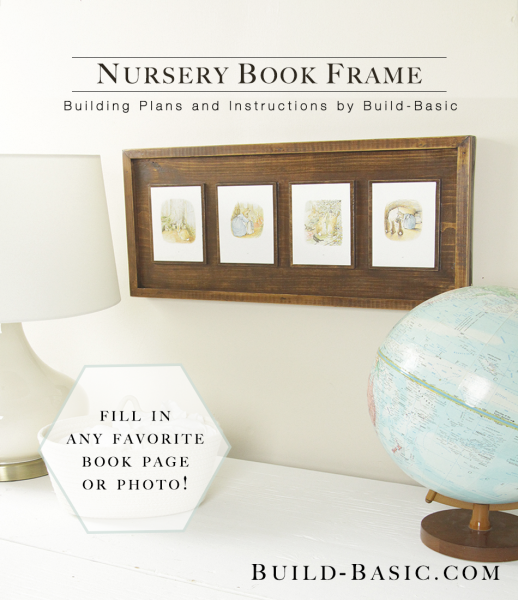
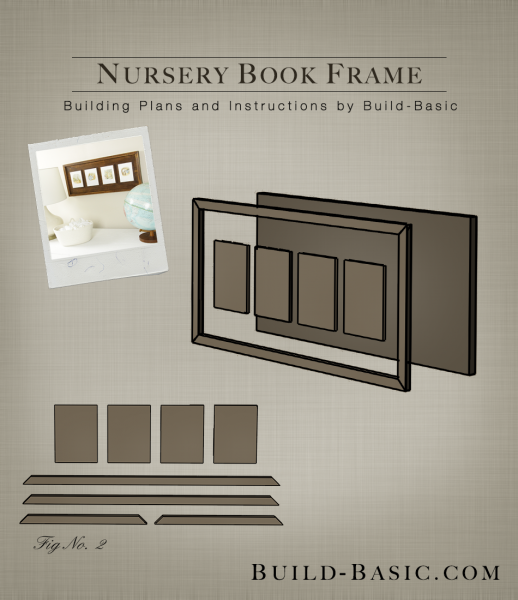
This rustic alternative to a traditional picture frame beautifully displays pages from a favorite story book, children’s artwork, or family photos. Just nail the molding and hobby board pieces directly to the backer board, and then glue the artwork in place.
Cost: $11
Time: 1 hour
Difficulty: Easy. Just cut the molding and hobby board pieces, and then nail them to the backer board.
(1) 1 x 12″ x 24″ Board to make the Backer Board
(1) ½” x ¾” x 6′ Molding to make the Frame
(1) ¼” x 6″ x 4′ Hobby Board to make the elevated Panels
¾ inch Finish Nails
Spray Adhesive
Wood Glue
Wood Filler
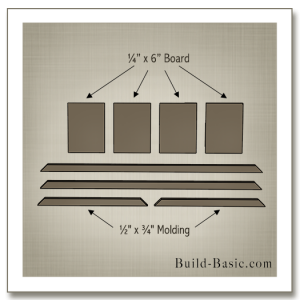
½” x ¾” Molding – 2 @ the width of the backer board (ends mitered at opposing 45-degree angles)
½” x ¾” Molding – 2 @ the length of the backer board (ends mitered at opposing 45-degree angles)
¼” x 6″ Panels – 4 @ 4 inches
Paper, Pages, or Pictures – 4 @ 3½”W x 5″H
Steps
1. Cut the Parts
Using a miter saw and the cut list above, cut the ½” x ¾” molding and ¼” x 6″ hobby boards to size. Lightly sand the cut edges of all the parts to remove burrs.
 2. Position the Panels
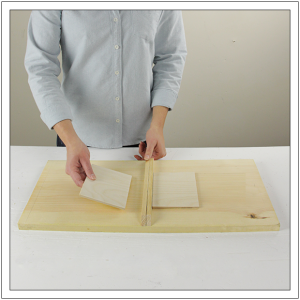
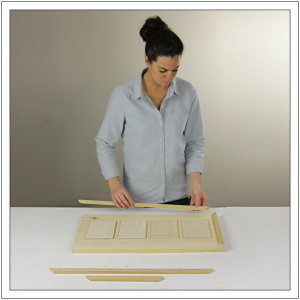
Mark a vertical line down the center of the 24-inch length of the 1×12″x24″ Backer Board. Draw horizontal lines along the board that run 2 7/8 inches from the top and bottom edges. Place two pieces of Molding on edge as shown so that they create an inch-wide spacer. Place the spacer over the centerline. Position a Panel on each side of the spacer inside the horizontal lines.

3. Install the Panels
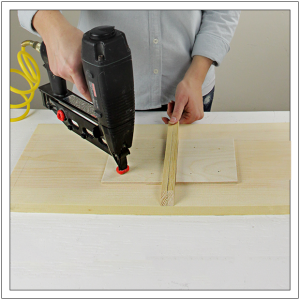
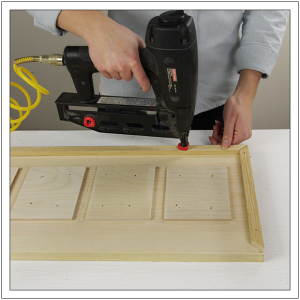
Using a pneumatic nail gun and ¾ inch finish nails, nail through the Panels and into the Backer Board to hold them in place. Position the nails at least ¾ inch from the corners of each Panel to ensure they’ll be hidden by the artwork.

4. Add the Remaining Panels
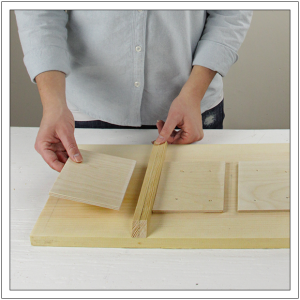
Using the spacer, position and install the remaining Panels.

5. Position the Molding
Apply wood glue to the back of each stick of Molding, and then position it on the face of the Backer Board flush with its edges.

6. Secure the Molding
Nail through the Molding and into the Backer Board to secure it in place.

7. Add the Artwork or Pictures
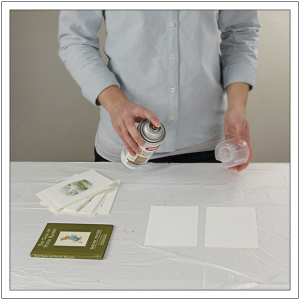
Coat the back of each page or picture with spray adhesive. Center a page over each Panel, and then press it into place.

MORE BUILDING PLANS
 2. Position the Panels






Anonymous
Thats is awesome.. Thank you for sharing