*This post is sponsored by The Home Depot
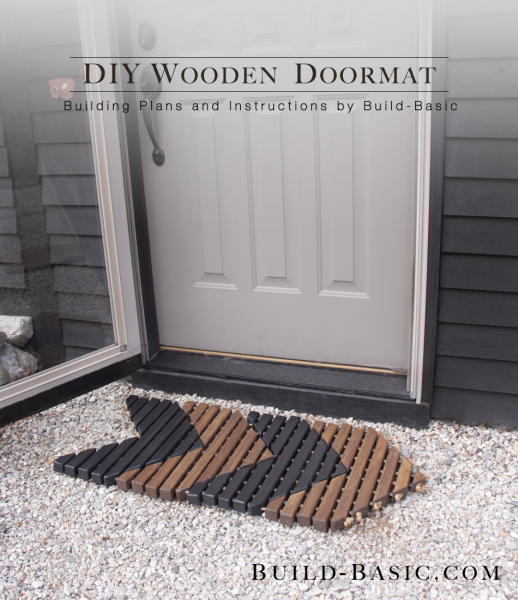
Welcome guests with an instant wow right at your front door with this easily customizable slatted wooden door mat. Worried about the miter cuts? Just substitute the cut lines for painters tape, and use contrasting colors to highlight the design. Either way, these arrows are sure to catch your company’s attention the minute they arrive!
Create your own slatted doormat at your local Home Depot FREE DIY Workshop on Saturday, March 26th! Click HERE for details!
Click HERE to see how 25 blogger customized a DIY Wooden Doormat to fit their space!
TIP: Click the image above to reveal the free building plans. Click the tabs below to see the tools, materials and cut list.
Cost: $30
Time: 4 hours
Difficulty: Difficult. While the design is simple, making the cuts requires comfort with a saw. As an alternative, use this tutorial to layout the lines and choose contrasting paint colors to define the pattern.
Note: This list may contain affiliate links
(10) 2 x 2 x 36″ Square End Balusters
(1) Spool ¼” x 50′ Natural Sisal Rope
(1) 100-count box of 3/8-inch nuts
(1) 100-count box of 3/8-inch washers
Steps
1. Layout Slat Spacing
Using a miter saw, cut the 2 x 2 x 36″ balusters in half. To account for variance in lengths, I trimmed all the pieces to a length of 17¾-inches-long. Lay all the slats parallel on a flat surface with 5/16-inch-wide nuts separating the slats. Clamp the first and last slat to the work surface to lock the pieces in place.

2. Mark Arrow Lines
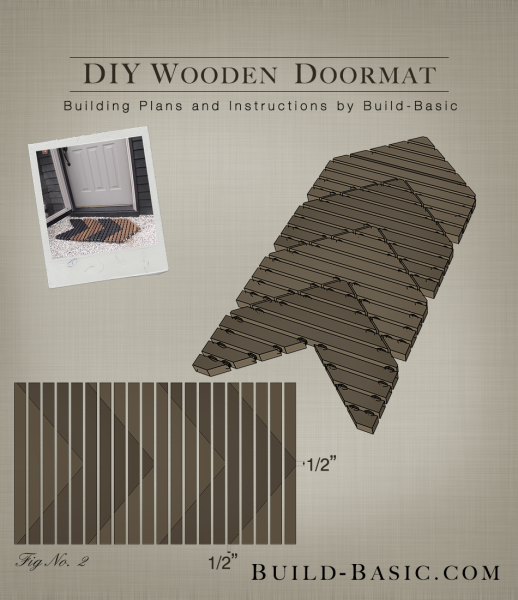
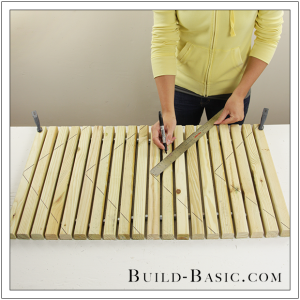
Using a ruler, mark a centerline on the first slat, and every fifth slat thereafter. Mark additional line ¼-inch to either side of the centerlines. Lastly, make a notch 1/2-inch above the bottom edge of every fifth slat. Now connect the point beside the centerline to the corresponding notch to create the diagonal lines.

3. Layout the Rope Holes
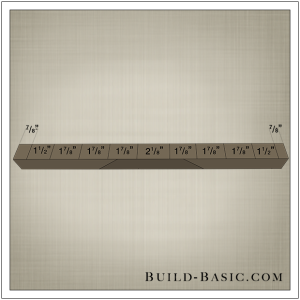
Place the first slat on the work surface. Roll the slat so that the marked cut lines are facing to the side. Using a ruler and the diagram, mark the location of the holes on the slat.

4. Transfer Hole Placement
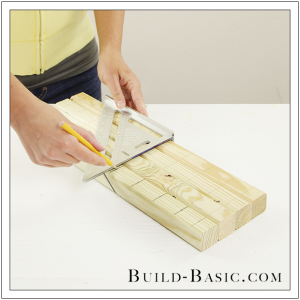
Place four slats on the work surface side by side. Using a speed square, carry the marks from the first slat to the remaining slats. Repeat this process until the location of all the holes are marked on each slat.

5. Drill Holes for the Ropes
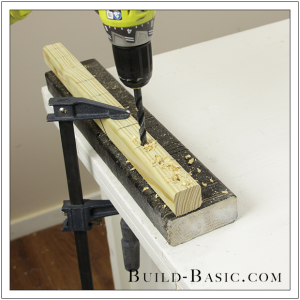
Clamp the first slat securely onto a scrap block. Using a drill/driver and a 3/8-inch drill bit, drill holes through the center of each line marked on the slat. Repeat the process on the remaining slats, being sure to keep the drill bit perfectly plumb.

6. Cut the Design
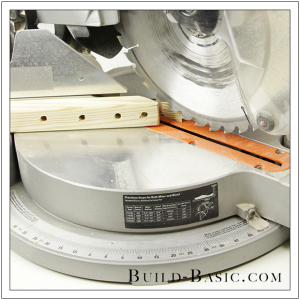
Using a miter saw, circular saw, or handsaw, cut the marked lines on each slat to separate the arrows of the design. If using a miter saw, set the bevel to 50-degrees. For safety, it may be necessary to use a circular saw or hand saw to make several of the smaller cuts.

7. Dryfit Slats
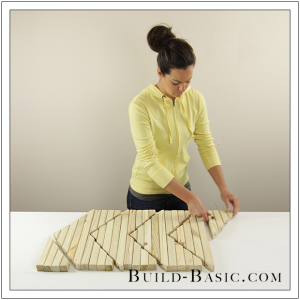
Place all the cut slats in place on the work surface. Remove the cutoff from the sides of the first arrow and move them to the back of the last arrow to create the tails, as shown. At this time, it is best to sand and stain or paint the slats as desired, making sure to keep the slats in their original location in the design.

9. Prep the Ropes
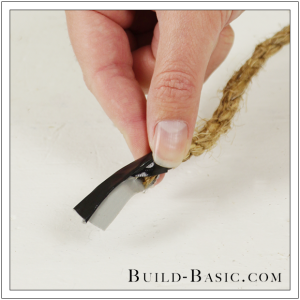
Apply a piece of tape to the end of the rope to make it easier to thread the rope through the holes in each slat.

10. Thread the Ropes and Nuts
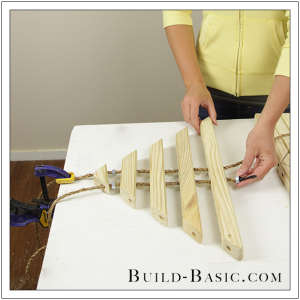
Thread a nut between the slats to create the spacing.

11. Plan the Placement of the Nuts
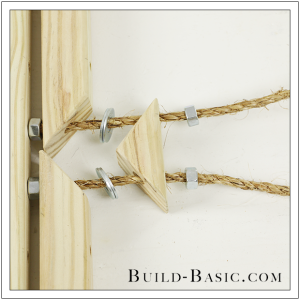
To conserve on the number of nuts needed in this design, I’m only placing them at the ENDS of each slat. See the diagram for reference.

12. Thread the Washers
To create a smaller gap along the cut lines of the design, thread two washers along each angled cut, as shown.

13. Knot the Ropes
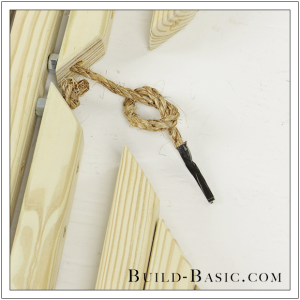
Once the slats are fully assembled, tightly knot each rope at both ends, and then cut off the excess.
*I acknowledge that The Home Depot is partnering with me to participate in this Workshops Program. As a part of the Program, I am receiving compensation in the form of products and services, for the purpose of promoting TheHome Depot. All expressed opinions and experiences are my own words. This post complies with the Word Of Mouth Marketing Association (WOMMA) Ethics Code and applicable Federal Trade Commission guidelines.

MORE BUILDING PLANS







Charlotte Smith
SO clever! My brain would struggle to come together with that layout, but I LOVE LOVE it!! Ha!