


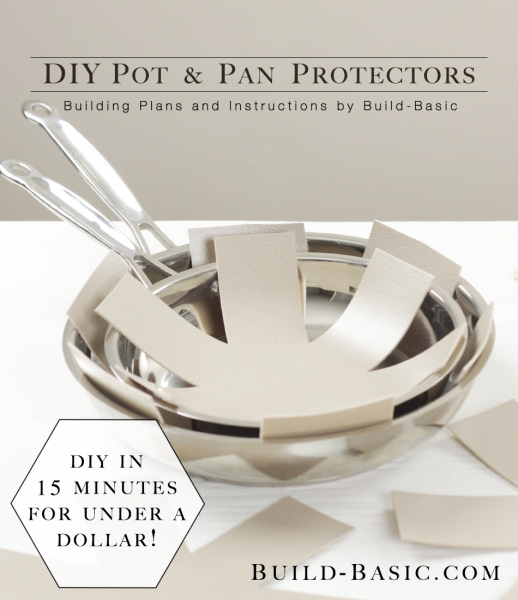
Not too long ago, my cabinets were stacked full of wedding dishes and serving platters divided by bubble wrap. If that’s not tacky enough, our pots and pans we separated by paper plates. The gouges and scratches that ruined our old set weren’t going to get the best of me. But, by the time our tenth guest asked me “did you just move in?” I knew I needed a better-looking solution. Trouble is, pot and pan protector pads can cost upwards of $15 for a set of three. If you know me, that’s not an option. Enter my solution for creating my own for under $1 each using a pair of scissors and a vinyl placemat. Oh, and I made a handy printable (see below) so the sizing turns out just right.
TIP: Click the image above to reveal the free building plans. Click the tabs below to see the tools, materials and cut list.
Cost: $1
Time: 15 Minutes
Difficulty: Easy. Jump print one of our templates, adhere to the placemat with tape, and cut out the pattern!
Note: This list may contain affiliate links
Printer – If you’re using our Templates
Scissors
Tape
Vinyl Placemat – The one I chose was 12″ x 18″
Download our free Pot and Pan Protector Template
Steps
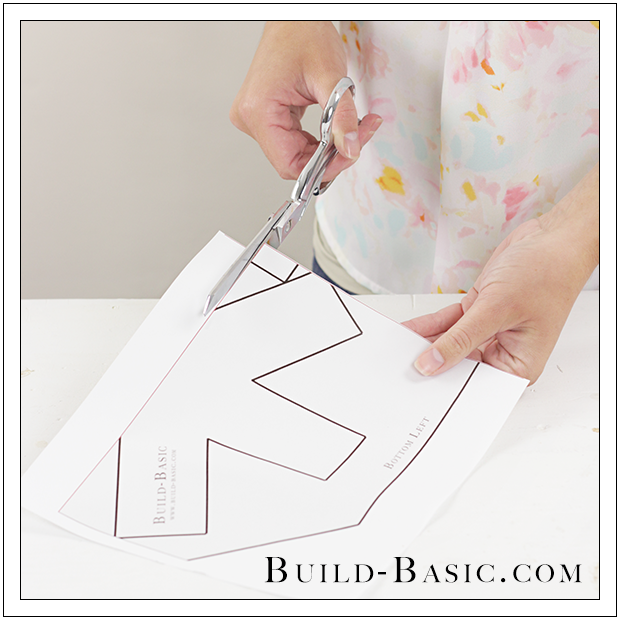
1. Prep the Template
Download and print our free template (see Cut List Tab above). Cut along the red lines on each page of the template.

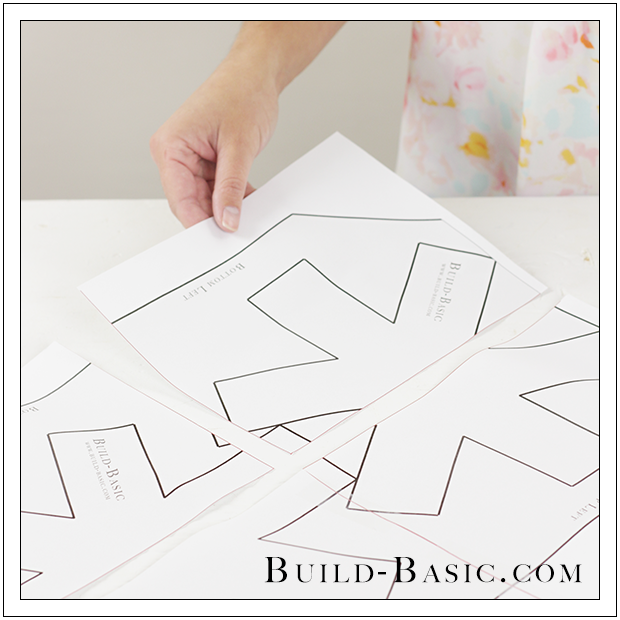
2. Join the Template Parts
Position the pages of the template, and then join the pages using clear tape.
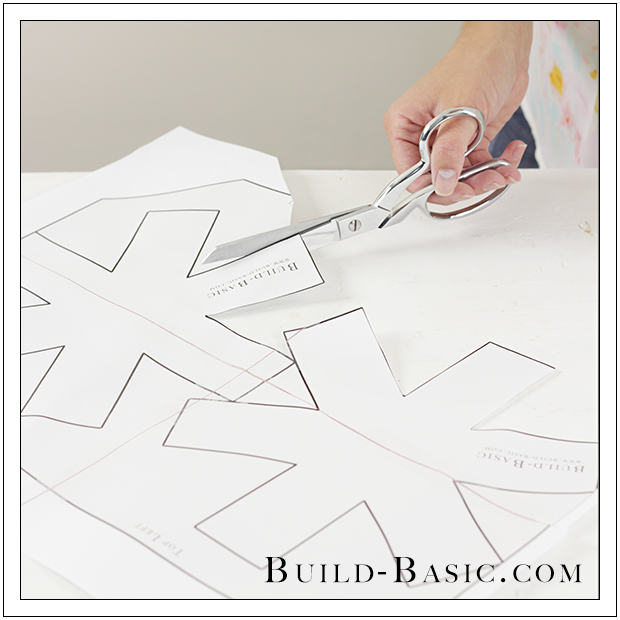
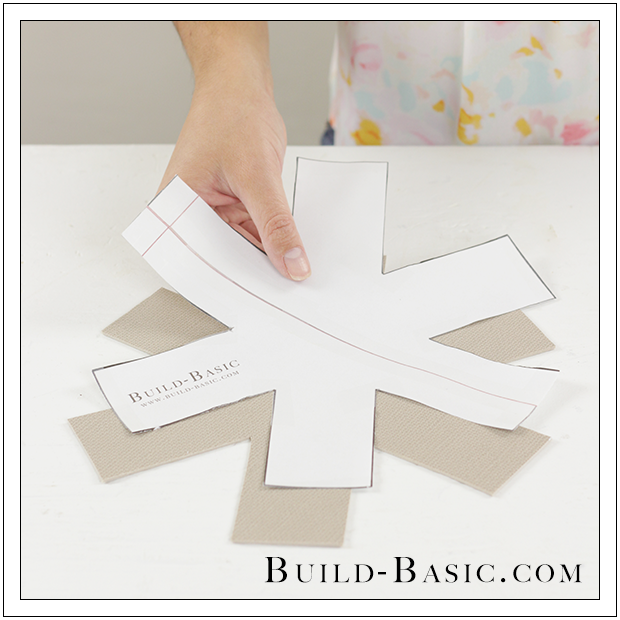
3. Cut Out the Template
Using scissors, cut out the edges of each leg of the template. Leave the triangle connecting the two small protectors joined.
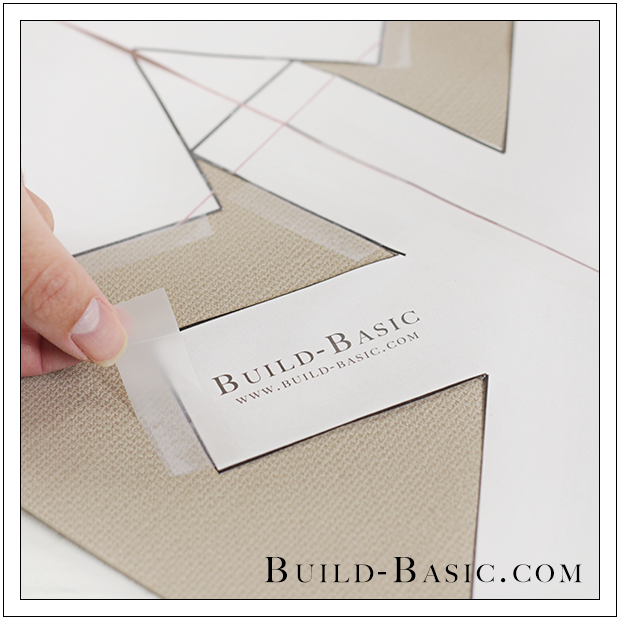
4. Secure the Template
Position the template on the placemat. Place clear tape along the edges, and most importantly, the ends of each leg of the template.
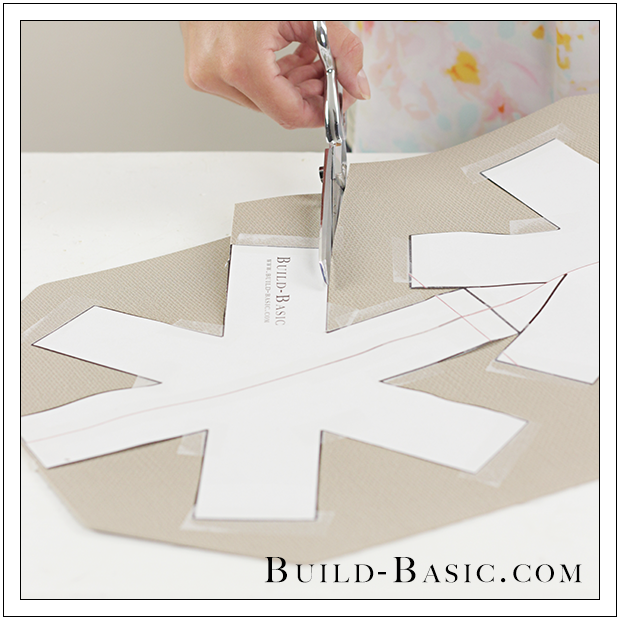
5. Cut the Template Edges
Using scissors, cut along the edges of the each protector.
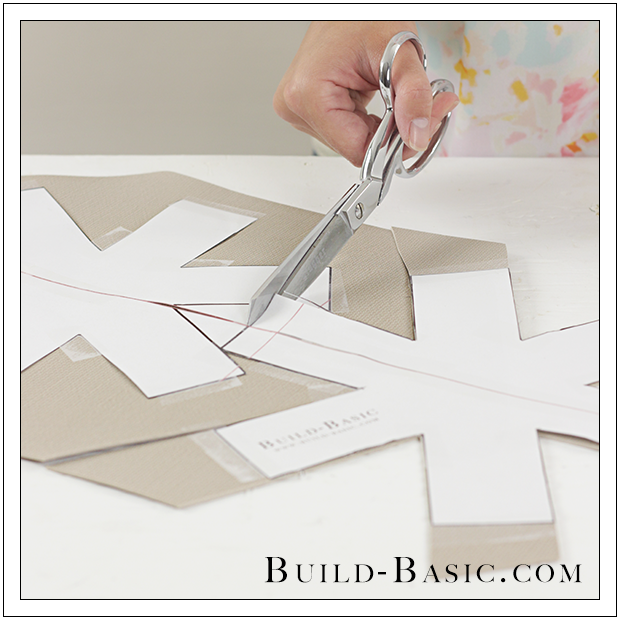
6. Cut the Triangle
Now cut the triangle between the two small protectors.
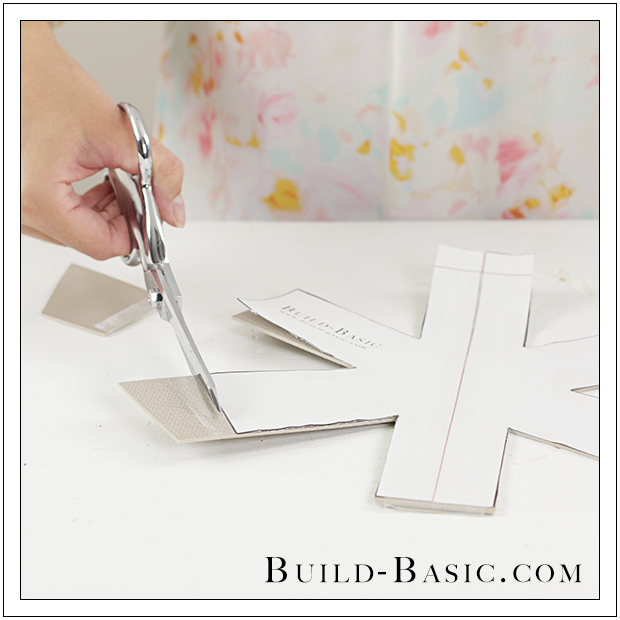
7. Cut the Template Ends
Now, cut along the end of each leg of each protector.
8. Remove the Template
Once all the edges and ends have been cut, the paper will lift off the placemat to reveal the completed protectors.
MORE BUILDING PLANS


Anonymous
Hi. Can you please give the plans . Can t open the link. Thanks
Kerri Walker
How did you make the larger sized one?