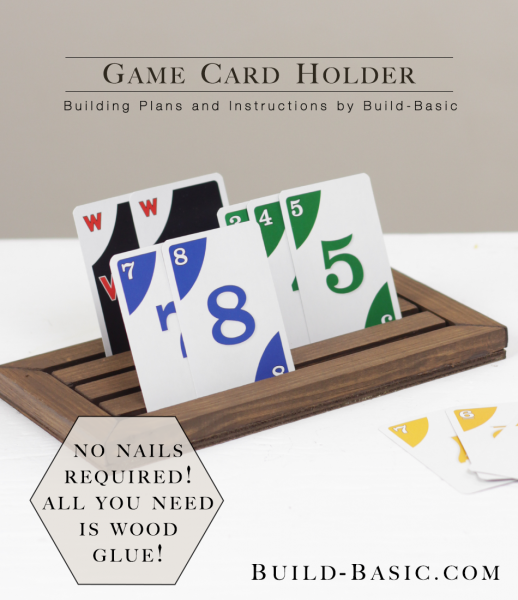
With a few pieces of molding and some glue, you can craft these handy card holders for family game night. Add bonus points if the kids decorate and personalize their holder! (And don’t forget to share the pics with us!)
Time: 30 Minutes
Difficulty: Easy. Just cut the parts and assemble with wood glue.
Miter Saw or Handsaw
Hand Clamps
(1) ¼” x 5 Hobby Board
Wood Glue
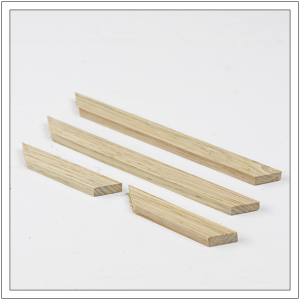
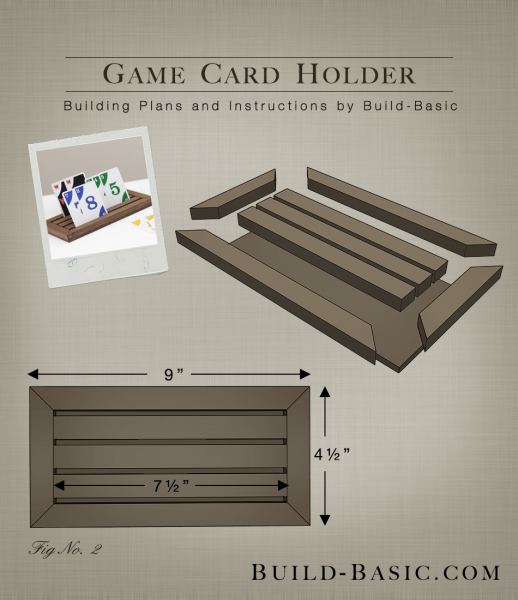
½” x ¾” Front and Back – 2 @ 9 inches (ends mitered at opposing 45-degree angles)
½” x ¾” Sides – 2 @ 4½ inches (ends mitered at opposing 45-degree angles)
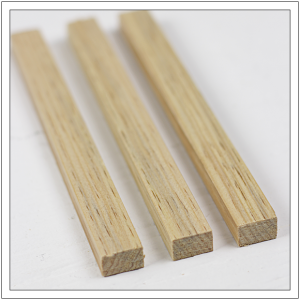
½” x ¾” Dividers – 3 @ 7½ inches
Steps
1. Cut the Dividers
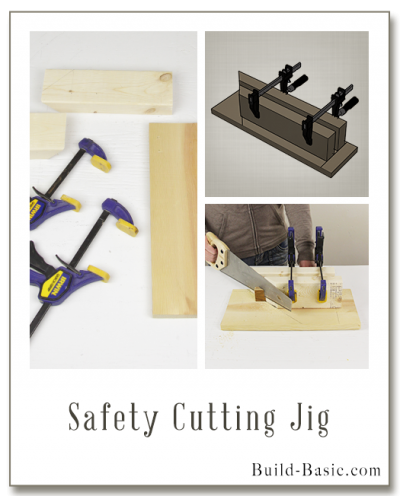
Tip: I used my DIY Safety Cutting Jig to cut the Dividers and to miter the Front, Back and Side pieces in Step 2. It gave me a clean cut without risking my fingers on the Miter Saw.
 2. Miter the Front, Back and Side Pieces
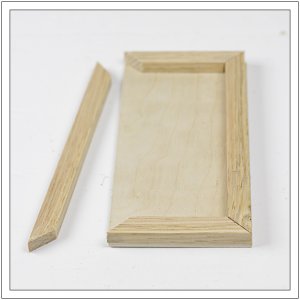
3. Attach the Outer Pieces
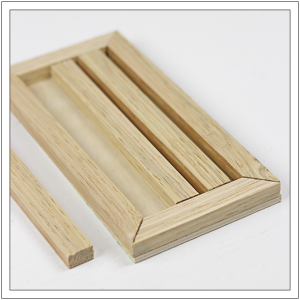
4. Insert the Dividers
MORE BUILDING PLANS






Pingback: Choose a Christmas Gift for Your Favourite Geek – Ms Mettle
Jeri Staley-Earnst
I’m going to use this concept for holding my sewing rulers – mahalo for the great idea!
Jenn Post author
Thanks Jeri! I love the idea of using this to hold sewing rulers! I’d love to see pictures of how it turns out!
Pingback: DIY Game Card Holder For Family Pastimes | Shelterness