Welcome to The Build Basic Custom Closet System! In this Series, I’m showing how to make a handful of simple DIY components that come together to create a functional, beautiful custom closet space. Even better is that ALL of the cut lists are adjustable so you can quickly and easily pick and choose the type of storage you need, and size it to fit your space!
In this tutorial, I’m showing how to add adjustable shelves and hanging rods to the “cubby” built in Part One. These Cubbies can also house add-ons like a tilt-out hamper, and a pull out shoe organizer. In addition, this series includes free plans for an easy hideaway ironing station and built-in closet drawers that don’t require a table saw or router! Click around to see which organization options you’d add to your dream closet!
This post is sponsored by PureBond Plywood, the makers of the beautiful formaldehyde-free plywood I’m using to build this project. To learn more about their great products and how this series came about, click HERE.
The Build Basic Custom Closet System
Series Introduction
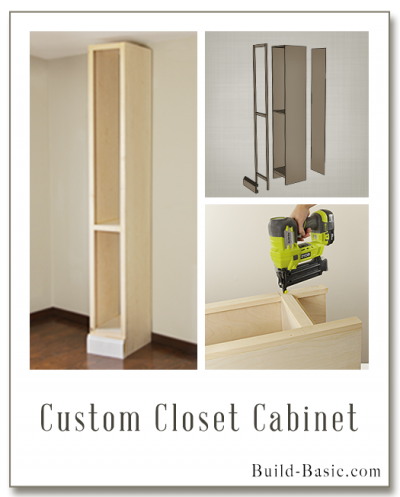
Basic Closet Cabinet
Adjustable Shelves and Hanging Rods
Tilt-out Hamper
Pull Out Shoe Organizer
Hideaway Ironing Station
Built-in Closet Drawers (the easy way)
TIP: Click the tabs below to see the tools, materials and cut list.
Time: 2 hours
Difficulty: Easy. Drilling evenly spaced holes for the adjustable shelves, and adding the hardware for the hanging rods, is a quick and easy process.
Note: This list may contain affiliate links
Cubby
- To learn what materials are needed to build a Cubby, click HERE
Adjustable Shelves
- ¾-inch Plywood (I’m using PureBond Plywood in Birch)
- 1 x 2 x 8′ Boards to finish the front edge of each Shelf
- 1¼-inch Finish Nails
- Shelf Pins
- Wood Filler
Hanging Rod
- Closet Pole Sockets (2 pack)
- #10 ¾-inch Wood Screws
- Closet Rod – I’m using a 1 5/16-inch Rod
*This cut list assumes that cubby has an interior depth of 16-inches.
¾-inch Plywood Shelf – 16 inches Deep x The Interior Width of the Cubby
1 x 2 Shelf Face – 2 @ Width between the Face Frame Stiles
Wood Closet Rod – 2 @ 1/8-inch less than the Interior Width of the Cubby
Steps
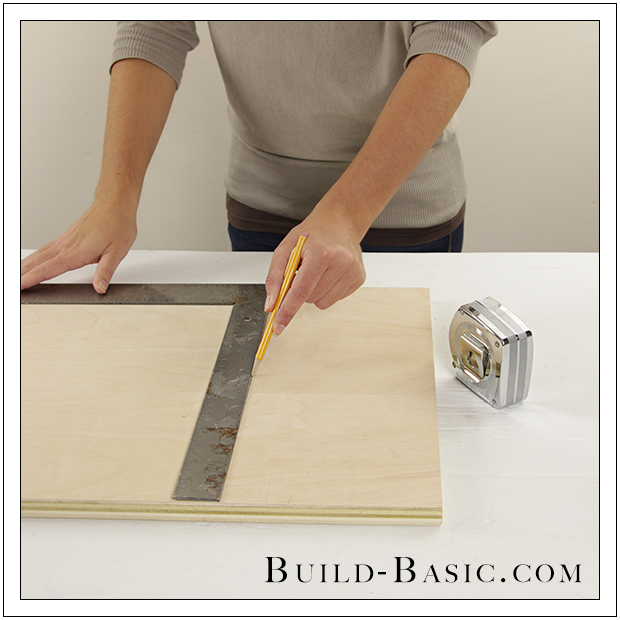
1. Size the Shelves
Measure and mark the width of the Shelf on a piece of ¾-inch plywood. To allow the shelf to tip into place, I marked my shelves 1/8-inch less than the interior width of the Cubby. Using a framing square, double-check that the marked lines run perpendicular to the edges of the panel. If you don’t have a table saw for this step, use my easy
DIY Cutting Fence (shown) to cut a perfectly straight line across the panel using a circular saw.
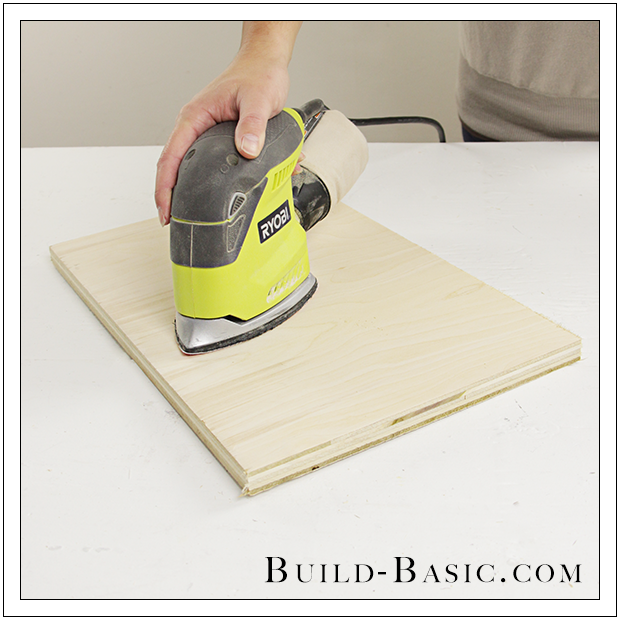
 2. Sand the Shelves
In preparation for assembly, sand the surface and edges of each Shelf smooth, and remove any burrs along the edges left by the saw.
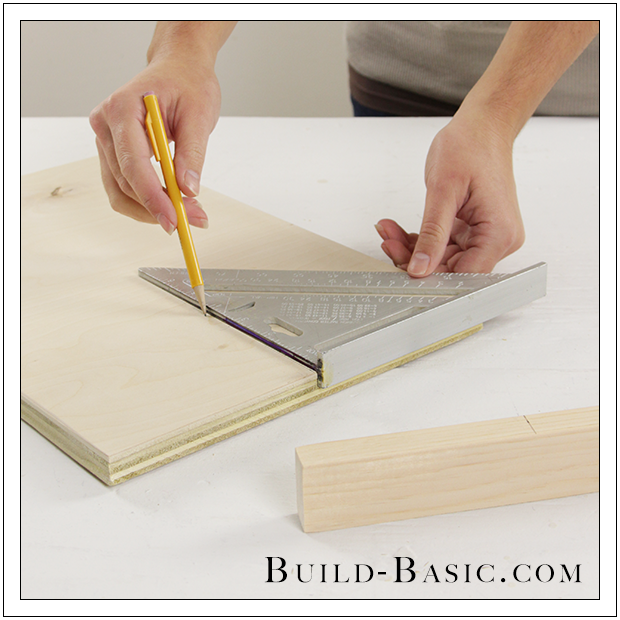
3. Mark the Shelves and 1 x 2
Using a tape measure, find the center of the width of the Shelf. Now, using a speed square, mark a line on the surface of Shelf near its front edge. Repeat this process to mark the center of the top edge of a 1 x 2 cut to the distance between the Face Frame Stiles.
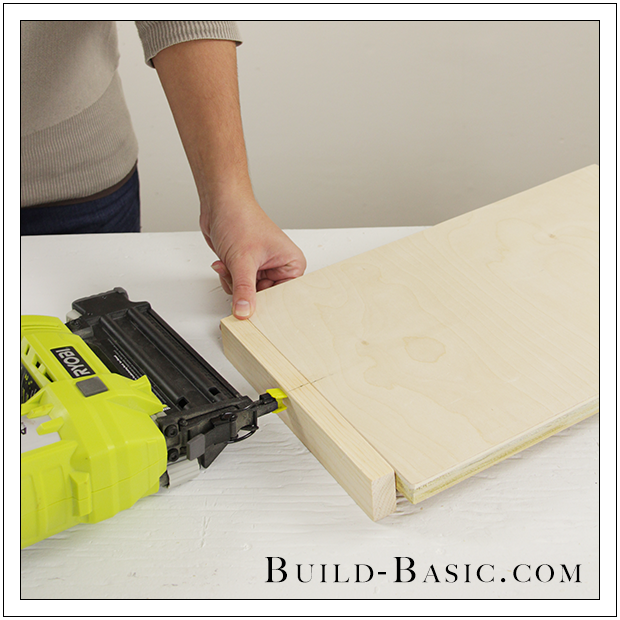
4. Attach the 1 x 2’s
Place the Shelf on a scrap board to lift it ¾-inch off the work surface. Apply a bead of wood glue to the front edge of the Shelf. Place the 1 x 2 on edge against the Shelf so that the center of each piece aligns, and the 1 x 2 rests flush with the surface of the Shelf. Repeat to create additional adjustable Shelves.
5. Mark the Walls
Mark the starting height of the adjustable shelf pin holes on the inside face of each Cubby Wall. It’s important that these lines are a perfect mirror of one another so that the shelves set level. I recommend measuring form the base of each Wall to stay consistent.
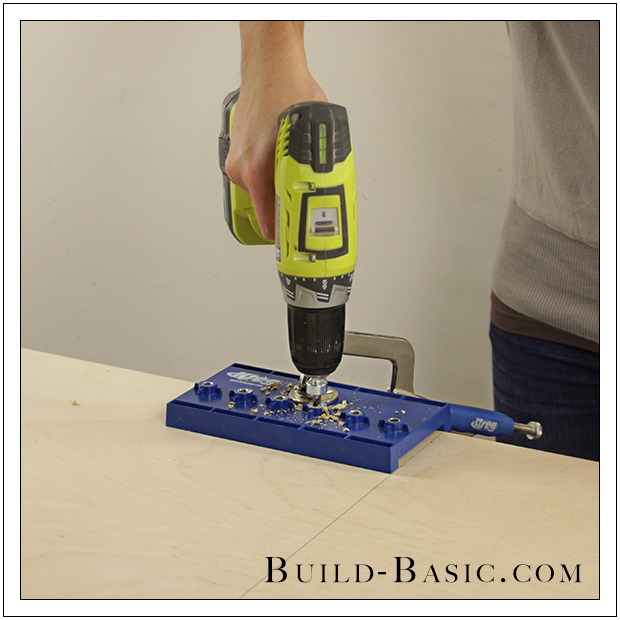
6. Begin Drilling the Shelf Pin Holes
For this step, I’m using a Kreg Jig Shelf Pin Jig, which allows me to drill holes that are perfectly vertical, evenly spaced, and of equal depth. If you don’t have this jig you can always use pegboard to space your holes, but keeping the drill bit plumb and drilling even depths is tricky. To begin using the jig, place its lip along the edge of the panel. Align the edge of the jig with a line marked in Step 5. Drill through the holes in the jig and into the board until the stop collar reaches the jig. For reference, I chose to only drill every other hole in the jig.
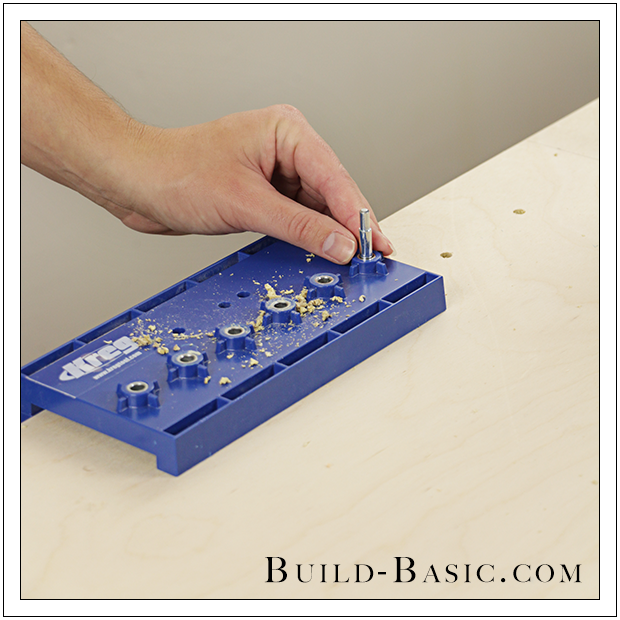
7. Finish Drilling the Shelf Pin Holes
To move the jig, simply move its lip along the edge of the board, and then place the “Locating Pin” into the last hole drilled. Continue drilling every other hole before flopping to the opposite edge of the board. Finish by completing the second Cubby Wall.
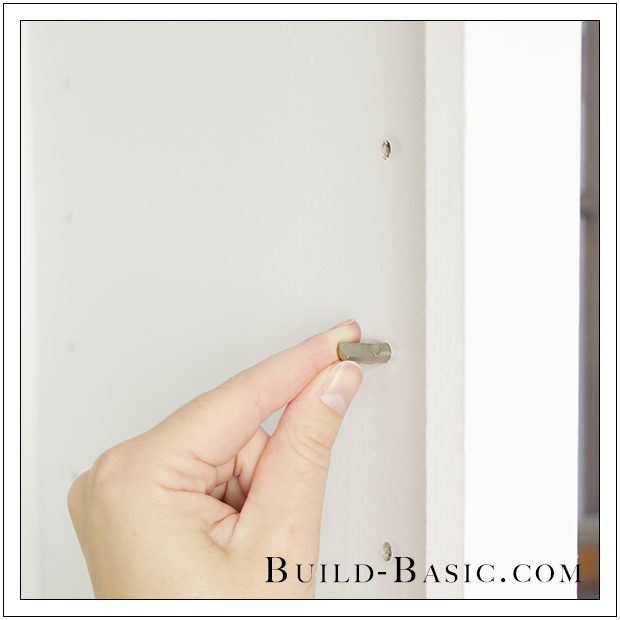
8. Insert the Shelf Pins
Locate the desired height of each Shelf, and then place four Shelf Pins into the corresponding holes. Twist the shelf pins into each hole until the ledge of the pin reaches the Wall. Spin the pin until the flat ledge faces upward.
9. Install the Shelf
Tip the Shelf diagonally to fit it between the Face Frame Stiles, and then tip the front edge up to straighten out the Shelf. Now lower the front edge down between the Stiles and rest the Shelf on the Pins. Once installed, the Shelf should set between the Cubby Walls, and behind the Face Frame Stiles, while the 1 x 2 attached to the front edge of the Shelf rests between the Face Frame Stiles.
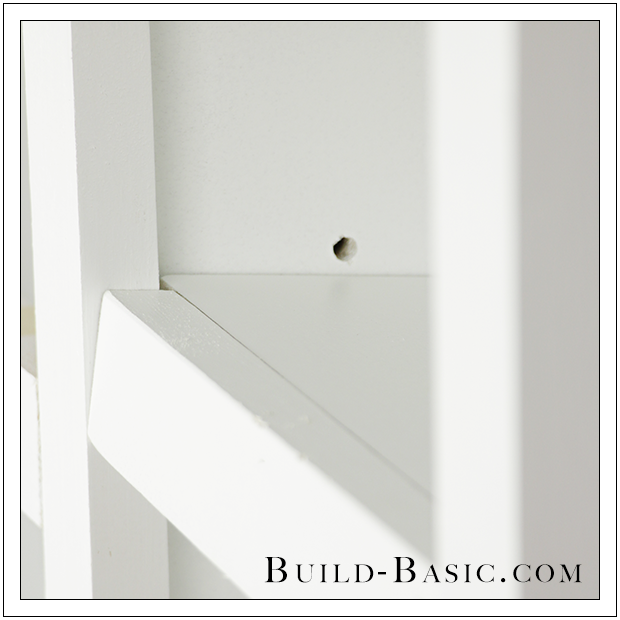
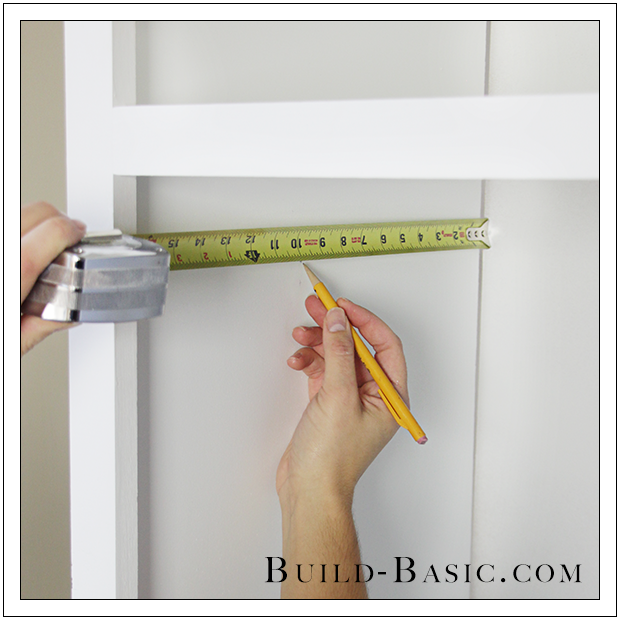
10. Mark the Hanging Rod Placement
To install a Hanging Rod into a Cubby, first mark the placement of the pole sockets that hold the Rod. To do so, mark a height inside the Cubby that’s at least 3 inches below a Shelf to allow the hanger to rise up and over the Rod. Secondly, mark the depth of the Rod on the inside of each Wall of the Cubby–Its best to leave at least 10 inches between the Rod and the Back of the Cubby to allow the hanger to rest on the rod without touching the Back Wall.
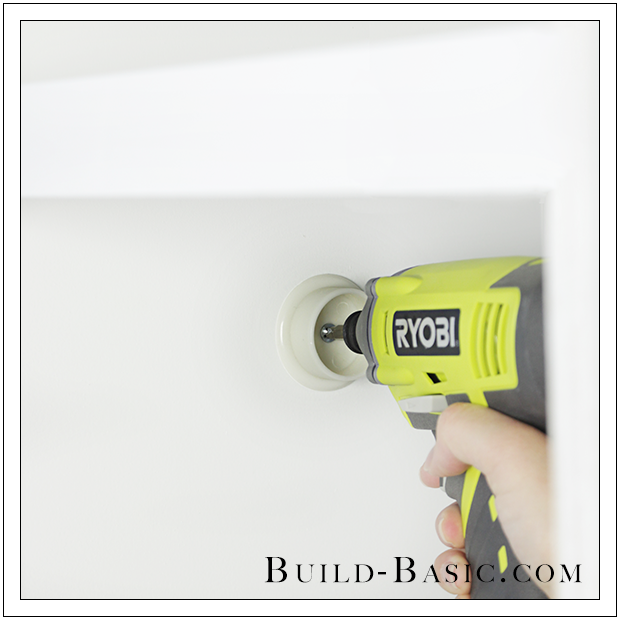
11. Install the Pole Sockets
Using a Drill/Driver, install the pole sockets using the hardware provided, or ¾-inch wood screws.
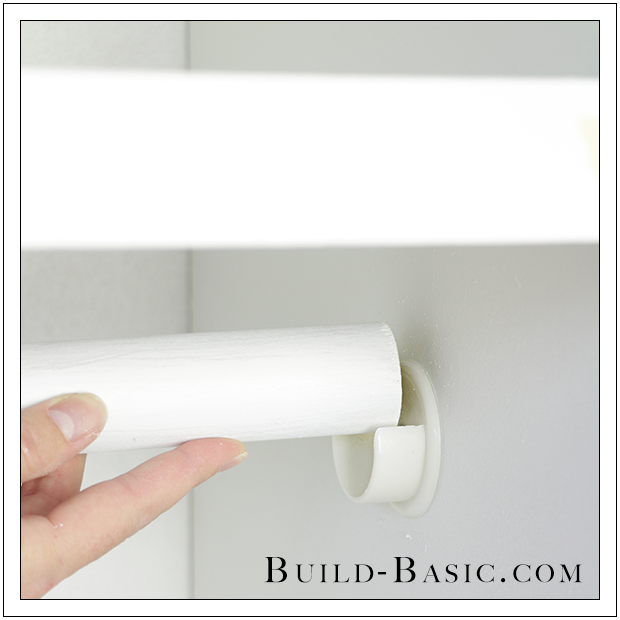
12. Install the Rod
Measure the distance between the flat inside surfaces of the pole sockets. Subtract about 1/8-inch to give yourself a bit of wiggle room, and then cut the wood Closet Rod to length. Press the Rod into the full-circle socket, and then tilt it into the half-circle socket.
MORE BUILDING PLANS


Bruce Christie
These plans are amazing! Can’t wait to get started.
A few of questions if you don’t mind. Is this one “cubby” with a shared piece dividing the two or two “cubbies” joined together? If joined does the facing cover where the join? Any idea how wide you can make the cubby before you need to worry about sag? Finally, do you secure these to the back of the closet or do they pretty much stay in place?
Kathya Kalinine
Jenn…when can you come to my house and build this closet system? I love your website…just discovered you! Thank you for the tutorials!!!
Jenn Post author
You’re the sweetest! Thank you for the kind words!! –Jenn