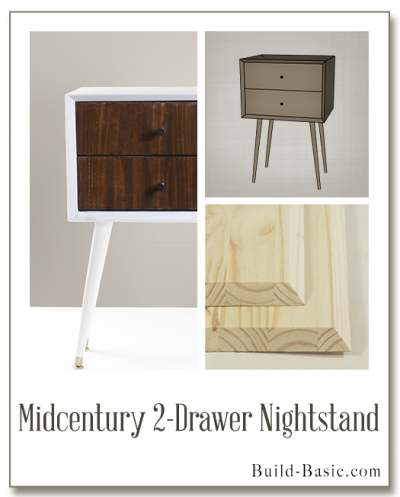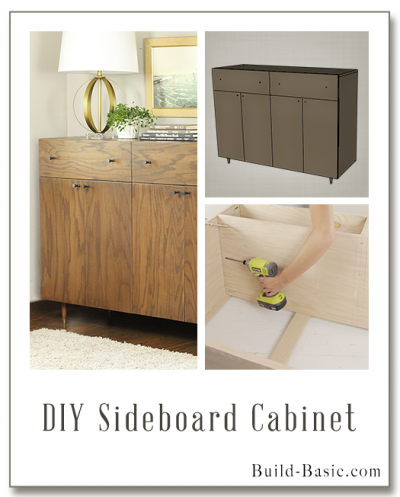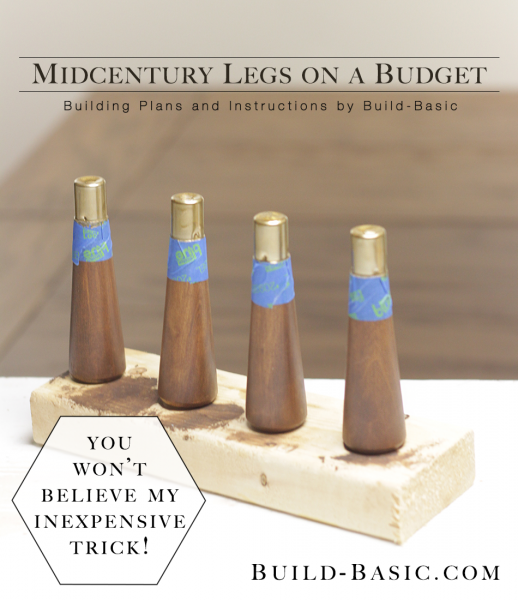
Today I’m sharing how I customize the tapered legs I use on most of my midcentury pieces. Read on to see how a few quick modifications to the look and finish can turn a budget table leg into a shinning focal point.
TIP: Click the tabs below to see the tools and materials list.
Cost: About $4 per leg
Time: 20 minutes
Difficulty: Easy. With a few quick changes, a stock leg looks like a custom midcentury reproduction.
Note: This list may contain affiliate links
Pliers
Drill/Driver fitted with a 3/8″ drill bit
None
Steps
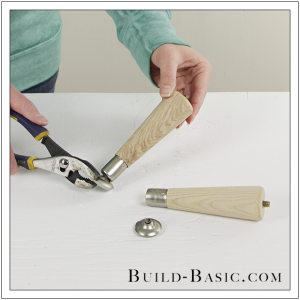
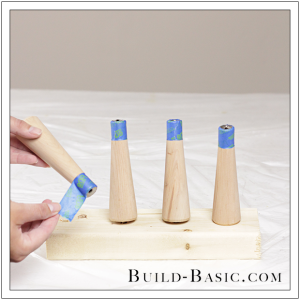
1. Remove the Foot
Clamp the leg to a work surface or hold it securely. Using pliers, pry the foot from the bottom of the leg. Using a hammer, tap the bottom of the leg to drive any pulled metal back inside the base of the leg.
 2. Cover the Metal Base
Wrap a piece of painters table around the metal base of the leg to protect it from the stain.
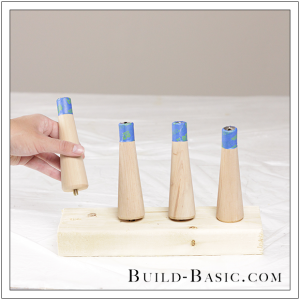
3. Create a Holder
To create a holder for the legs while the finish is applied, drill a hole for each leg into a scrap 2×4 block using a drill/driver and a 3/8-inch drill bit. Place the threaded rod on top of the leg into the hole.
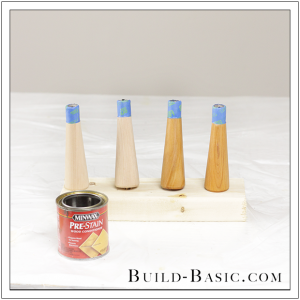
4. Prep the Leg for Stain
To prevent the wood from soaking up too much stain and looking opaque, first apply a coat of Pre-stain with a brush or cloth. Allow the pre-stain to penetrate the wood for about five minutes, or as instructed on the can.
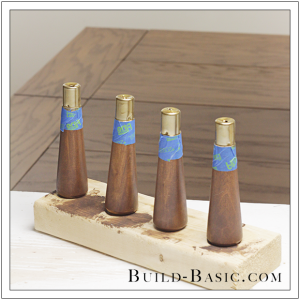
5. Apply the Stain
Using a brush or cloth, apply a coat of stain to the leg, spinning the leg as you work. Using a lint-free cloth, wipe the excess stain from the leg. Allow the stain to dry, and then finish with a coat of polyurethane.

6. Refinish the Metal Base
Once the polyurethane has fully dried, remove the painters tape from the metal base. Apply a new piece of painter tape around the leg just below the metal base. Using a small brush, apply two coats of “Jenn’s Favorite Gold Paint”, allowing drying time in between coats. Lastly, to further protect floors, place a foot pad on each leg.
MORE BUILDING PLANS