


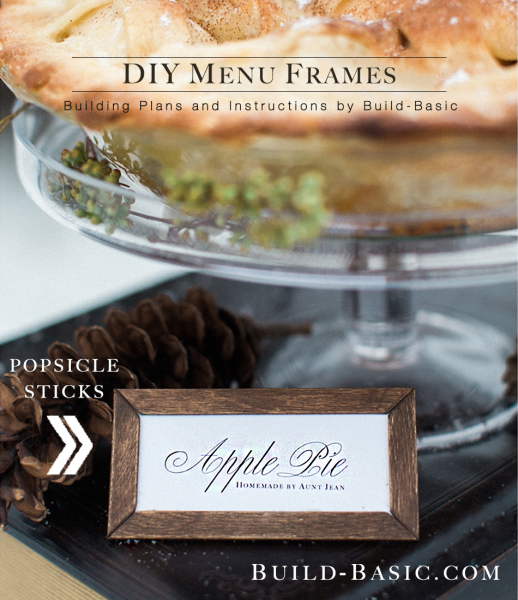
Whether you’re decking out a dessert table for a wedding, or setting up for a summer cookout, it goes without saying that guests appreciate knowing what’s in the dish. With just a few Popsicle Sticks, some paper, and pliers, your labels can double as decorative menu frames. Read on to see how.
Opening Photo Credit: Ashley Largesse Photography
Cost: $1
Time: 15 Minutes
Difficulty: Easy. Clip the Popsicle Sticks to size, and then glue into place.
Popsicle Sticks
Glue
Paper
1-inch Corner Cutoff of any piece of Scrap Wood (or substitute folded paper)
Top and Bottom – 2 @ 4 inches (cut at opposing 45-degree angles)
Sides – 2 @ 2 inches (cut at opposing 45-degree angles)
Steps
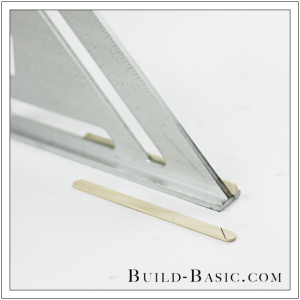
1. Mark the First Cut
Using a speed square, mark a 45-degree cut line at one end of a popsicle stick.
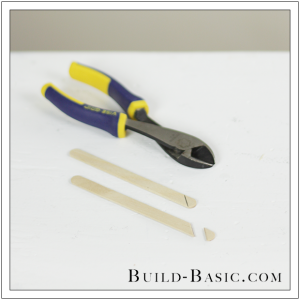
 2. Make the First Cut
Place the blade of the cutting pliers along the line marked in Step 1. Squeeze the pliers until they snip through the popsicle stick.
Tip: I pulled a cloth over the pliers during the cut to prevent the tip from shooting out of sight.
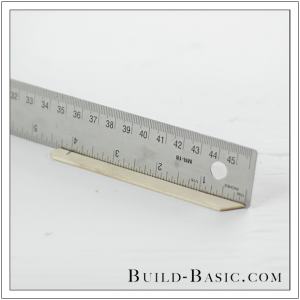
3. Mark the Length
Lay the popsicle stick along a ruler so that the tip of the cut end rests at zero. Mark the opposite end at 4 inches for the top and bottom, and 2 inches for the sides.
4. Cut and Dryfit the Parts
Using the instruction in Steps 1-3, Cut the pieces to size. Pull the cut ends along a sanding sponge to remove any burrs. Lay the pieces in a rectangle on the work surface to check that all the mitered ends set tightly against each other. Make adjustments as needed, and then paint or stain the parts.
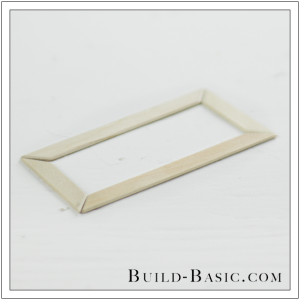
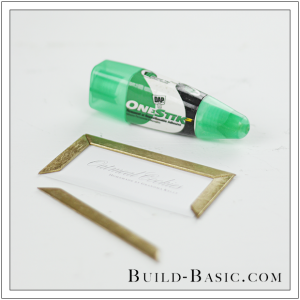
5. Glue the Frame
Cut out a 2-by-4-inch piece of paper. (I have terrible handwriting, so I printed mine.) Lay the paper face-up. Apply glue to the back of each frame piece, and then press it into place along the edge of the paper. Allow to dry.
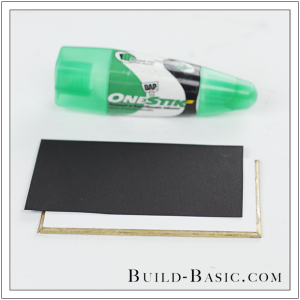
6. Add the Backing
To sturdy the frame and prevent light from shining through the paper, I added a dark construction paper backing. To glue it in place, apply glue to the perimeter of the paper (avoid the middle). And then press the backing in place.
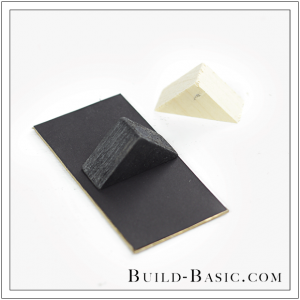
7. Create a Stand
A stand can be created using a 1-inch cutoff from a scrap piece of wood, or a piece of paper folded 3 times into a triangular tube, and then glued in place.
MORE BUILDING PLANS


Mallek John
I think it would have been nice to make the little menu frames reusable. Maybe a half width of popsicle stick on the back of each frame, then a black chipboard glued to the frame with one end left open would allow the cards to be slide out and new ones used.
Jenn Post author
John, That’s a really great idea!!! I’m going to check if we can do a couple extra shots and add them to the project with your suggestions in mind. Thank you for sharing!