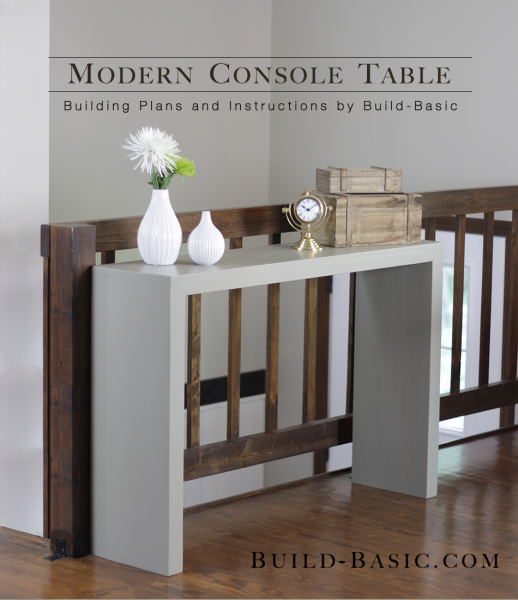
Simple lap construction and the layering of several boards make this paint-grade table appear to be one thick, expensive-looking piece. Not only is it easy to assemble, it’s sturdy and has a proportional thickness that keeps it from looking chintzy. The slim depth makes it the perfect addition to any entryway or hallway, and the width can be customized to fit any nook. Sure, you could (maybe) find a particleboard version of this design for under $100, but the real deal will easily cost over $350.
Paint Credit: Gettysburg Gray by Benjamin Moore.
Cost: $56
Time: 4 Hours
Difficulty: Easy. Straight cuts and lap construction make this assembly simple and sturdy.
(2) 1x12x6 Boards to make the table’s sides
(1) 1x12x8 Board to make the table’s top
(4) 1x2x6 Boards to pad the thickness of the sides and top
1¼ inch Wood Screws
2 inch Wood Screws
Wood Glue
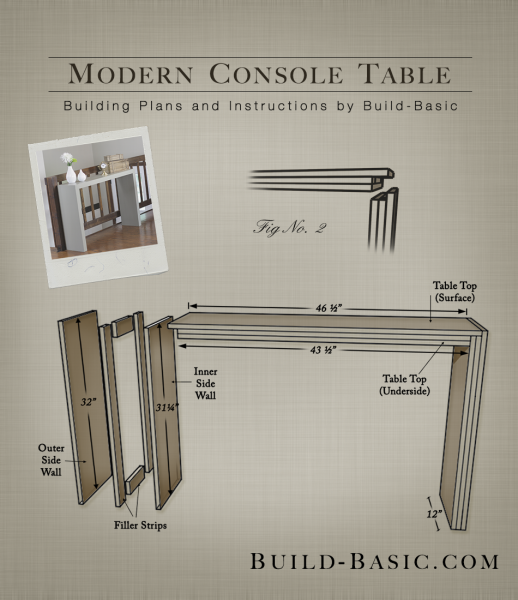
1×12 Tabletop (Surface) – 1 @ 46 ½ inches
1×12 Tabletop Surface (Underside) – 1 @ 43 ½ inches
1×12 Table Side Walls (Outer) – 2 @ 32 inches
1×12 Table Side Walls (Inner) – 2 @ 31 ¼ inches
1×2 Filler (Sides) – 4 @ 31 ¼ inches
1×2 Filler (Top) – 2 @ 43 ½ inches
1×2 Filler (Top and Sides) – 6 @ 9 inches
*Note: My home center laminated pine boards were an actual width of 12 inches (see drawing). If you’re using nominal 1×12 boards with an actual width of 11 ¼-inches, then cut the fillers to 8 ¼-inches.
Steps
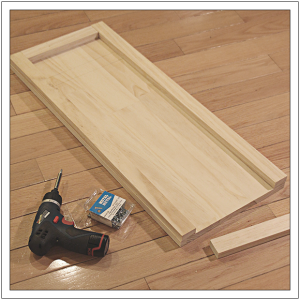
1. Cut and Layout the Pieces
Start by cutting all the 1×12 pieces to size using a circular saw, and all the 1×2 pieces to size using a miter saw. Lay the inner side walls flat on the work surface. Position the 1×2 filler strips on the walls flush with their edges. The short filler strips should fit between the longer filler strips as shown.
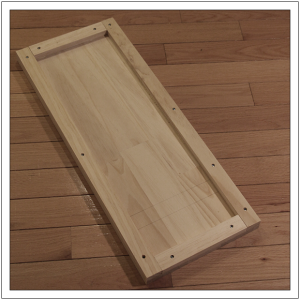
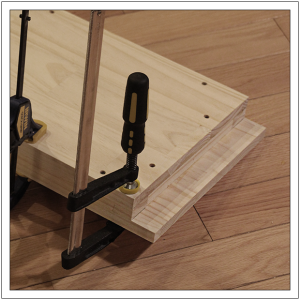
 2. Secure the Filler Strips
Drill shallow pilot holes through each filler strip and into the wall. One at a time, pick up each strip and lay a bead of wood glue between the strip and the wall. Holding each filler strip in place (they like to slip around on the glue), secure the strips in place using 1¼ inch wood screws. Be sure the heads of the screws sink just below the surface of the filler strips, but not so deep that they punch through the finish face of the side walls. Wipe off any wood glue oozing along the outer edge of the wall using a damp rag.
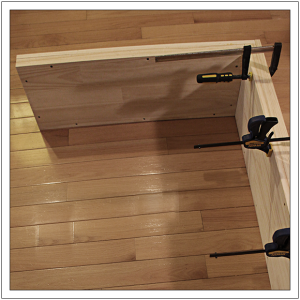
3. Assemble the Side Walls
Lay a bead of wood glue on each filler strip. Place the outer side walls on the strips so that their bottom edge is flush with the strips and the top edge sits down 1 ½ inches, as shown. Clamp the outer side walls in place and flip the assembled walls. Using a drill/driver, drill pilot holes through each inner side wall and filler strips, and into the outer side walls. Be very careful not to drive the holes through the outer side walls. Now secure the outer side walls with 2 inch wood screws.
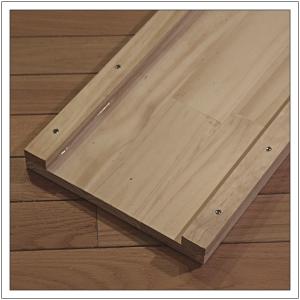
4. Attach the Tabletop Filler Strips
Position the remaining filler strips on the shorter tabletop board. Align the filler strips flush with the edges of the board. Secure the filler strips in the same way described in step 2.
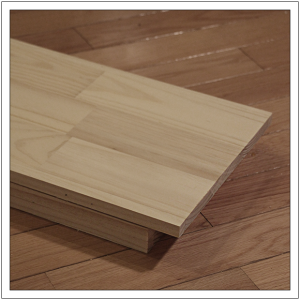
5. Secure the Tabletop
Apply a bead of wood glue to the filler strips and lay the tabletop in place. Use a scrap block the center the tabletop with equal ¾ inch overhangs on each end. Clamp and flip the assembled pieces. Secure the tabletop with screws as described in step 3.
6. Position the Tabletop and Sides
Stand the sides and tabletop on their back edge. Position the tabletop above the outer side wall as shown.
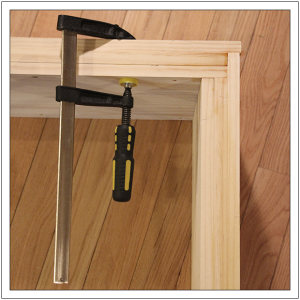
7. Assemble the Tabletop and Sides
Using a drill/driver, create three angled pilot holes through the inner side walls and into the underside of the tabletop. Drive two additional pilot holes through the outer side wall and into the tabletop’s filler strip. Separate the tabletop and sides and apply wood glue between the pieces. Drive 2 inch screws into each of the pilot holes. When sanding the assembly, take the time to sand the front edge and the end grain of the tabletop to create the illusion of a single thick board.
MORE BUILDING PLANS
Pssst: Check out Build Basic on Weekend Bloggy Reading over at Serenity Now !


Patricia DiMario
What type/species of wood are you using for this table?