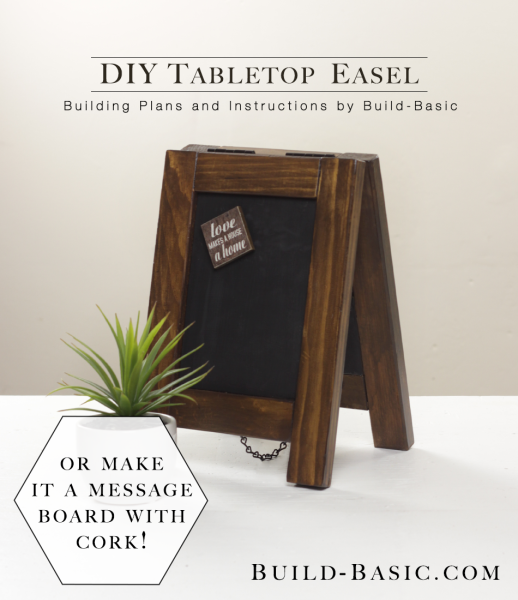
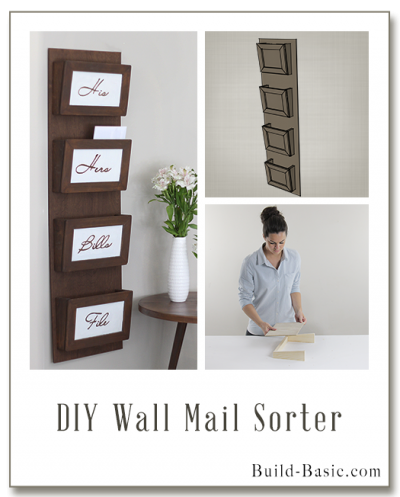
Create a place to write reminders and place sticky notes right on your desk with this handy tabletop easel. With simple pocket hole construction, the recessed panel is easy to attach. Altogether, this is a quick DIY that’s a great addition to any office space!
TIP: Click the image above to reveal the free building plans. Click the tabs below to see the tools, materials and cut list.
Cost: $10
Time: 1 hour
Difficulty: Easy. Pocket hole construction makes assembling the Frame and attaching the recessed Panel a breeze.
(1) 1 x 2 x 6′ Board
(1) ½” Plywood – Get a small project Panel
(1) 10″ Small Chain
(2) ½” Wood Screws to attach the chain
(8) 1¼-inch pocket hole screws
(16) 1-inch pocket hole screws
(2) 2-inch Butt Hinges
Wood Glue
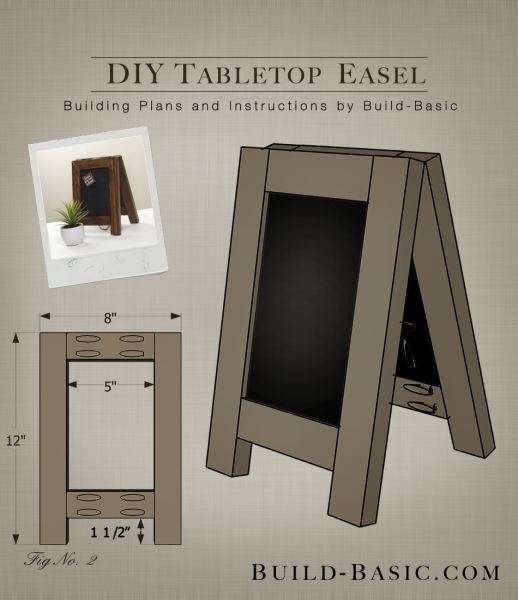
1 x 2 Frame Stiles – 4 @ 12 inches
1 x 2 Frame Rails – 4 @ 5 inches
½” Plywood Panels – 2 @ 5″W x 7½”H
Steps
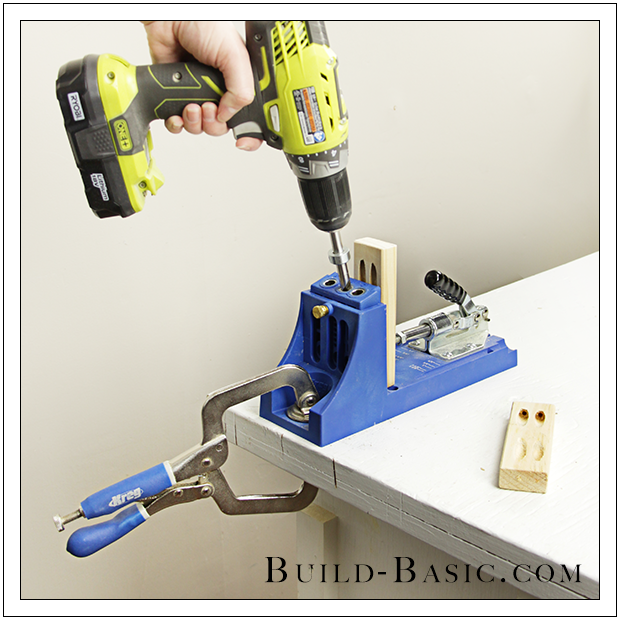
1. Prep the Frame
Using a miter saw and the cut list above, cut the 1 x 2 Frame pieces to length. Using a drill/driver and a pocket hole jig, drill two pocket holes into the ends each of the 1 x 2 Rails.
 2. Assemble the Frames
Make a mark 1½-inches from the bottom end of each of the Stiles. Apply wood glue to the ends of Rails. Place two Rails horizontally between two vertical Stiles so that one sets flush with the top ends of the Stiles, and the other rests 1½-inches above the bottom end of each Stile, as shown. Using a drill/driver, drive 1¼-inch pocket hole screws through the pocket holes in the Rails and into the Stiles to hold the pieces in place. Repeat to assemble the second Frame.
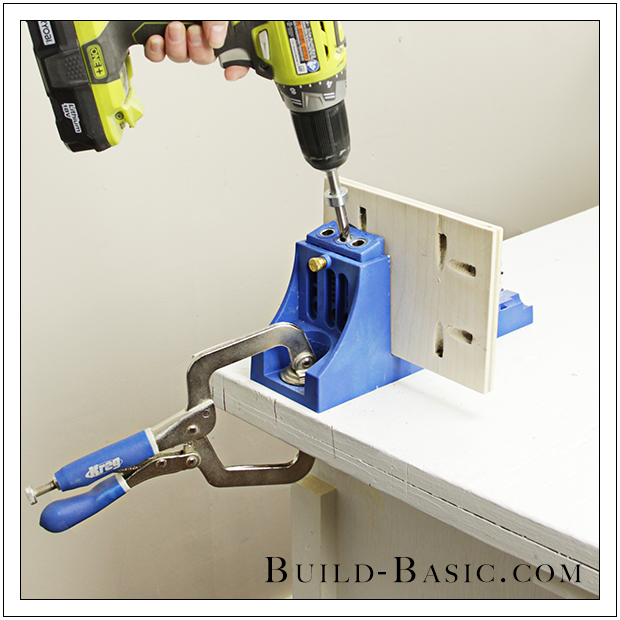
3. Prep the Panels
Using a miter saw or circular saw and the cut list above, cut the ½-inch plywood Panels to size. Set your pocket hole jig and drill bit collar for a 1/2-inch-depth. Using a drill/driver and a pocket hole jig, drill two pocket holes along each edge of the Panels, as shown.
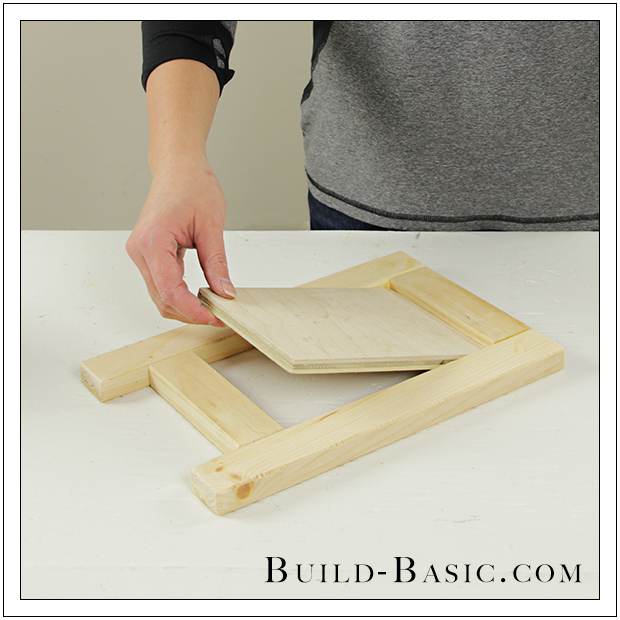
4 Place the Panels
Place the assembled Frames face up on the work surface. Place a Panel into a Frame’s opening. Press the Panel until it sets recessed inside the opening, flush with the backside of the Frame. Repeat to insert the second Panel into the remaining Frame.
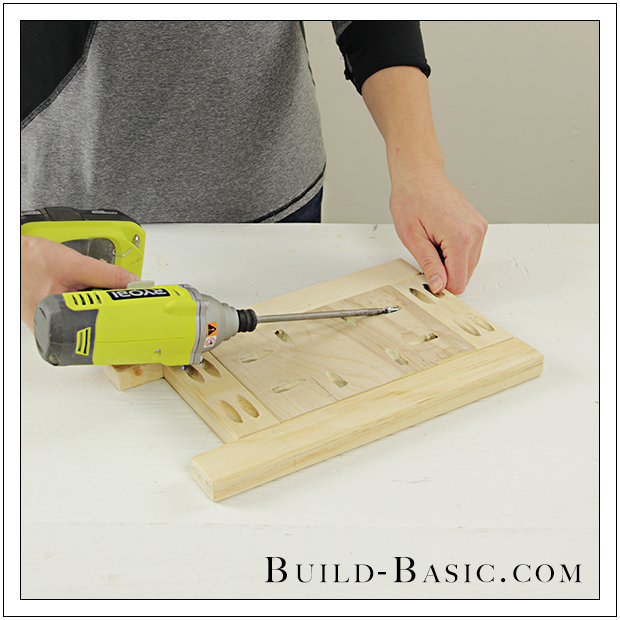
5 Attach the Panels to the Frames
Using a drill/driver, drive 1-inch pocket hole screws through a Panel and into its Frame. Repeat to attach the remaining Panel to its Frame.
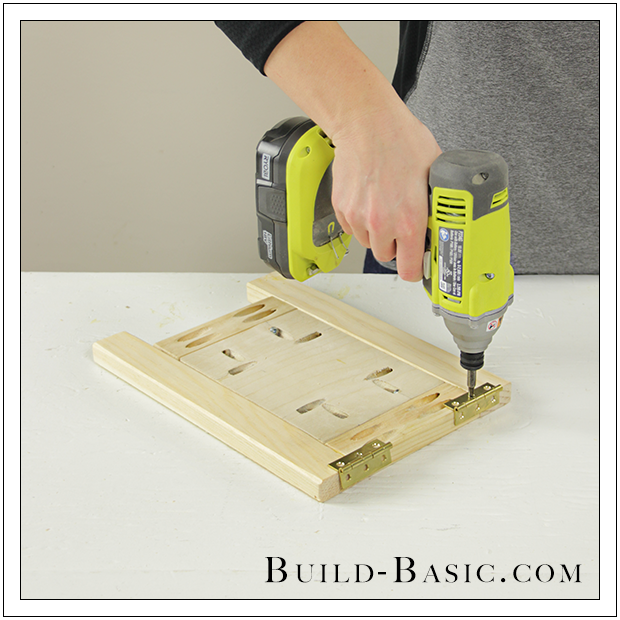
6 Attach the Hinges to a Frame
Place an assembled Frame and Panel facedown on the work surface. Place two hinges on the backside of the Frame along its top edge. Position the hinges so that they are roughly ¾-inch from the sides of the Frame. Using a drill/driver, attach the hinges to the Frame using the screws provided.
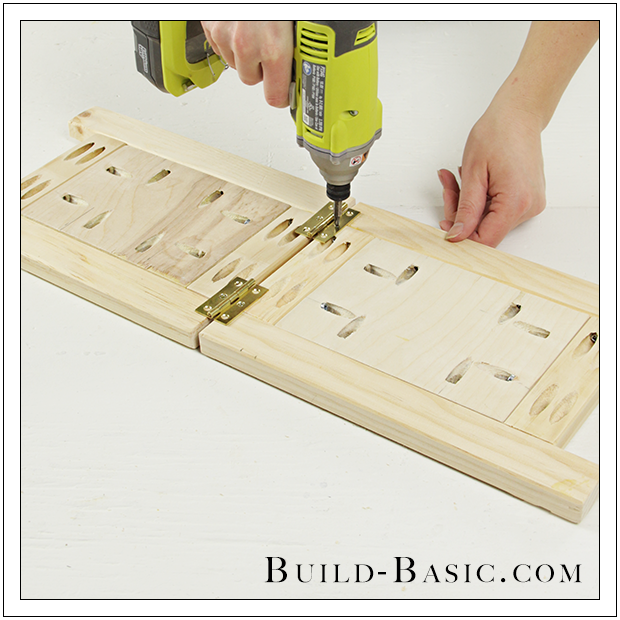
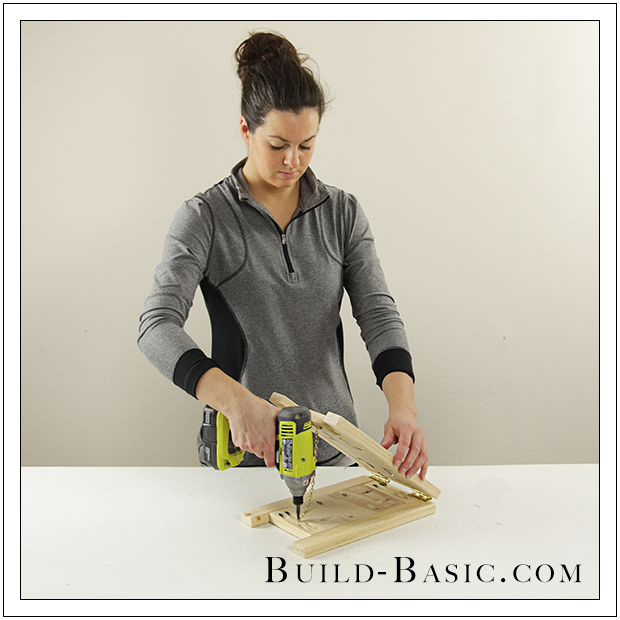
7 Attach the Hinges to the Second Frame
Place the remaining Frame onto the work surface, as shown. Place the hinges onto the second Frame, and then secure them in place using a drill/driver and the screws provided.
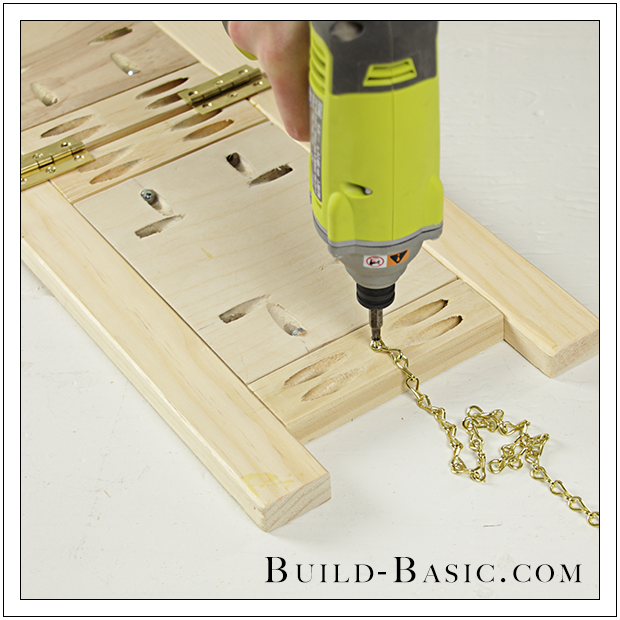
8 Attach the Chain
Place a ½-inch wood screw through the link at one end of the chain. Using a drill/driver, drive the screw into the backside of the a Frame, near the center of the lower Stile.
9 Size the Chain
Flip the assembled Frames over so that the Frame with the attached chain in on top. Tilt the top Frame upward. Mark the length of the chain, and then remove the excess. Place a screw through the last link of the chain, and the drive the screw into the lower Frame near the center of its lower Stile, as shown.
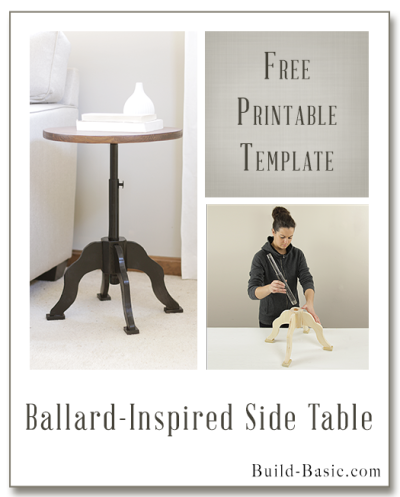
MORE BUILDING PLANS